
>>

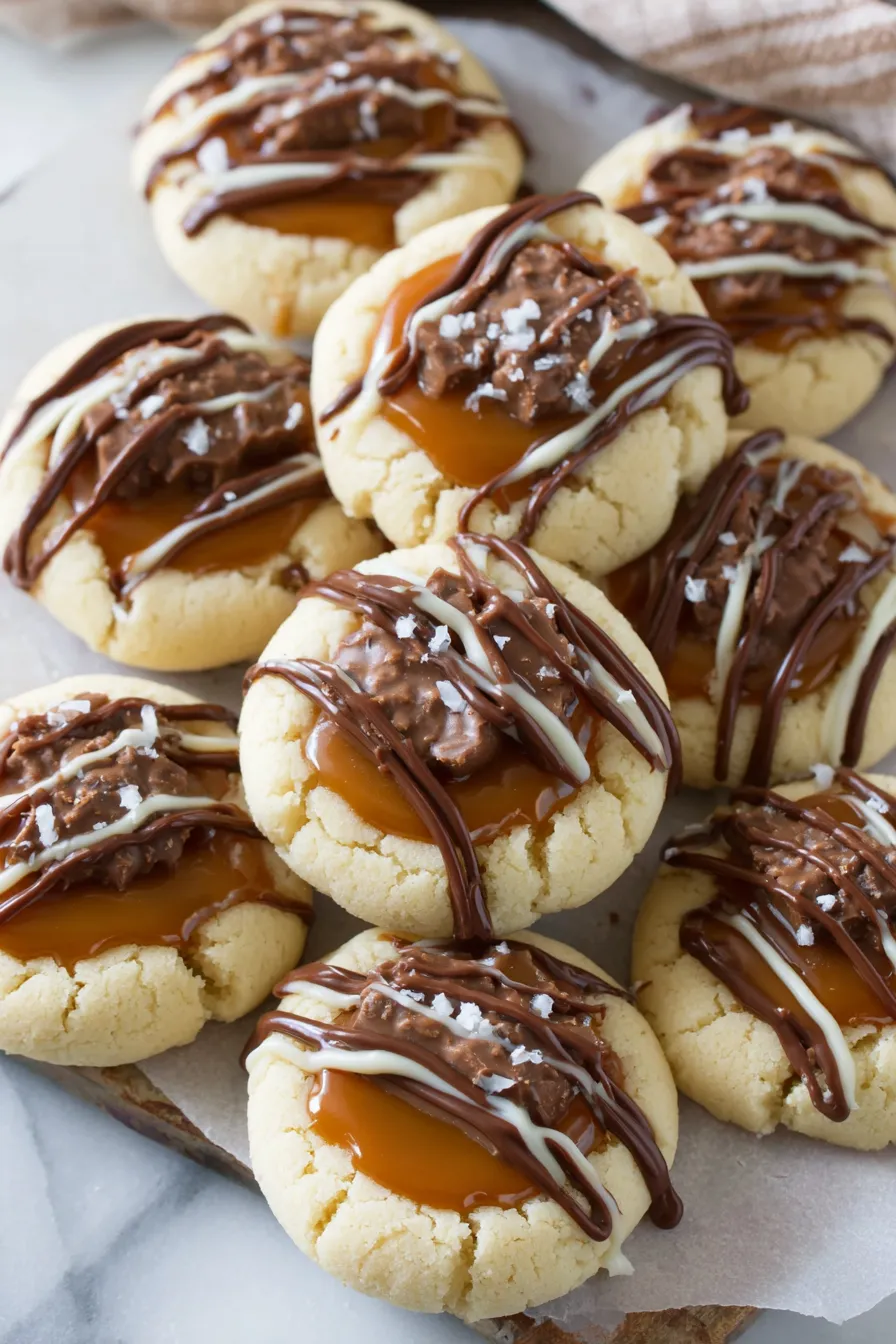
Buttery shortbread-style rounds filled with gooey caramel and finished with a drizzle of milk chocolate — a homemade Twix-inspired treat perfect for gifting or cookie swaps.
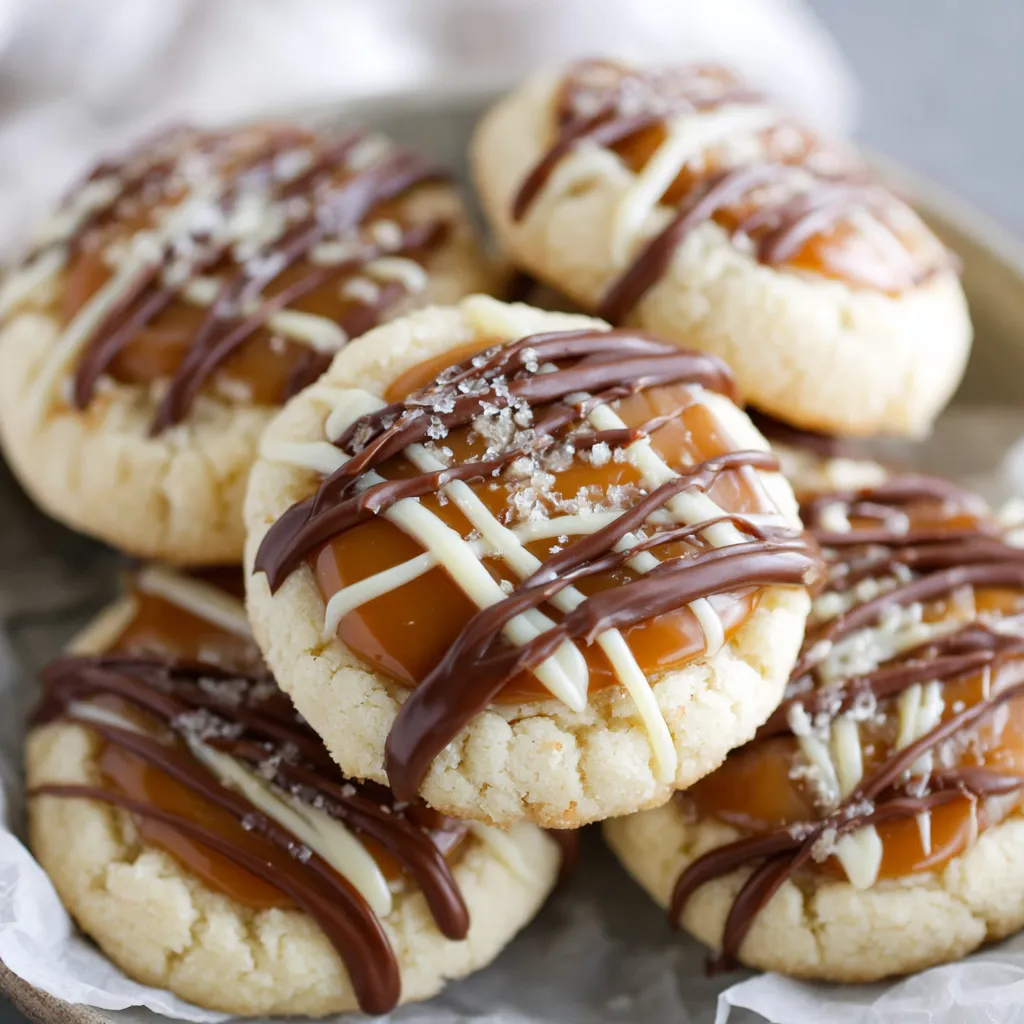
This recipe began as a weekend experiment and quickly became a regular on our holiday baking list. I discovered these Twix-style thumbprint cookies one chilly November afternoon when I was craving the crunchy, caramel-chocolate combination of the candy bar but wanted something softer and more homemade. The result is a tender, buttery shortbread-like cookie with a deep, glossy caramel center and a final finish of milk chocolate. They are crisp at the edges, tender in the center, and the caramel brings that chewy, luxuriously sticky contrast that makes everyone reach for seconds.
I love how this method keeps the dough soft and workable so the press doesn’t tear the cookie, and how the timing of pressing — first before baking, then again right out of the oven — produces a reliable thumbprint without collapsing the cookie. These have become my go-to for cookie exchanges because they transport well, look beautiful on a platter, and even the pickiest kids in the family ask for the caramel first. If you enjoy the Twix flavor profile but want a fresher, more buttery bite, this will likely become a favorite for you too.
In our house these cookies have appeared at birthday parties, potlucks, and quiet weeknight dessert plates. My partner always says the caramel makes them feel indulgent, and our neighbors asked for the recipe after sampling them at a holiday swap. I discovered small tweaks — like letting the dough rest five minutes before shaping — that dramatically improve handling and the final look.
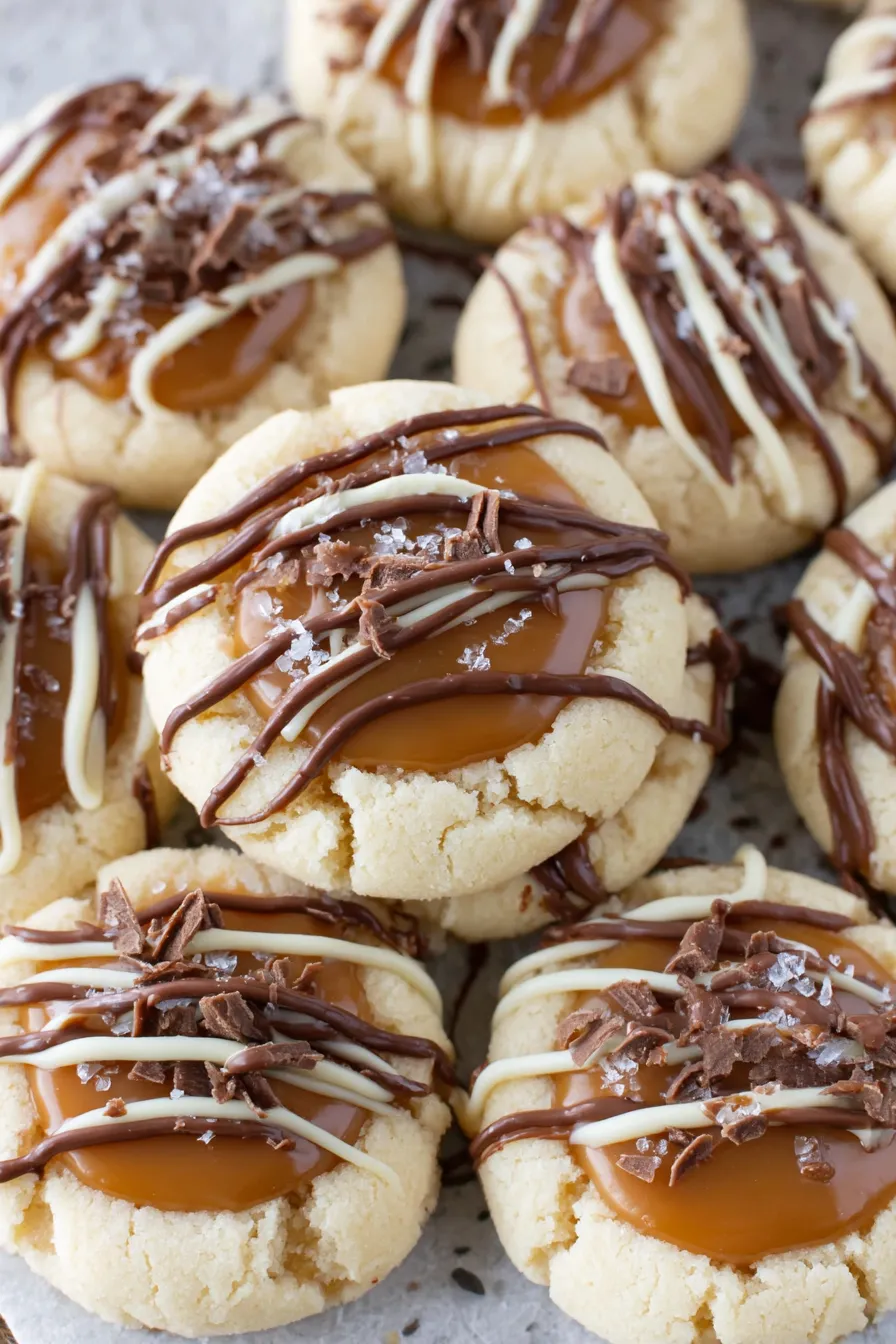
My favorite thing about these cookies is the contrast in textures: the melt-in-your-mouth shortbread meets stretchy caramel and a crisp chocolate shell. Those little moments when a friend takes a bite and closes their eyes in appreciation are why I bake. I also love how the cookie shaping is forgiving, so even novice bakers can produce bakery-style results with simple tools and attention to timing.
Keep the cookies in a single layer or with parchment between layers in an airtight container at room temperature for up to four days. If you prefer a firmer caramel and crisper chocolate, refrigerate for up to one week. For longer storage, freeze fully set cookies in a single layer on a tray until solid, then stack with parchment and place in a freezer-safe container for up to three months. Thaw in the refrigerator overnight to prevent condensation on the chocolate.
If you cannot find cake flour, make a substitute by removing 3 tablespoons of each cup of all-purpose flour and replacing with 3 tablespoons cornstarch before measuring. For a dairy-free version, use a dairy-free butter substitute and dairy-free caramel and chocolate chips, but expect subtle changes in flavor and texture. Swap milk chocolate for dark chocolate for a less sweet finish, or add a pinch of flaky sea salt to each cookie for a sophisticated sweet-salty contrast.
These pairs beautifully with a robust coffee, salted caramel hot chocolate, or a simple cup of black tea. For a party platter, arrange with fresh berries and chocolate-dipped shortbread for variety. Garnish each cookie with a tiny pinch of fleur de sel after drizzling chocolate to create a gourmet look that complements the caramel.
Thumbprint-style confections trace back to European shortbreads and jam-filled cookies, with regional variations across Scandinavia and Central Europe. The Twix-inspired iteration borrows the iconic caramel-and-chocolate pairing from the British candy bar but translates it into a softer, home-baked format that emphasizes buttery cookie texture over crunch.
For autumn, swap milk chocolate for spiced caramel and add a sprinkle of cinnamon to the dough. At holiday time, tint the chocolate with red or green cocoa butter for festive colors. In summer, serve alongside chilled desserts and consider using dark chocolate to offset heat and sweetness.
Shape and bake a double batch, then freeze half of the fully cooled, unfilled cookies for quick future desserts. Alternatively, prepare and freeze the dough balls; when you want fresh cookies, bake frozen balls and fill with warmed caramel. Use small disposable piping bags to speed up filling when making large quantities.
Whether you make these for a crowd or a cozy night in, these caramel-filled thumbprints are a simple way to lift classic flavors into something homemade and memorable. Have fun customizing the finish and sharing them with friends.
Let the dough rest 5 minutes before shaping to make handling easier and prevent tearing when pressing the thumbprint.
Dip the 1/2 teaspoon used for pressing into flour between cookies to prevent sticking and tearing.
Press once before baking and again immediately after baking to maintain a clean, deep center for filling.
Cool cookies completely before adding caramel to prevent it from running and to keep the cookies intact.
This nourishing twix thumbprint cookies recipe is sure to be a staple in your kitchen. Enjoy every moist, high protein slice — it is perfect for breakfast or as a wholesome snack any time.
Yes. Shape the dough balls and freeze on a tray; once solid, transfer to a container. Bake from frozen with 1–2 minutes extra time.
Store in an airtight container at room temperature up to 4 days, or refrigerate up to 7 days. Freeze up to 3 months.
This Twix Thumbprint Cookies recipe makes perfectly juicy, tender, and flavorful steak every time! Serve with potatoes and a side salad for an unforgettable dinner in under 30 minutes.
Preheat oven to 350°F and line a baking sheet with parchment or a silicone mat. Arrange tools: tablespoon scoop, 1/2 tsp, and measuring spoons.
Beat 1 cup softened salted butter with 1 1/4 cups powdered sugar until smooth. Add 1 egg and mix until combined, scraping the bowl as needed.
Add 3 tsp vanilla. Whisk together 2 1/2 cups cake flour, 1 tsp baking powder, and 1/2 tsp salt. Mix into the butter until a soft dough forms. Rest 5 minutes.
Portion dough into 1 tbsp balls, place on sheet, and press a shallow crater with a floured 1/2 tsp measuring spoon to form the initial thumbprint.
Bake 8–10 minutes at 350°F. Immediately press centers with a 1 tbsp spoon to deepen the thumbprint, then cool completely on the sheet.
Melt 30 soft caramels with 1 tbsp milk in 30-second microwave bursts, stirring until smooth. Spoon caramel into each cooled thumbprint and chill to set.
Melt 1/2 cup milk chocolate wafers and drizzle over caramel-filled centers. Allow chocolate to set before serving or storing.
Last Step: Please leave a rating and comment letting us know how you liked this recipe! This helps our business to thrive and continue providing free, high-quality recipes for you.
Leave a comment & rating below or tag
@paletina on social media!

Ultra-fudgy brownies packed with chocolate chunks, crowned with gooey marshmallows and glossed with warm chocolate frosting for a decadent crowd-pleaser.

Buttery shortbread crust topped with a gooey brown sugar-pecan filling. Ten minutes to prep, irresistibly crunchy edges, and perfect for make-ahead treats.

Silky, crack-free pumpkin cheesecake with warm spice, buttery graham crust, and make-ahead convenience for showstopping holiday dinners.
Leave a comment & rating below or tag @paletina on social media!
Enjoyed this recipe? Share it with friends and family, and don't forget to leave a review!
This recipe looks amazing! Can't wait to try it.
Comments are stored locally in your browser. Server comments are displayed alongside your local comments.

Join to receive our email series which contains a round-up of some of our quick and easy family favorite recipes.
