
>>

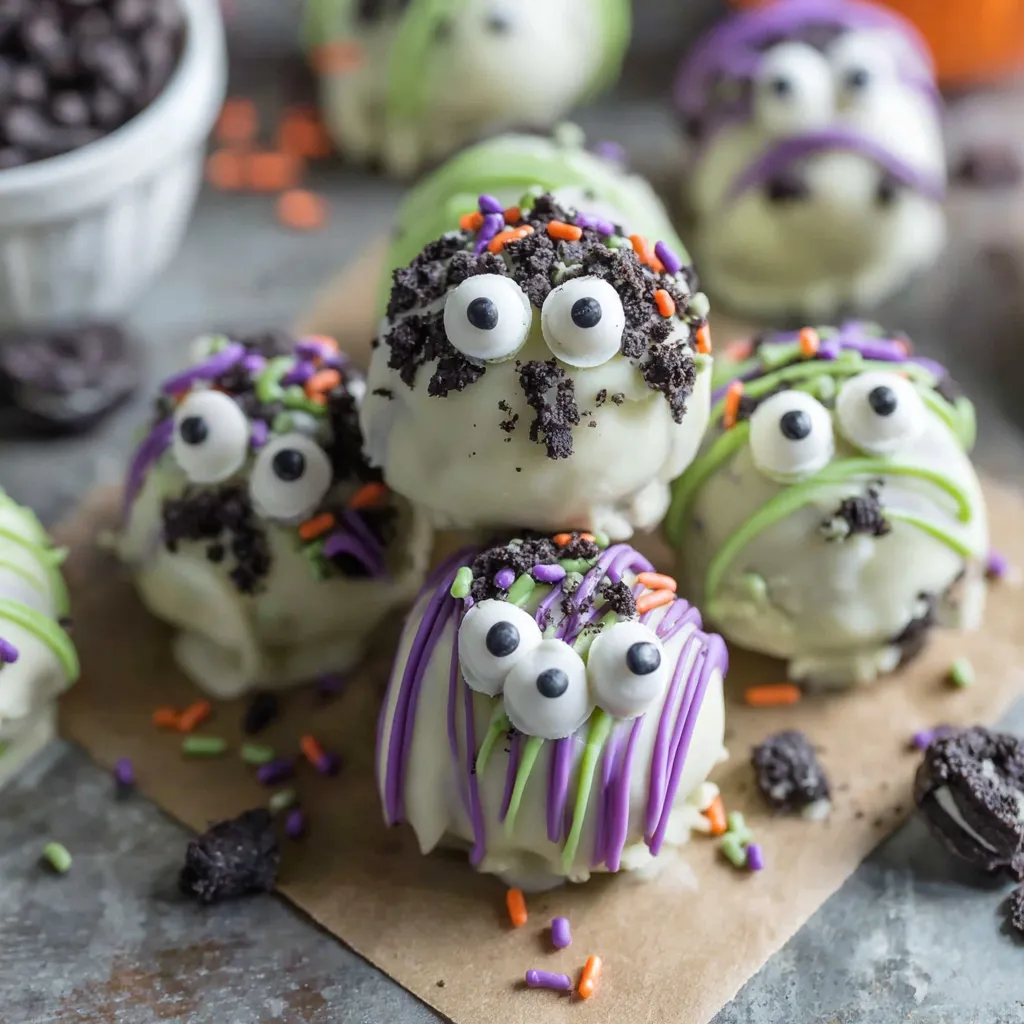
Spooky, no-bake Oreo truffles coated in colored white chocolate, decorated with candy eyes and sprinkles — the perfect Halloween treat for parties or lunchboxes.

This recipe is my go-to seasonal showstopper: No Bake Monster Truffles, also known as Halloween Oreo Balls. I first made these on a rainy October afternoon when I needed a fast, crowd-pleasing dessert for my neighborhood Halloween potluck. The concept is simple and utterly charming — a cream cheese–bound Oreo center dipped in melted white chocolate, tinted in eerie colors, then finished with candy eyes and sprinkles. They look elaborate but take very little active time, which is why I reach for this recipe every year.
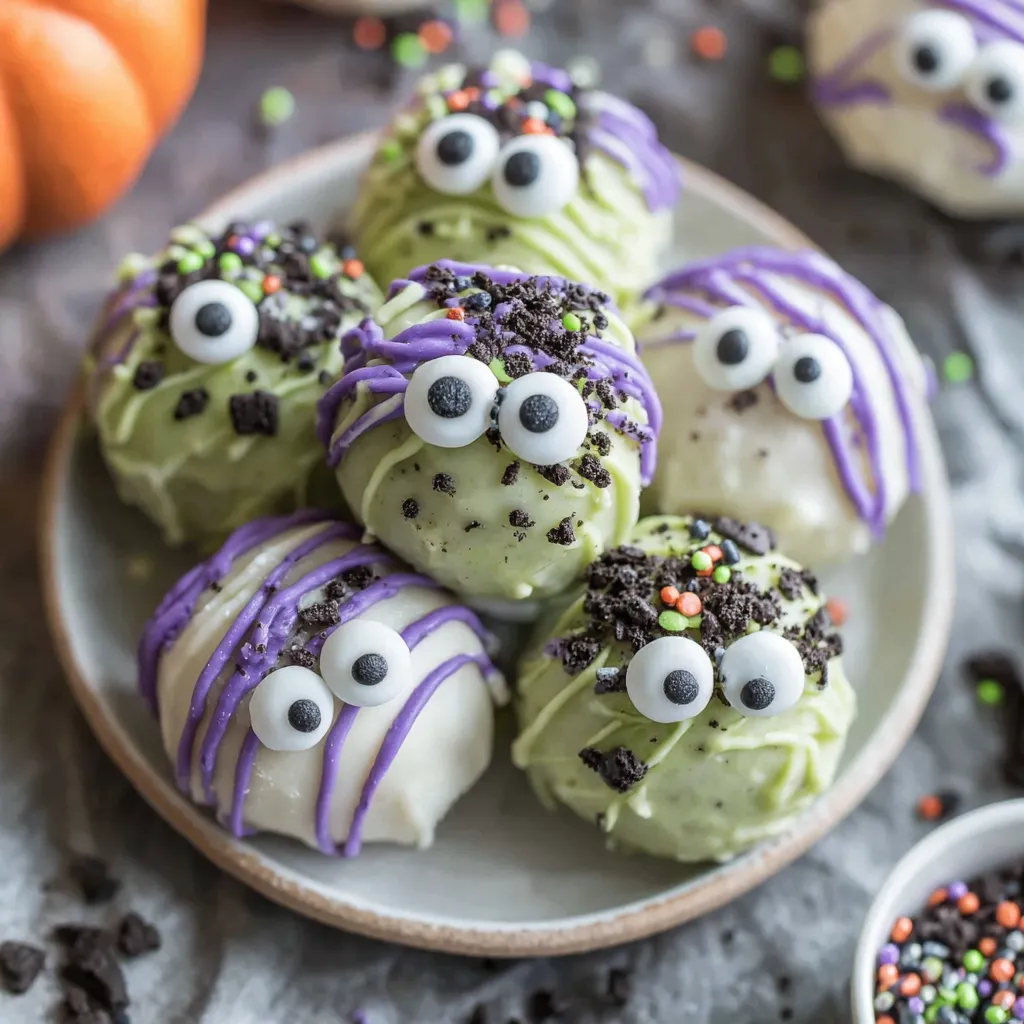
What makes these truffles special is the contrast of textures and the nostalgic hook. The cookie center is dense and fudgy from finely processed Oreos and cream cheese; after chilling, it becomes firm enough to hold a glossy chocolate shell that gives a delicate snap. The white chocolate coating takes color beautifully, so you can create vibrant greens and purples that look both spooky and playful. Kids love the eyes, adults love the simplicity, and my husband often laughs because they disappear off the plate faster than I can photograph them.
Every year I tweak the color ratios and the placement of the eyes until they look just right. My neighbor's kids declared the green/purple duo the most monster-like, while a batch I colored neon blue caused an uproar of delight at a school party. These little details make the process fun — and the smiles at the table make it worth it.
My favorite part of making these is the decorating station: neighbors and kids gather with eyes and sprinkles, and we end up with a dozen unique monsters. One year a friend arranged a tiny truffle graveyard with cookie crumbs as “dirt” and the kids loved the storytelling as much as the snacking. The smiles and creativity are why I keep making them — they’re as much about the experience as the taste.
Keep the truffles in a single layer in an airtight container in the refrigerator for up to one week. If stacking is necessary, separate layers with parchment paper to protect the decorations. For longer storage, freeze in an airtight container for up to three months; thaw in the fridge overnight before serving. If you need to transport them, place them in a shallow container with non-slip shelf liner or a layer of frosting piping to prevent sliding. Avoid direct sunlight or warm places — the chocolate shell can soften and the decorations will shift.
If you’re avoiding dairy, use dairy-free cream cheese and dairy-free white chocolate; note the flavor will be slightly different and texture may vary. Gluten-free sandwich cookies work as a direct swap for Oreos — pick sturdy ones so the crust isn’t overly crumbly. Dark or milk chocolate can be used instead of white for a less sweet bite; those chocolates don’t take gel coloring well, so consider colored cocoa butter paint for dramatic effects. For a lower-sugar version, reduce sprinkles and use a dark chocolate coating, but expect a slightly firmer mouthfeel.
Arrange on a platter with a few clusters of themed props (tiny pumpkins, edible confetti) for an eye-catching party centerpiece. Pair with hot chocolate or a lightly roasted coffee — the creamy center balances rich beverages. These also make fun additions to a dessert charcuterie board alongside brownies, candied nuts, and seasonal fruit. For classroom-safe treats, package individually in clear bags tied with orange and black ribbon.
Cookie-cream truffles evolved from classic chocolate truffles by combining cookie crumbs and cream cheese to create a no-bake confection that’s easier for home cooks. Oreo balls gained popularity on social media and in home-bakery circles because they’re quick and infinitely customizable. Decorating them for Halloween taps into long-standing traditions of playful edible crafts at autumn festivals, where novelty shapes and candy decorations make sweets part of the seasonal celebration.
Change the colors and decorations for other holidays: red and green coatings with sprinkles for Christmas, pastel colors and edible flowers for spring, or orange and black for sporty events. For Thanksgiving, consider cinnamon-sugar drizzle and caramel chips in place of sprinkles; at Valentine’s Day, tint the chocolate pink and add heart-shaped sprinkles. These small swaps make the base technique useful year-round.
Make the centers up to one month ahead and freeze on a tray; once frozen, transfer to a freezer-safe bag. Thaw slightly in the refrigerator before dipping so they remain cold but not icy — this helps the coating set uniformly. Keep a small dipping station with two bowls of melted chocolate (one warm) to maintain coating consistency if you’re covering large batches. Use a cooling rack over parchment to catch drips and speed the process.
There’s something deeply satisfying about pulling a tray of playful monsters from the fridge and watching people light up. They’re quick to make, easy to personalize, and the process invites helpers — whether small children picking eyes or friends recommending color combos. Make them your own, and enjoy the little theatrics of presenting tiny monsters that taste like a nostalgic favorite.
Chill the cookie balls before dipping to prevent the centers from falling apart and to create a cleaner chocolate shell.
Keep all bowls and utensils completely dry; even a small amount of moisture causes chocolate to seize.
Work in small batches and reheat the dipping chocolate briefly if it starts to thicken to maintain a smooth coating.
Use a fork and tap gently to remove excess coating for an even finish and fewer drips.
If decorating with multiple colors, set up a small piping bag for precise drizzles and details.
This nourishing no bake monster truffles (halloween oreo balls) recipe is sure to be a staple in your kitchen. Enjoy every moist, high protein slice — it is perfect for breakfast or as a wholesome snack any time.
Yes — form the centers and freeze them on a tray; once frozen, transfer to a freezer bag for up to 3 months. Thaw in the fridge before dipping.
Use gel food coloring for vibrant hues. Liquid color can seize the chocolate and make it thin.
If the melted chocolate thickens, warm it for 5–10 seconds in the microwave and stir until smooth. Avoid adding water.
This No Bake Monster Truffles (Halloween Oreo Balls) recipe makes perfectly juicy, tender, and flavorful steak every time! Serve with potatoes and a side salad for an unforgettable dinner in under 30 minutes.
Line a baking sheet with parchment paper and have your scoop, forks, and bowls ready. This ensures a smooth assembly line and prevents melted chocolate from staining counters.
Pulse 24 Oreos in a food processor until fine crumbs form, then add 4 ounces softened cream cheese and pulse until a uniform dough forms. Scrape down the bowl to avoid unprocessed chunks.
Scoop the mixture into 24 even balls using a small ice cream scoop or 2 tablespoons. Place on the prepared sheet and freeze for 20 minutes until firm to touch.
Melt 12 ounces of white melting chocolate in 30-second microwave intervals, stirring between each interval until smooth. Stir in 3–4 drops of green gel food coloring until evenly tinted.
Dip chilled balls into the green chocolate using a fork, tapping off excess, and return to the parchment. Keep the chocolate warm to maintain flow.
Melt the remaining 4 ounces of white chocolate in a separate bowl. Tint purple with 3–4 drops of purple gel, stirring until uniform.
Drizzle purple over the green-coated truffles, press candy eyes into the center while the drizzle is wet, and finish with sprinkles. Allow to set at room temperature or chill briefly to firm the shell.
Last Step: Please leave a rating and comment letting us know how you liked this recipe! This helps our business to thrive and continue providing free, high-quality recipes for you.
Leave a comment & rating below or tag
@paletina on social media!

Ultra-fudgy brownies packed with chocolate chunks, crowned with gooey marshmallows and glossed with warm chocolate frosting for a decadent crowd-pleaser.

Buttery shortbread crust topped with a gooey brown sugar-pecan filling. Ten minutes to prep, irresistibly crunchy edges, and perfect for make-ahead treats.

Silky, crack-free pumpkin cheesecake with warm spice, buttery graham crust, and make-ahead convenience for showstopping holiday dinners.
Leave a comment & rating below or tag @paletina on social media!
Enjoyed this recipe? Share it with friends and family, and don't forget to leave a review!
This recipe looks amazing! Can't wait to try it.
Comments are stored locally in your browser. Server comments are displayed alongside your local comments.

Join to receive our email series which contains a round-up of some of our quick and easy family favorite recipes.
