
>>

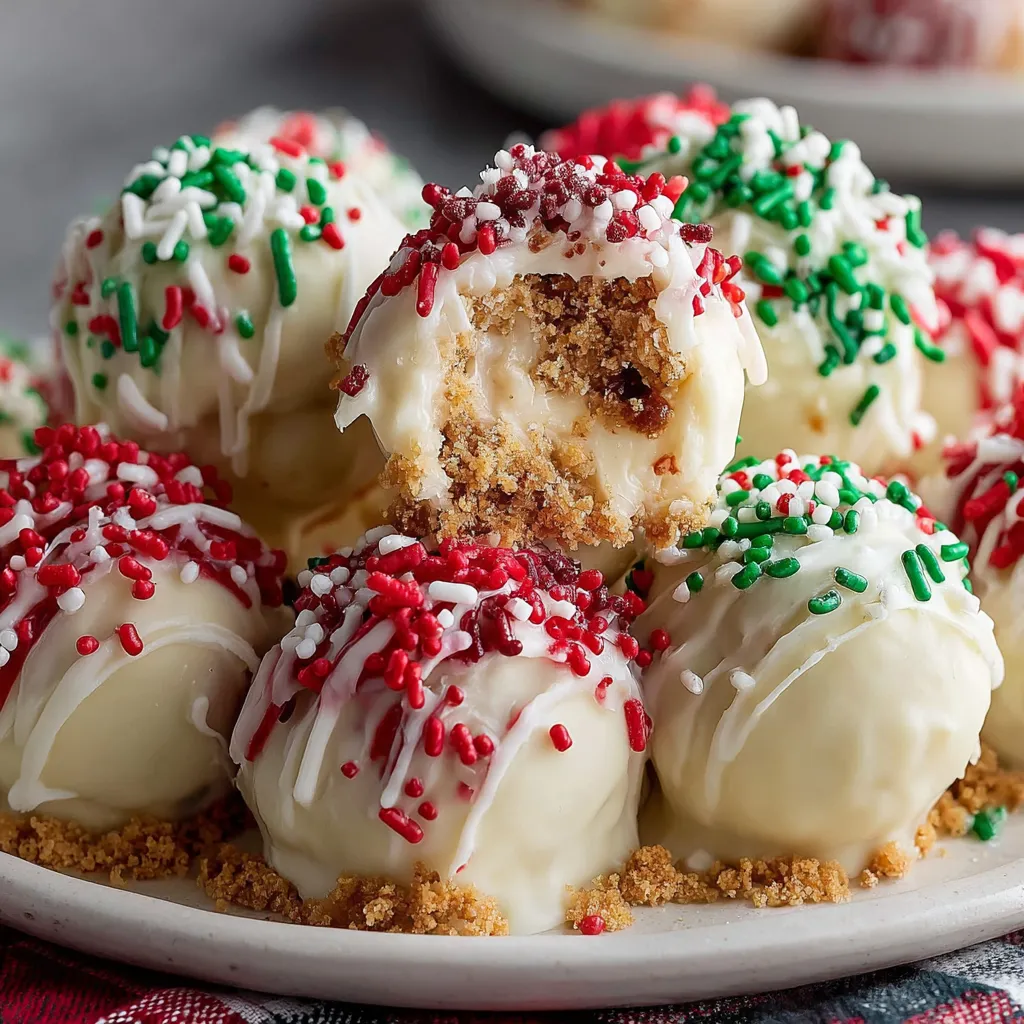
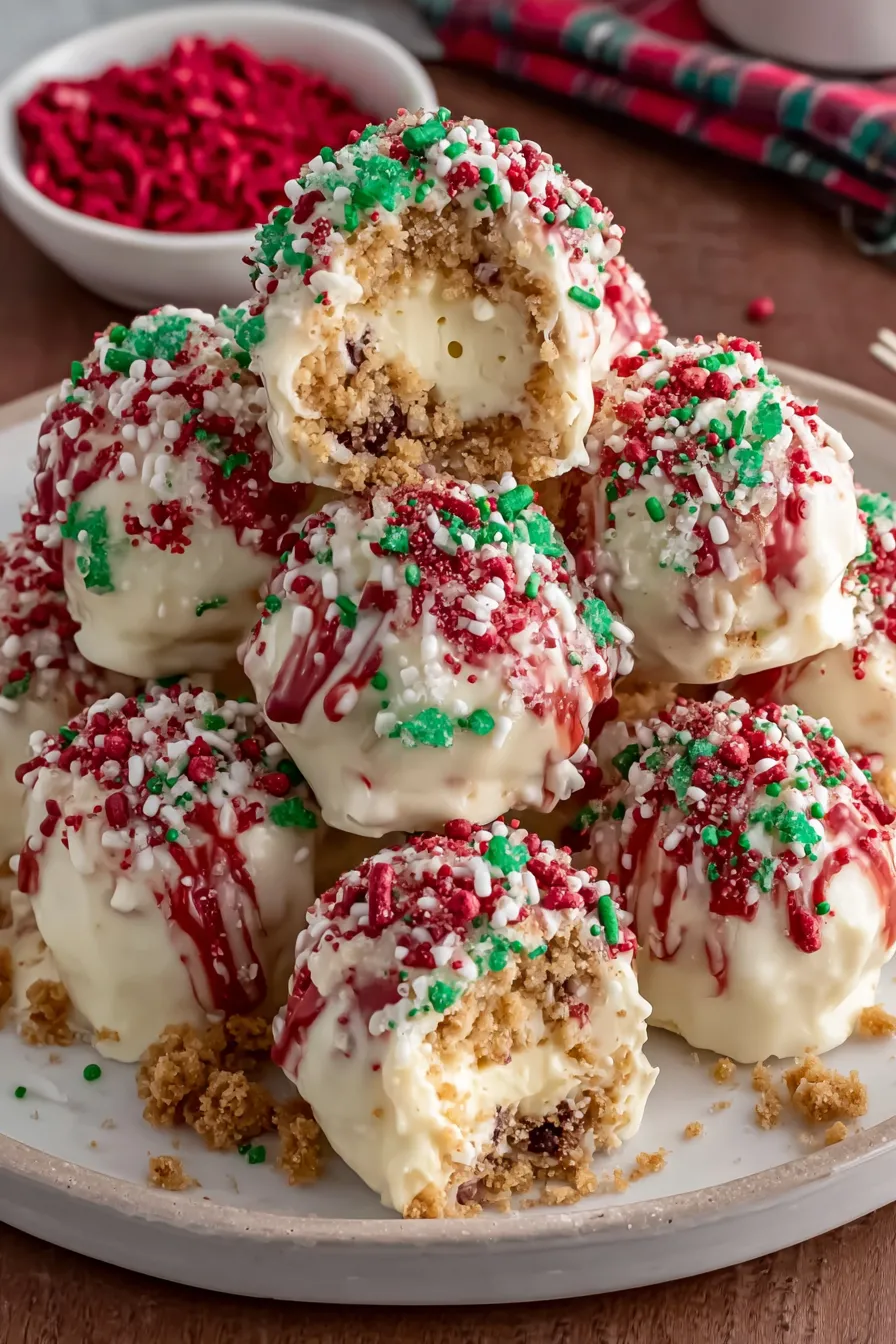
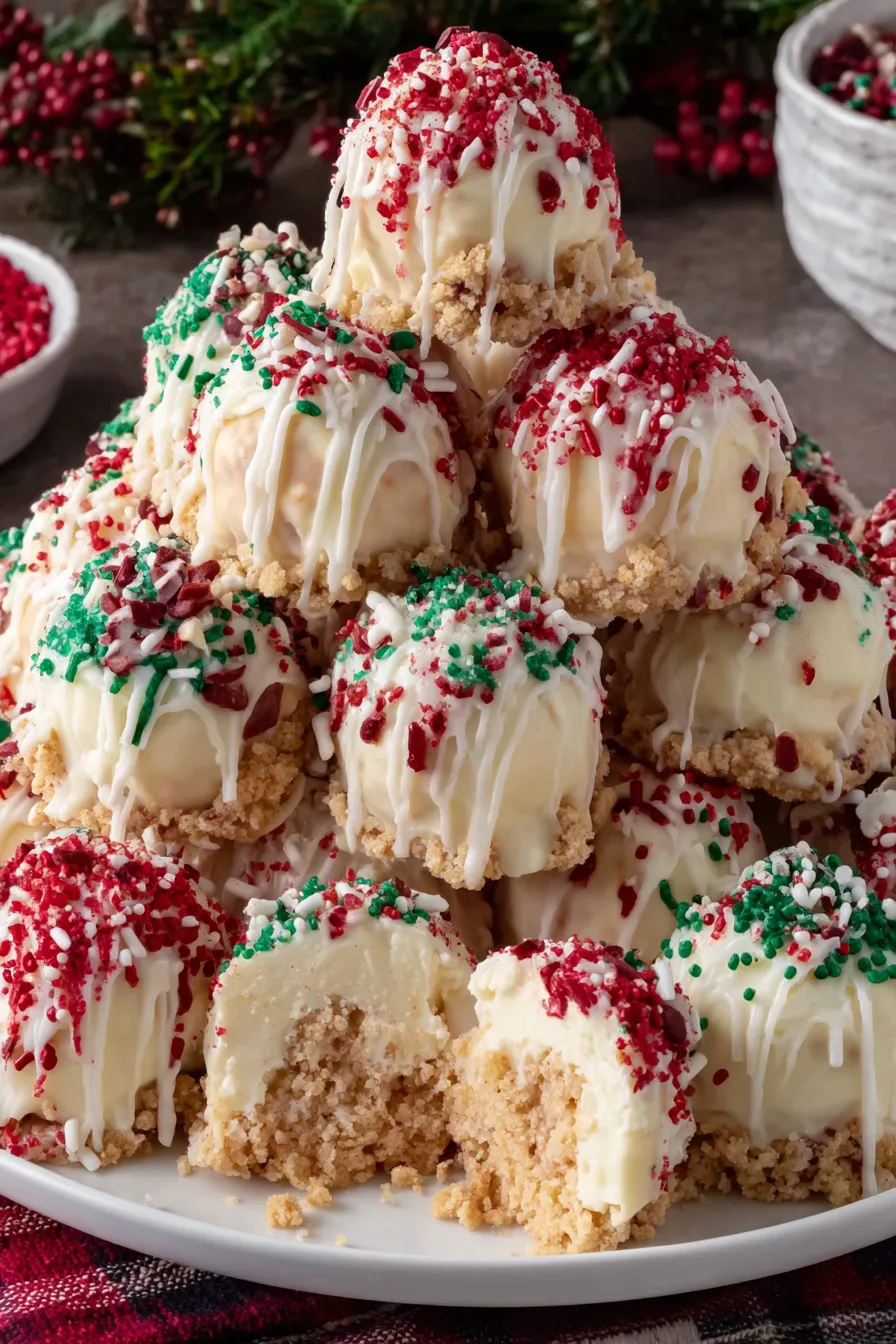
Festive, bite-sized no-bake cheesecake treats dipped in red and green candy melts and sprinkled for the holidays—perfect for parties, cookie exchanges, and make-ahead treats.
This no-bake cheesecake bites recipe is one of those cheerful, easy-to-make treats I bring out every holiday season. I first developed it when I needed a last-minute addition to a neighborhood cookie swap and wanted something that felt fancy without hours in the kitchen. The result was a creamy, slightly tangy center studded with crunchy crumbs and coated in vibrant candy melts—simple enough to assemble with kids, but pretty enough for a party platter. It quickly became a repeat request from friends and family because it satisfies that cream-cheesey, sweet craving while looking delightfully festive.
What makes these bites special is the balance of textures and the ability to customize them for any gathering. The base is whipped, lightened cream cheese with white chocolate folded in for stability and sweetness. Crushed graham crackers (or cookie crumbs) add a pleasant crunch that keeps each one from feeling too soft. They chill firm in the fridge so you can roll them into uniform 1-inch spheres and dip them in colored candy melts for a show-stopping finish. I love how quick they are—most of the time is passive chilling—and how they respond well to variations like gingerbread crumbs, peppermint chips, or a drizzle of dark chocolate for contrast.
My family always cheers when these appear on the dessert table. Once I dipped a tray in alternating red and green and my niece insisted on arranging them into a wreath—she declared them "the best holiday candy balls ever," which of course earned them a permanent spot in my holiday lineup.
I love that these feel indulgent but are surprisingly light in bite size—our guests often sample three or four without complaining! Watching family members’ eyes light up when I bring out a tray of red and green bites is a simple holiday joy for me, and I often get requests for the recipe at every holiday gathering.
Store finished bites in an airtight container layered with parchment or wax paper to prevent sticking. Refrigerate for up to 3–4 days. For longer storage, freeze them in a single layer on a tray until solid, then transfer to a freezer-safe container with parchment between layers for up to 3 months. Thaw in the fridge for a few hours before serving; you can refresh the glossy finish with a light drizzle of melted candy melts if the surface looks dull after thawing.
Swap graham crackers for crushed ginger snaps or shortbread for different flavor profiles—use a 1:1 ratio. To make them gluten-free, choose certified gluten-free graham crackers or cookies. Replace white chocolate with milk or dark chocolate for a less sweet center (melt and cool before adding). For a lighter option, use light cream cheese but expect slightly less stability—chill thoroughly before shaping.
Arrange on a tiered dessert stand or a festive platter lined with doilies. Pair with hot cocoa, mulled wine, or coffee—these bites complement warm drinks nicely. Garnish individual bites with crushed peppermint, toasted coconut, or a tiny edible gold star for an upscale look. They’re excellent as part of a cookie exchange, boxed as gifts, or served alongside larger desserts as a sampler.
Miniature cheesecake confections are a modern holiday adaptation inspired by classic cheesecake and chocolate truffles. Bite-sized versions make the rich dessert approachable during busy seasonal entertaining, bridging European cheesecakemaking traditions with American holiday candy-decorating customs. Using colored candy melts and sprinkles plays into the visual language of contemporary festive treats.
In winter, incorporate peppermint or cinnamon into the crumb mix; for spring, try pastel candy melts and lemon zest in the center. Holiday season swaps like red velvet crumbs or spiced cookie crumbs create themed variations. For New Year’s celebrations, use metallic sprinkles or edible glitter to make a celebratory platter.
Prepare the centers up to 3 days ahead and keep them chilled. Dip them the day you plan to serve for the freshest, glossiest coating. If making a large batch, assemble and freeze centers on trays, then dip frozen centers (work in small batches) to speed service. Use an ice cream scoop for consistent sizing and a cooling rack over parchment to streamline dipping and drying.
These no-bake Christmas cheesecake bites are a festive, flexible addition to any holiday table. They’re forgiving, shareable, and endlessly customizable—perfect for cooks who want a big seasonal impact with minimal fuss. I encourage you to make them your own, whether that means swapping crumbs, experimenting with coatings, or enlisting kids to help with sprinkles. Happy holidays and happy dipping!
Bring block-style cream cheese to room temperature for silky blending and to avoid lumps.
Cool melted chocolate slightly before adding to cream cheese to prevent separation.
Use a 1-inch cookie scoop for uniform sizing and quicker rolling.
Apply sprinkles while coating is still wet to ensure they adhere.
Chill centers thoroughly—this helps them hold shape during dipping.
This nourishing no-bake christmas cheesecake bites recipe is sure to be a staple in your kitchen. Enjoy every moist, high protein slice — it is perfect for breakfast or as a wholesome snack any time.
Yes—prepare the centers up to 3 days in advance, keep chilled, and dip the day of serving for best appearance.
Freeze on a tray until solid, then layer with parchment in an airtight container for up to 3 months; thaw in the refrigerator before serving.
If the candy melts thicken during melting, stir in a small amount of vegetable shortening (1/2 teaspoon at a time) until smooth.
This No-Bake Christmas Cheesecake Bites recipe makes perfectly juicy, tender, and flavorful steak every time! Serve with potatoes and a side salad for an unforgettable dinner in under 30 minutes.
Beat softened cream cheese in a large bowl until creamy, then mix in powdered sugar and vanilla extract until smooth and lump-free.
Melt white chocolate chips in 20-second intervals in a microwave-safe bowl, stirring between bursts until smooth; cool slightly before adding to the cream cheese mixture.
Stir in crushed graham crackers or cookie crumbs, then gently fold in the thawed whipped topping to retain air and a light texture.
Refrigerate the mixture for 30–40 minutes to firm. Using a 1-inch scoop, roll into balls and place on a parchment-lined baking sheet; chill if needed to firm further.
Melt red and green candy melts in separate bowls according to package instructions; thin with a little shortening if necessary for smooth dipping.
Dip each chilled ball in the colored coating, tap off excess, add sprinkles while wet, and let set on parchment. Chill briefly to speed up setting if desired.
Last Step: Please leave a rating and comment letting us know how you liked this recipe! This helps our business to thrive and continue providing free, high-quality recipes for you.
Leave a comment & rating below or tag
@paletina on social media!

Ultra-fudgy brownies packed with chocolate chunks, crowned with gooey marshmallows and glossed with warm chocolate frosting for a decadent crowd-pleaser.

Buttery shortbread crust topped with a gooey brown sugar-pecan filling. Ten minutes to prep, irresistibly crunchy edges, and perfect for make-ahead treats.

Silky, crack-free pumpkin cheesecake with warm spice, buttery graham crust, and make-ahead convenience for showstopping holiday dinners.
Leave a comment & rating below or tag @paletina on social media!
Enjoyed this recipe? Share it with friends and family, and don't forget to leave a review!
This recipe looks amazing! Can't wait to try it.
Comments are stored locally in your browser. Server comments are displayed alongside your local comments.

Join to receive our email series which contains a round-up of some of our quick and easy family favorite recipes.
