
>>

A rich, chocolate-forward cheesecake infused with espresso and set on a crisp Oreo crust—decadent, coffee-kissed, and perfect for special occasions.

This mocha cheesecake has been my celebration centerpiece for years. I first created it on a rainy afternoon when I wanted something intensely chocolatey but with a bright coffee lift to cut through the richness. The filling is glossy and dense, carrying deep chocolate flavor with a subtle, aromatic espresso note that keeps every forkful from feeling too heavy. It’s the kind of dessert that quietly announces itself at the end of a meal and then vanishes under a chorus of “one more slice.”
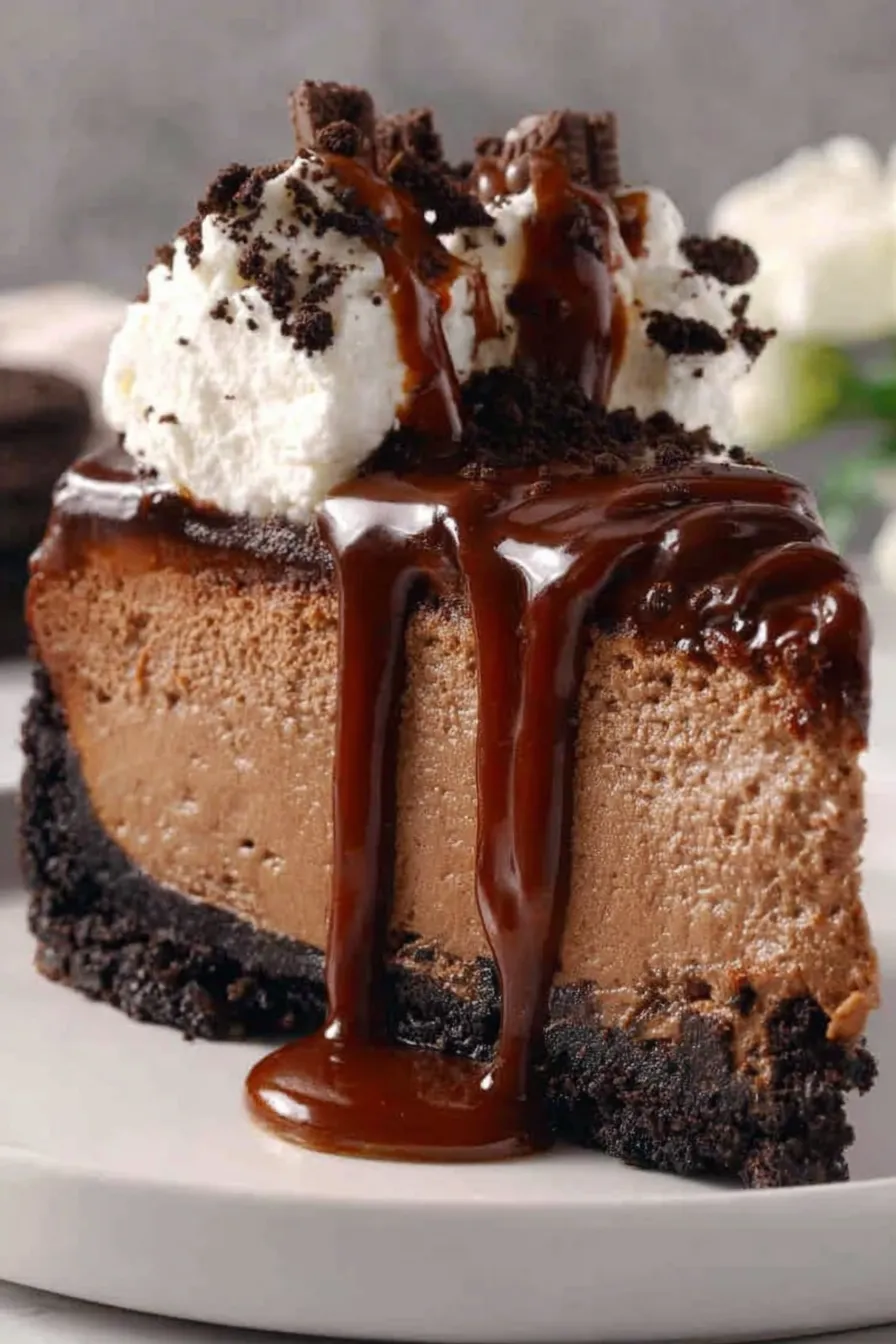
What makes this version special to me is the contrast between the crunchy Oreo crust and the velvety chocolate-espresso filling. I use Ghirardelli semisweet baking bars for a reliable cocoa backbone and instant espresso to punch up the mocha character without adding extra liquid. The technique—melting chocolate into warm cream and coffee, beating room-temperature cream cheese gently, and slowly incorporating eggs—was honed over several batches to minimize air and prevent cracks. This results in a smooth surface and a dense, truffle-like slice that feels both celebratory and utterly comforting.
My family’s reaction the first time I brought this to a holiday dinner was memorable—my niece asked for the recipe before dessert was even finished, and my father, normally a plain-batter man, complimented the balance of sweet and bitter. Over time I’ve refined the baking and cooling steps to prevent cracking and to ensure a glossy finish that looks as good as it tastes.
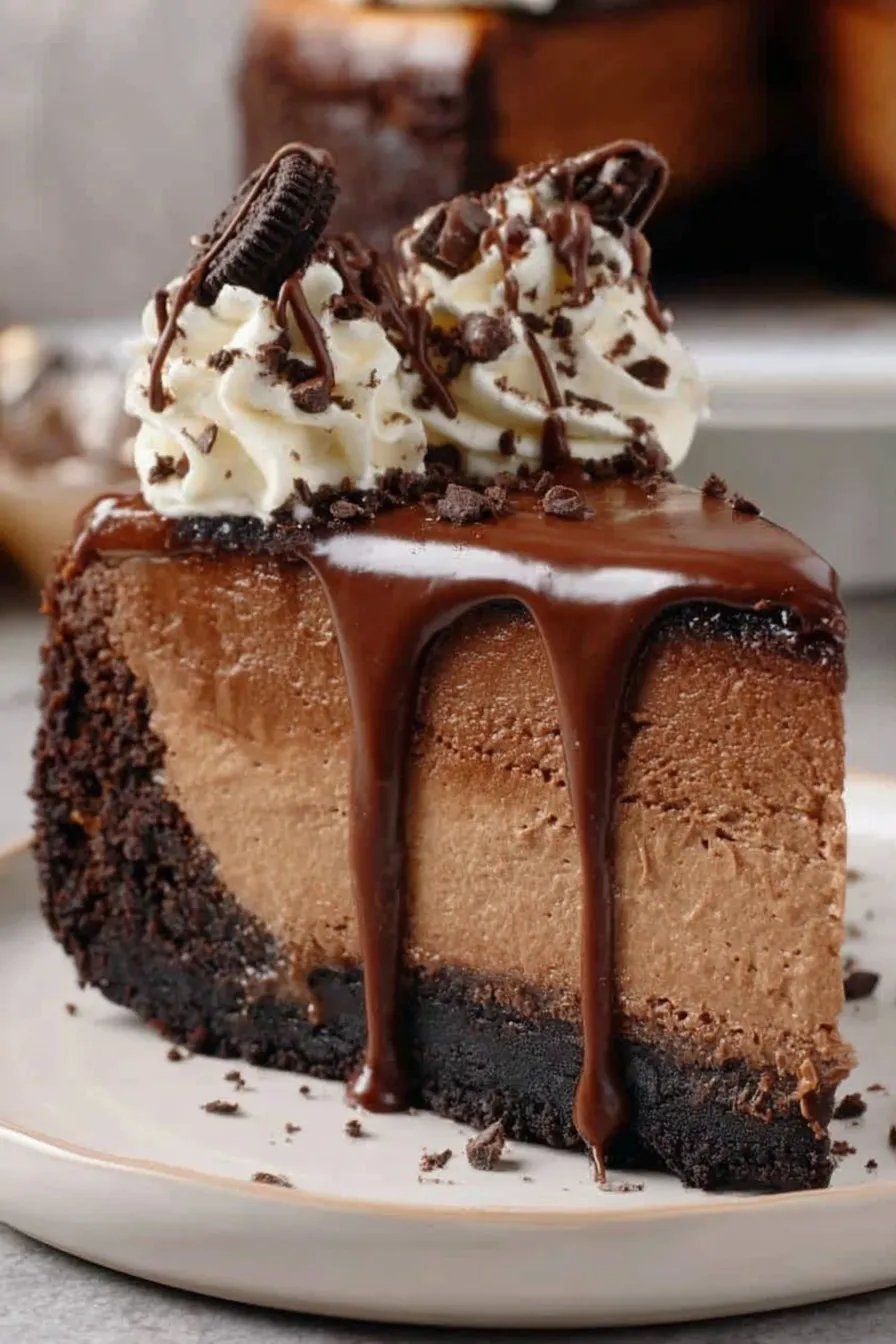
My favorite part is the moment the cheesecake is sliced after an overnight chill—the clean edges and dense, glossy cross-section always draw appreciative “oohs.” On a cold evening, pairing a small wedge with a shot of espresso or a dollop of lightly sweetened whipped cream elevates the experience.
Keep the cheesecake well wrapped in the refrigerator for up to 4 days. For longer storage, freeze slices individually on a baking sheet for 1 hour, then transfer to an airtight container with parchment between layers; frozen slices will keep for up to 3 months. To serve from frozen, move slices into the refrigerator to thaw overnight or for at least 6–8 hours. Avoid reheating—warm temperatures will change the texture; instead, allow slices to reach slightly below refrigerator temperature for optimal creaminess.
If you prefer a less sweet crust, reduce the amount of Oreo filling by scraping some of the cream centers out before processing, or substitute chocolate graham crackers for a lighter cocoa flavor. Swap sour cream for full-fat Greek yogurt at a 1:1 ratio for slightly tangier notes. For a darker, more bitter profile, use bittersweet chocolate instead of semisweet and reduce sugar by 1 to 2 tablespoons. For a nut-free option, ensure your cookie choice has no cross-contamination warnings.
Serve each slice with a light dusting of cocoa powder, a quenelle of unsweetened whipped cream, or a drizzle of salted caramel. Fresh raspberries or a citrus-scented mascarpone are excellent counterpoints to the chocolate-espresso richness. For an adult twist, a few drops of coffee liqueur in the whipped cream bring a boozy lift. This cheesecake pairs beautifully with a cup of espresso or a rich dessert wine.
Cheesecake itself has ancient roots dating back to Greek and Roman times, but the modern American-style baked version with a cookie crust evolved in the 20th century. The mocha flavor—chocolate combined with coffee—draws on Italian espresso traditions and mid-century chocolate confectionery. Combining Oreos as a crust is a classic American adaptation, providing convenience and a familiar chocolate flavor that complements the dense, creamy filling.
In winter, top the cake with a hot chocolate sauce and toasted hazelnuts for a cozy holiday feel. In summer, serve chilled with a bright raspberry coulis to cut through the richness. For autumn, fold a tablespoon of pumpkin spice into the crust or finish slices with a sprinkle of ground cinnamon for a warming note.
Assemble the cake a day ahead to let the flavors meld and the texture set for perfect slices. If you’re prepping for a party, bake the crust and make the filling separately the morning of assembly; the crust can be baked and cooled up to 48 hours in advance. Transport the chilled cake in a sturdy box with cold packs for safe travel and spotless presentation.
Making this mocha cheesecake is a comforting ritual: melt, mix, bake, and patient chilling. Each step rewards a bit of care with slices that look bakery-made and taste like a thoughtful indulgence. Don’t rush the cool-down—this is the secret to a crack-free, silky finish.
Use room-temperature cream cheese and eggs to prevent lumps and curdling when mixing.
Warm the chocolate mixture before adding to prevent bringing the batter temperature down too quickly.
Add eggs one at a time on low speed to keep air out of the batter and reduce cracking.
This nourishing mocha cheesecake recipe is sure to be a staple in your kitchen. Enjoy every moist, high protein slice — it is perfect for breakfast or as a wholesome snack any time.
Yes. After baking, cool in the oven with the door cracked for about 1 hour, then chill in the refrigerator at least 4 hours or overnight to fully set.
To prevent cracking, avoid overbeating the batter and cool the cheesecake slowly by leaving it in the turned-off oven with the door ajar before refrigerating.
This Mocha Cheesecake recipe makes perfectly juicy, tender, and flavorful steak every time! Serve with potatoes and a side salad for an unforgettable dinner in under 30 minutes.
Preheat oven to 350°F. Line a 9-inch springform pan with parchment and grease the sides. Combine Oreo crumbs and melted butter until the mixture holds when pressed. Press into the pan to form a 1/4-inch-thick crust and bake 5 minutes. Cool while preparing filling.
Heat heavy cream and brewed coffee until steaming. Remove from heat, add chopped semisweet chocolate, and whisk until smooth. Stir in instant espresso powder and cool to lukewarm before adding to cream cheese to avoid curdling.
Beat room-temperature cream cheese on medium until light and fluffy (2–3 minutes). Add sugar and sour cream and mix until combined, scraping the bowl frequently for a smooth base.
Mix in vanilla and sifted cocoa powder. With the mixer on low, slowly add the chocolate-coffee mixture until evenly incorporated and the batter is uniform in color.
On low speed, add eggs one at a time, blending fully after each addition. Avoid overbeating to prevent excess air and reduce risk of cracks during baking.
Pour batter into the cooled crust and bake 55–60 minutes at 350°F, until the edges are set and the center barely jiggles. Turn off oven, crack the door, and cool inside for 1 hour to minimize cracking. Chill in refrigerator at least 4 hours or overnight.
Run a knife around the edge before releasing the springform, slice with a hot, dry knife for clean cuts, and serve with whipped cream or a drizzle of caramel if desired.
Last Step: Please leave a rating and comment letting us know how you liked this recipe! This helps our business to thrive and continue providing free, high-quality recipes for you.
Leave a comment & rating below or tag
@paletina on social media!

Ultra-fudgy brownies packed with chocolate chunks, crowned with gooey marshmallows and glossed with warm chocolate frosting for a decadent crowd-pleaser.

Buttery shortbread crust topped with a gooey brown sugar-pecan filling. Ten minutes to prep, irresistibly crunchy edges, and perfect for make-ahead treats.

Silky, crack-free pumpkin cheesecake with warm spice, buttery graham crust, and make-ahead convenience for showstopping holiday dinners.
Leave a comment & rating below or tag @paletina on social media!
Enjoyed this recipe? Share it with friends and family, and don't forget to leave a review!
This recipe looks amazing! Can't wait to try it.
Comments are stored locally in your browser. Server comments are displayed alongside your local comments.

Join to receive our email series which contains a round-up of some of our quick and easy family favorite recipes.
