
>>

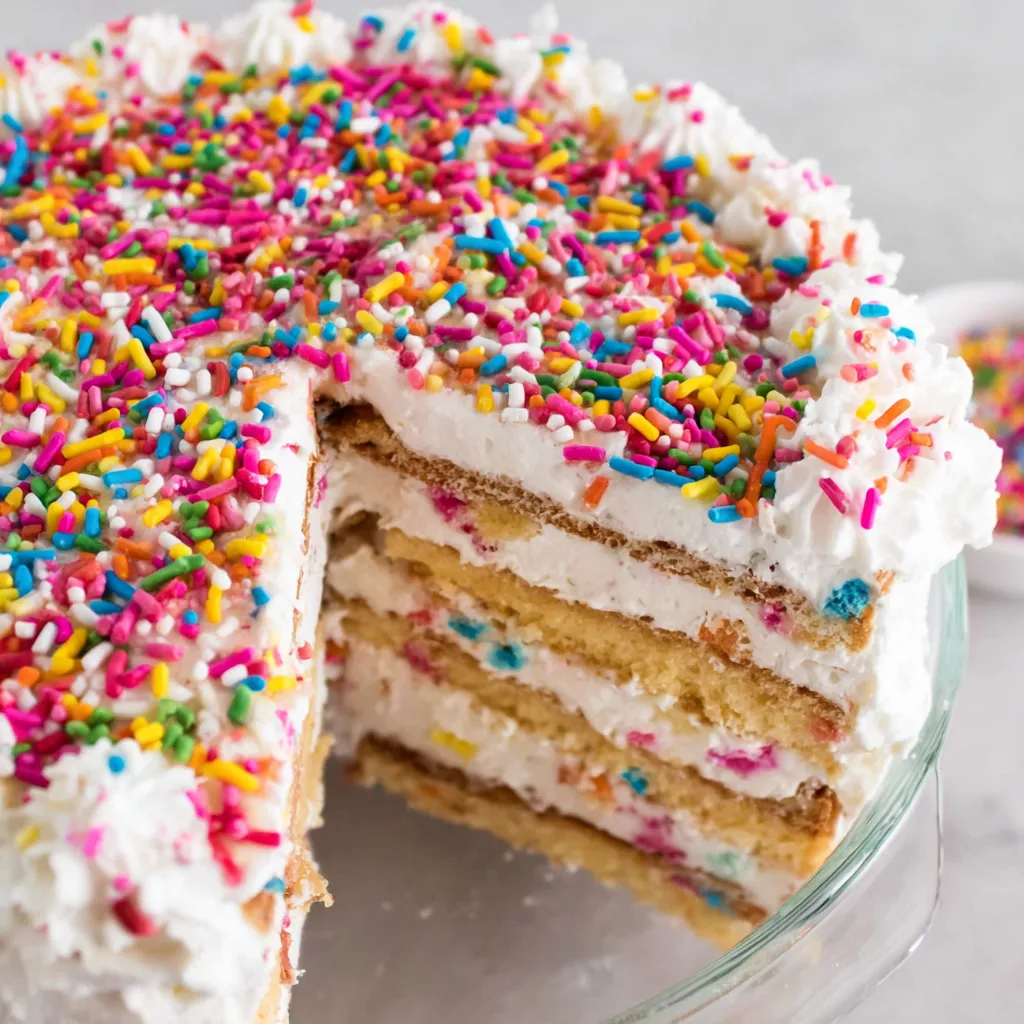
A playful no-bake layer cake of cream cheese pudding, crisp shortbread, and rainbow sprinkles — perfect for parties and easy make-ahead celebrations.
This Funfetti icebox cake began as a playful experiment for a birthday when I wanted something festive that didn’t require turning on the oven. I discovered the combination of whipped cream, cream cheese and instant vanilla pudding during a summer potluck when refrigeration was the only reliable kitchen appliance available. The result was so colorful and addictive that it immediately became my go-to for last-minute celebrations and kid-friendly gatherings. The contrast between the creamy, slightly tangy filling and the tender, shortbread cookie layers gives the cake structure without baking, and the sprinkles add a nostalgic crunch and visual delight.
I still remember the first time I served it: the guests were skeptical of the idea of a refrigerator cake, but after the first slice they were asking for the recipe. The texture is light yet substantial — the softened cream cheese lends a slight tang and body, the whipped topping keeps the filling airy, and the vanilla instant pudding brings stability so the layers slice cleanly. Because this is a chilled dessert, assembly and chilling do the heavy lifting; patience in the fridge rewards you with a show-stopping, sliceable dessert that looks like a celebration in every forkful.
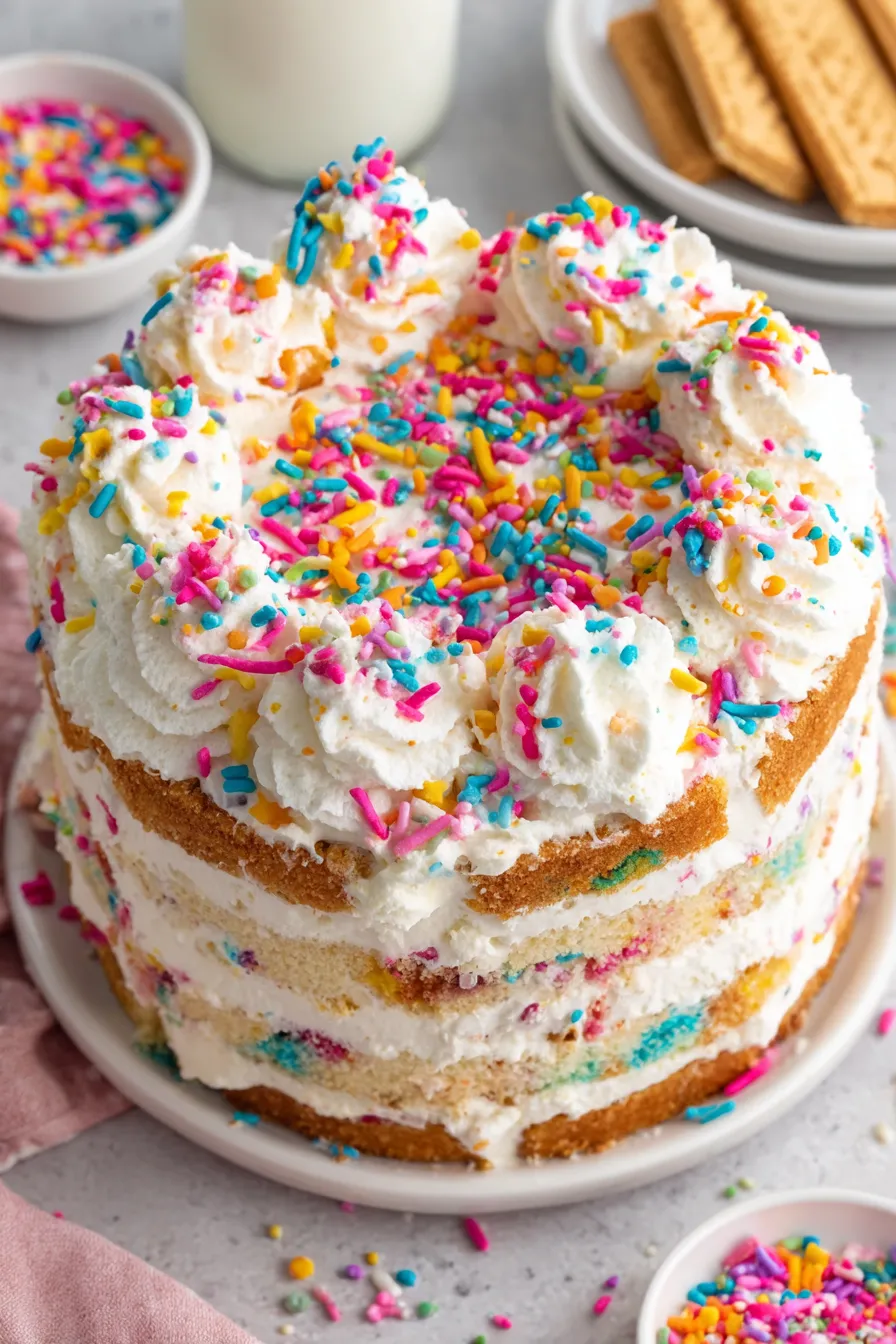
I often double this for larger gatherings and have learned a few assembly tricks: spread a thin layer of the filling first so the cookies don’t slide, press cookies gently to get an even base, and reserve sprinkles to decorate the top just before serving. Family members always ask for seconds, and I love that the cake can be adapted easily with different cookie bases or extract swaps for a new flavor profile.
My favorite part of this dessert is the way each forkful balances celebration and comfort: the buttery shortbread giving structure, the sweet vanilla filling keeping it light, and the confetti sprinkles delivering the nostalgic crunch. Family members often request this for birthdays because it looks elevated yet takes minimal effort — a true win when you want something memorable without baking stress.
Store the cake covered with a loose layer of plastic wrap or in an airtight cake carrier in the refrigerator. For best texture, consume within 2–3 days; beyond that the cookies will become very soft and the filling may start to weep. If you need to freeze, wrap the outside of the springform pan in plastic and store for up to 3 months. Thaw overnight in the refrigerator before removing the ring and decorating. When reheating slices, avoid microwaves — warm cream will lose structure; instead let slices sit at room temperature for 15–20 minutes for a softer mouthfeel.
To make this dairy-free, substitute vegan cream cheese and a stabilized dairy-free whipped topping; use a vegan instant vanilla pudding if available. For a gluten-free version, swap in gluten-free shortbread-style cookies — taste and texture will be similar though some gluten-free cookies absorb moisture differently, so monitor chill time. If you prefer a lighter filling, use 2% milk and a reduced-fat cream cheese, but expect slightly less richness and firmer set. Flavor variations like almond extract (use 1/2 teaspoon) or lemon zest can brighten the filling; adjust vanilla accordingly.
Serve chilled on a cake stand with a clean, sharp knife wiped between each slice for tidy portions. Garnish with a dollop of whipped cream and a sprinkle of confetti for a party-ready presentation. Pair slices with fresh berries or a simple berry compote to cut the sweetness, or offer small glasses of cold coffee or milk for kids. For a festive buffet, pre-slice and place on a platter — the chilled slices hold up well and look beautiful arranged with extra sprinkles around the edge.
The icebox cake traces back to early 20th-century American kitchens where refrigeration replaced iceboxes, enabling no-bake layered desserts built with cookies and cream fillings. This modern funfetti variation channels American celebratory baking culture — combining instant pudding convenience and confetti sprinkles popularized in mid-century home baking. The concept of softening cookies into cake-like layers is a cross-cultural idea found in chilled layered desserts worldwide, but this version is distinctly playful and rooted in convenience and nostalgia.
Adapt the colors and flavors to the season: use pastel sprinkles and lemon pudding for spring celebrations, red and green sprinkles with peppermint extract for winter holidays, or orange and chocolate chips for autumn gatherings. Swap shortbread for ginger snaps in cooler months for warm spice notes. For summer pool parties, lighten the filling with a bit of lemon zest and serve smaller individual portions in mason jars for easy, portable desserts.
Make the filling up to 24 hours ahead and keep it refrigerated. Assemble the cake on the day you plan to serve for the freshest texture, or assemble and refrigerate overnight for convenience. For larger events, prepare two cakes and freeze one; thaw in the refrigerator the day before serving. Use a springform pan lined with parchment for easy removal and cleaner presentation; if transporting, place the cake in a shallow cooler with ice packs to maintain chill.
Whether you’re celebrating a birthday, hosting a casual brunch, or need a fast but festive dessert, this funfetti icebox cake delivers big on flavor and visual appeal with minimal effort. Make it your own with flavor swaps or cookie choices, and enjoy the smiles it brings to the table.
Do not overmix after folding in the whipped topping to maintain a light, airy filling.
For clean slices, freeze for 4 hours and let sit 10 minutes at room temperature before cutting.
Reserve sprinkles for the top to prevent the filling from turning uniformly colored.
Line the springform pan with parchment to make removal and cleanup much easier.
This nourishing funfetti icebox cake recipe is sure to be a staple in your kitchen. Enjoy every moist, high protein slice — it is perfect for breakfast or as a wholesome snack any time.
This Funfetti Icebox Cake recipe makes perfectly juicy, tender, and flavorful steak every time! Serve with potatoes and a side salad for an unforgettable dinner in under 30 minutes.
In a large bowl use a hand mixer to beat 8 oz softened cream cheese until light and smooth, about 2 minutes.
Add two 3.4 oz boxes of instant vanilla pudding mix and 2 teaspoons vanilla extract; mix until uniform in consistency.
Slowly add 2 cups milk while mixing on low to reduce lumps, continuing until the mixture is silky and slightly thickened.
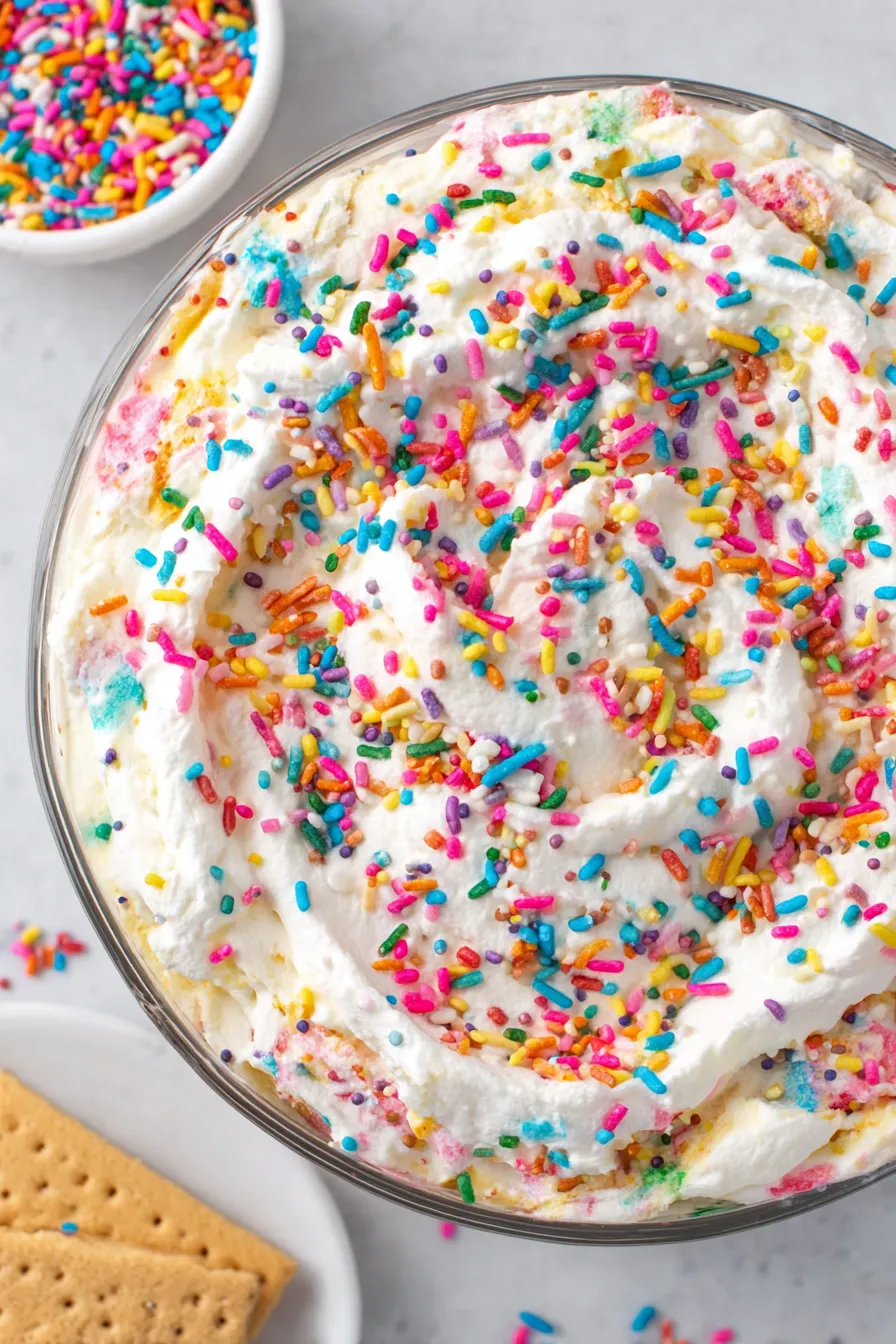
Gently fold 8 oz Cool Whip into the pudding mixture with a rubber spatula, preserving as much air as possible.
Fold in 9–10 oz sprinkles, reserving some for the top; fold lightly to avoid color bleeding and overmixing.
Line an 8-inch springform pan with parchment. Spread 1/2 cup filling on the bottom, layer cookies, pour 1/3 of filling, and repeat layers ending with filling and reserved sprinkles.
Freeze 4 hours for firm slices or refrigerate overnight. Remove the ring, garnish with whipped cream and sprinkles, and serve.
Last Step: Please leave a rating and comment letting us know how you liked this recipe! This helps our business to thrive and continue providing free, high-quality recipes for you.
Leave a comment & rating below or tag
@paletina on social media!

Ultra-fudgy brownies packed with chocolate chunks, crowned with gooey marshmallows and glossed with warm chocolate frosting for a decadent crowd-pleaser.

Buttery shortbread crust topped with a gooey brown sugar-pecan filling. Ten minutes to prep, irresistibly crunchy edges, and perfect for make-ahead treats.

Silky, crack-free pumpkin cheesecake with warm spice, buttery graham crust, and make-ahead convenience for showstopping holiday dinners.
Leave a comment & rating below or tag @paletina on social media!
Enjoyed this recipe? Share it with friends and family, and don't forget to leave a review!
This recipe looks amazing! Can't wait to try it.
Comments are stored locally in your browser. Server comments are displayed alongside your local comments.

Join to receive our email series which contains a round-up of some of our quick and easy family favorite recipes.
