
>>

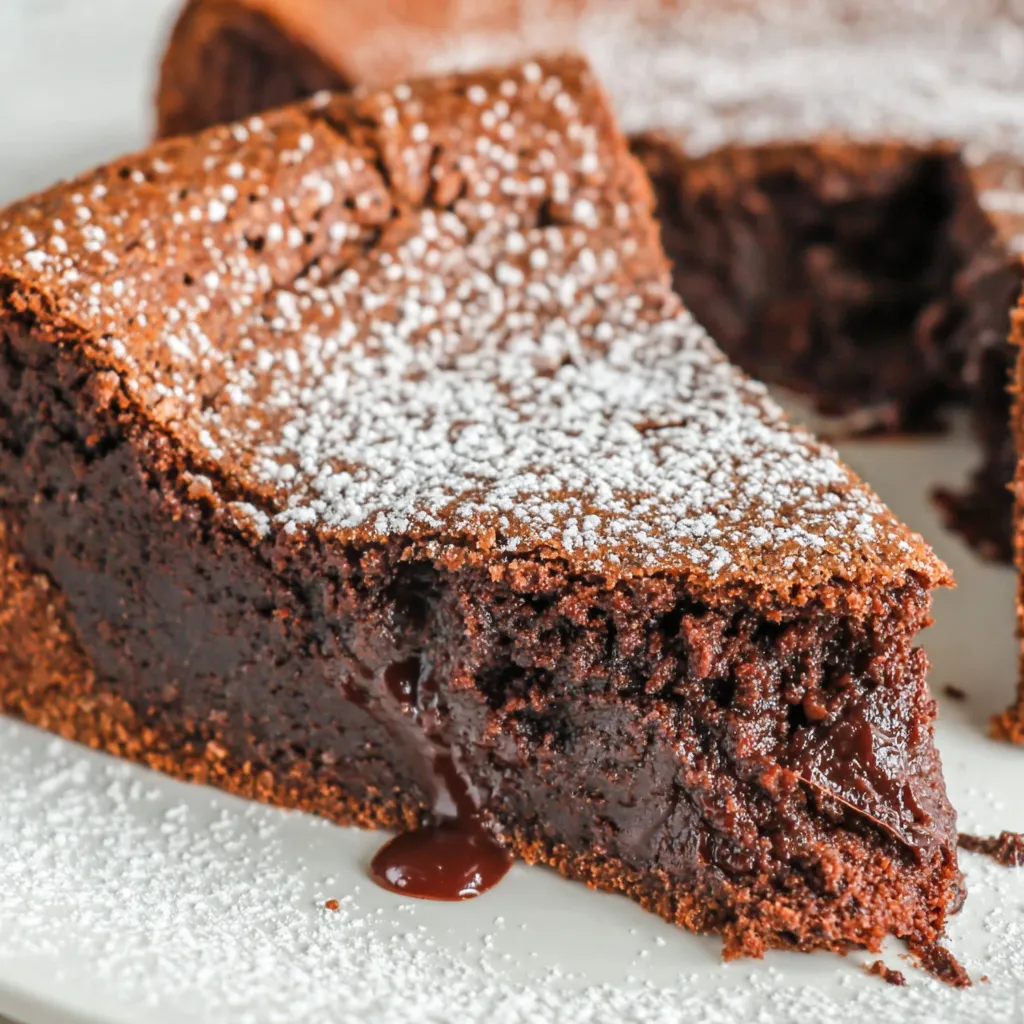
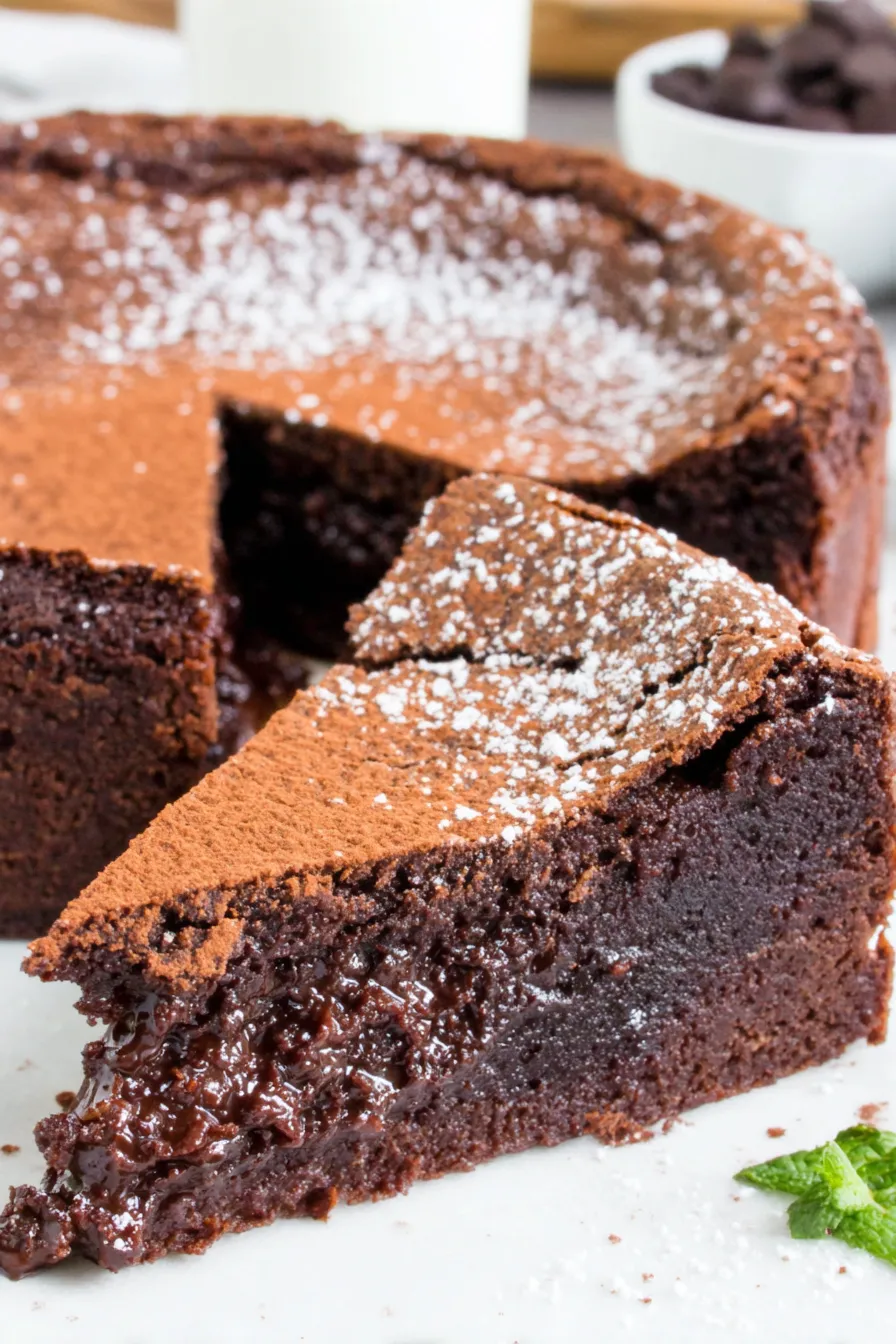
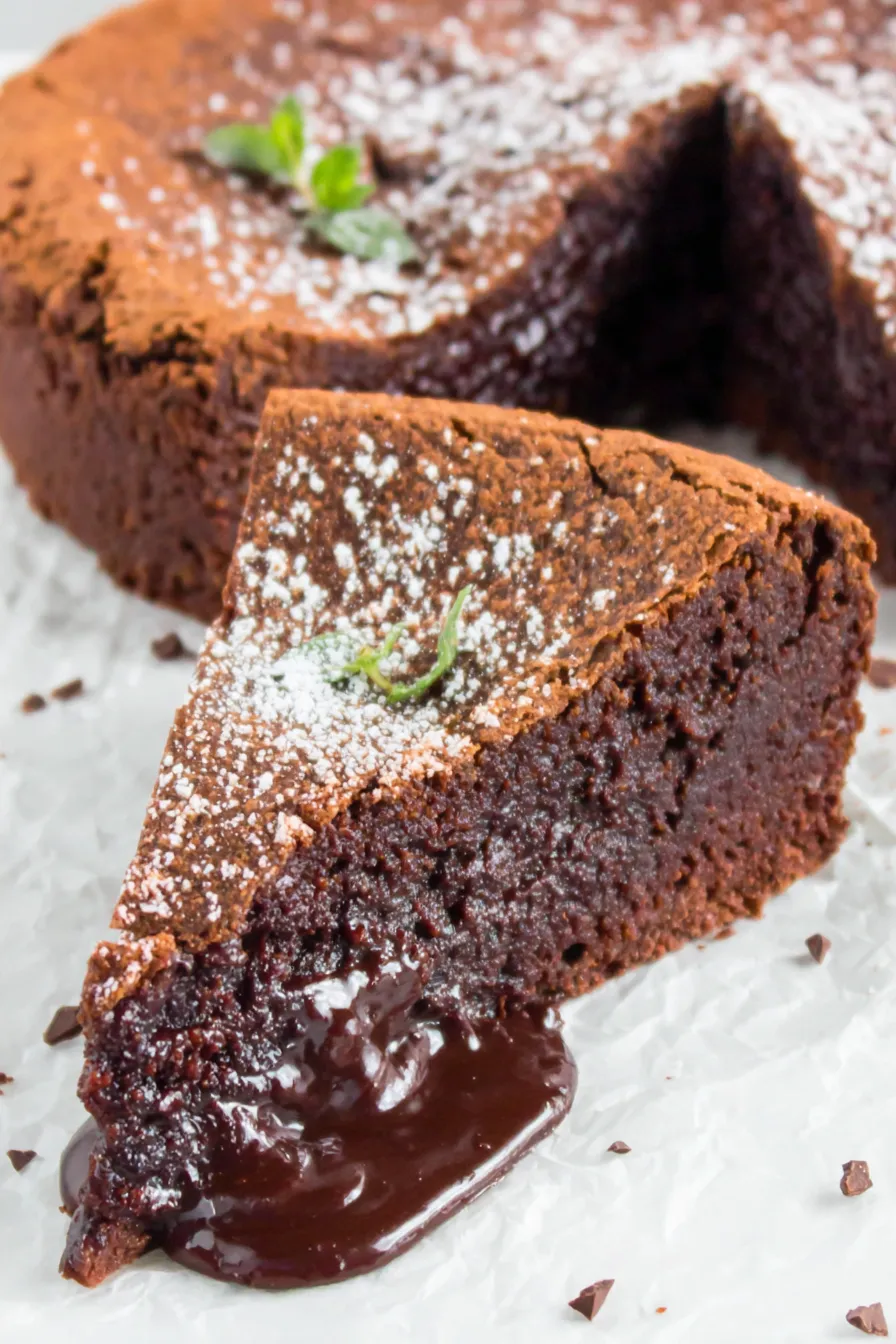
An intensely chocolatey, fudgy 9-inch cake that’s naturally gluten free and irresistibly rich — perfect for special occasions or a cozy dessert night.
On multiple occasions this has been the dessert that wins over skeptics of rich chocolate. Family members who usually prefer lighter sweets have gone back for slices, and guests often ask for the recipe. It’s reliably impressive yet forgiving — a rare combination.
My favorite part is how adaptable the finish is. I often serve this with a dusting of cocoa powder and a spoonful of softly whipped cream, but during winter holidays I’ll drizzle a salted caramel or top with candied orange zest. Guests always remark on the cake’s luxurious mouthfeel — it’s a dessert that makes a simple celebration feel elevated and deliberate.
Store the cake in an airtight container or covered with plastic wrap. At room temperature it keeps well for a day; beyond that refrigerate to maintain quality. When refrigerating, cover tightly to prevent drying — a cake box or cake dome works well. For longer storage, wrap individual slices in plastic wrap and place in a freezer-safe bag; thaw in the refrigerator overnight before serving and bring to room temperature for the best texture. Reheat briefly in a warm oven to revive the fudgy center if desired.
If you don’t have bittersweet chocolate, use a mix of semisweet and a small amount of unsweetened chocolate to reach a similar cacao percentage. For dairy-free options, substitute a vegan butter and choose a dairy-free dark chocolate, but note that texture and flavor will change slightly. Swap natural cocoa for Dutch-processed for a darker color and mellower acidity — if you do, omit any baking soda-based adjustments since this is a no-leavening recipe. For a less-sweet result, reduce sugar by 2 to 3 tablespoons, remembering that sweetness interacts with bitterness in dark chocolates.
Serve slices with a dollop of lightly sweetened whipped cream, a scoop of vanilla bean ice cream, or a scattering of fresh raspberries to cut through the richness. For an elegant touch, finish with a few flakes of Maldon sea salt or a drizzle of warm ganache. Pair with a fortified wine like tawny port, espresso, or a rich stout for complementary flavor matches. For kids’ parties, top with a bright berry compote to add color and brightness.
Flourless chocolate cakes have roots in European torte traditions where ground nuts or simply eggs and chocolate create dense confections. Variants appear in Italian and French patisserie, often celebrated for intense chocolate concentration and minimal ingredients. This style celebrates chocolate as the star rather than relying on flour or heavy leavening agents, producing a dessert reminiscent of classic gateau au chocolat or tarta de chocolate without flour.
In winter, fold a tablespoon of orange liqueur or a teaspoon of orange zest into the batter for a festive note; in summer, top with macerated strawberries and a mint leaf for freshness. For autumn, add a pinch of ground cinnamon or espresso powder to amplify warm flavors. A holiday version with a salted caramel drizzle and toasted hazelnuts adds crunch and sophistication.
Prepare the components in advance: melt the chocolate-butter mixture and separate eggs a few hours before baking, storing each covered in the refrigerator. Whip egg whites just before folding to retain volume. Bake the cake the day before an event and store chilled; bring to room temperature before serving or warm slightly for that just-out-of-the-oven effect. Slice neatly with a warm knife wiped between cuts for clean portions.
Ultimately, this cake is a celebration of chocolate in its purest form — deceptively simple, reliably impressive, and endlessly adaptable. Make it your own by experimenting with finishing touches and enjoy sharing it with friends and family.
Use room-temperature eggs for better volume when whipping whites; cold eggs reduce meringue stability.
Chop chocolate into small, uniform pieces so it melts evenly when combining with butter.
Fold the egg whites gently and stop as soon as streaks disappear to preserve air and lightness.
If the cake is still very jiggly after 40 minutes, tent loosely with foil and bake an additional 3–5 minutes rather than increasing temperature.
This nourishing flourless chocolate fudge cake recipe is sure to be a staple in your kitchen. Enjoy every moist, high protein slice — it is perfect for breakfast or as a wholesome snack any time.
This Flourless Chocolate Fudge Cake recipe makes perfectly juicy, tender, and flavorful steak every time! Serve with potatoes and a side salad for an unforgettable dinner in under 30 minutes.
Preheat oven to 350°F. Grease a 9-inch springform pan with butter and dust with cocoa powder or line the bottom with parchment to ensure easy release.
Combine chopped bittersweet chocolate and butter in a small saucepan over low-medium heat or use a double boiler. Stir until glossy and smooth, then remove from heat and let cool slightly.
Separate 4 of the eggs, placing whites and yolks in separate bowls. Add the 2 remaining whole eggs to the yolk bowl, whisk in vanilla, cocoa powder, salt, and 1/2 cup sugar. Slowly whisk in the cooled chocolate mixture.
Beat the reserved egg whites on medium-high until foamy. Gradually add the remaining 1/2 cup sugar and continue beating until firm, glossy peaks form.
Fold one-third of the whipped whites into the chocolate base to lighten, then fold in remaining whites gently. Pour into prepared pan and bake 35–40 minutes until the top is slightly cracked and center no longer moves.
Cool the cake completely in the pan on a rack before releasing the springform. Dust with cocoa or confectioners' sugar, or serve with whipped cream and berries.
Last Step: Please leave a rating and comment letting us know how you liked this recipe! This helps our business to thrive and continue providing free, high-quality recipes for you.
Leave a comment & rating below or tag
@paletina on social media!

Ultra-fudgy brownies packed with chocolate chunks, crowned with gooey marshmallows and glossed with warm chocolate frosting for a decadent crowd-pleaser.

Buttery shortbread crust topped with a gooey brown sugar-pecan filling. Ten minutes to prep, irresistibly crunchy edges, and perfect for make-ahead treats.

Silky, crack-free pumpkin cheesecake with warm spice, buttery graham crust, and make-ahead convenience for showstopping holiday dinners.
Leave a comment & rating below or tag @paletina on social media!
Enjoyed this recipe? Share it with friends and family, and don't forget to leave a review!
This recipe looks amazing! Can't wait to try it.
Comments are stored locally in your browser. Server comments are displayed alongside your local comments.

Join to receive our email series which contains a round-up of some of our quick and easy family favorite recipes.
