
>>

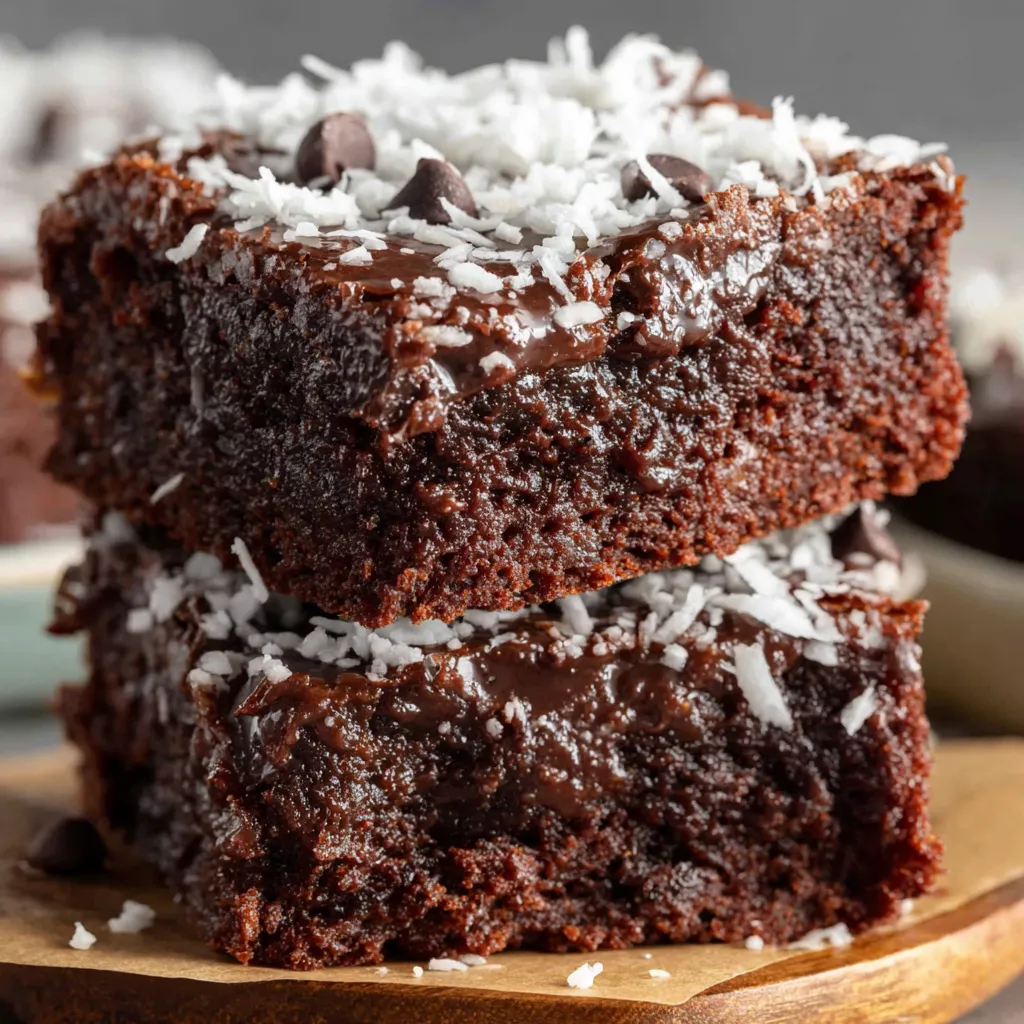
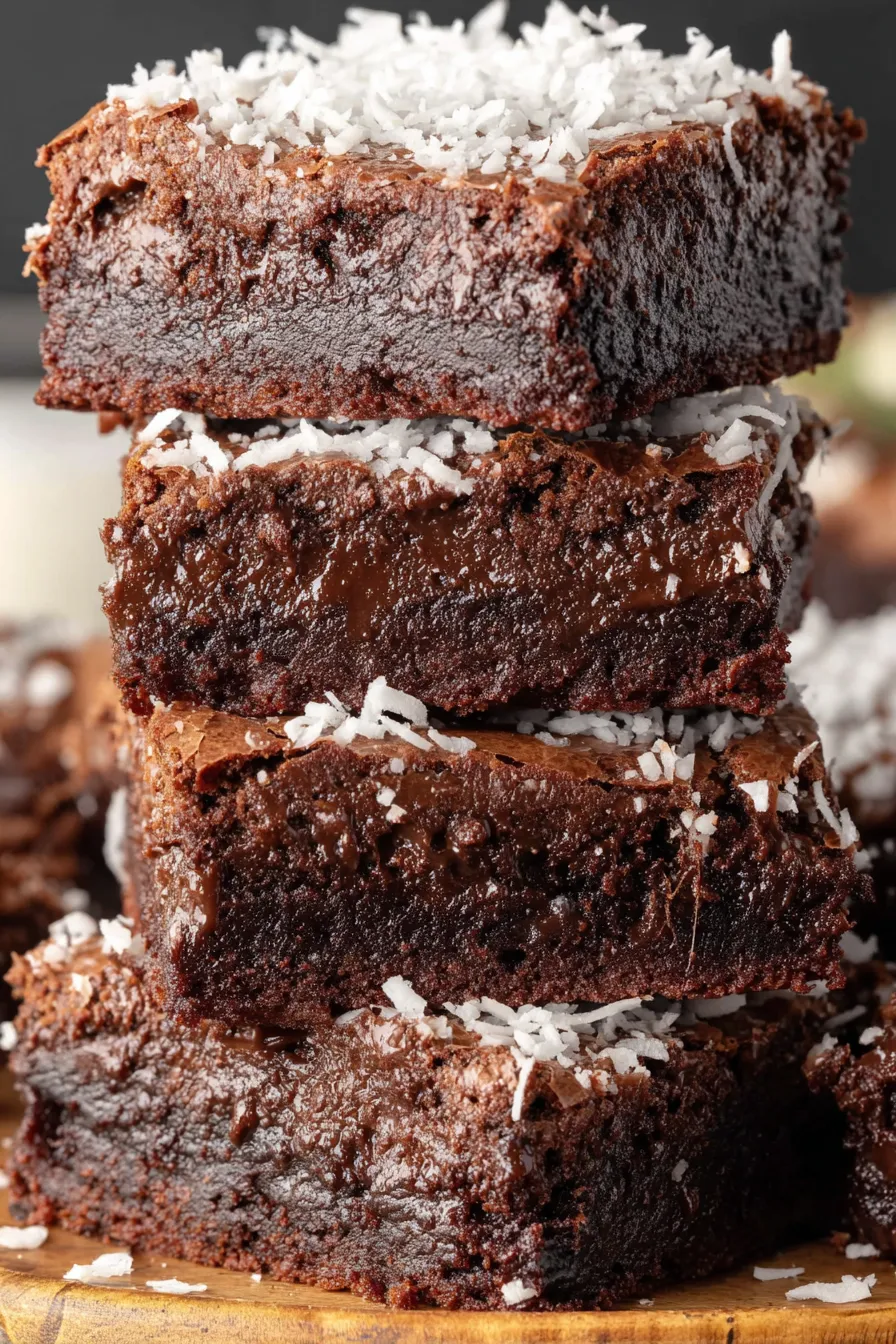
Fudgy chocolate layers sandwich a rich sweet coconut filling for decadent, nostalgic squares that are perfect for sharing.
This coconut brownies recipe is one of those comfort-filled treats that feels like a hug in edible form. I first made these on a rainy weekend when I had a craving for something chocolatey and something tropical at the same time. The idea of a glossy brownie layer above and below a luxurious coconut filling sounded irresistible. The first bite was an immediate keeper: the slightly crisp top, dense fudgy middle, and a chewy, sweet coconut ribbon all worked together in delicious contrast. Since then these squares have become my go to for potlucks, birthday trays, and whenever I want a dessert that feels both nostalgic and a little bit grown up.
What makes this version special is the balance of textures and the simple pantry friendly ingredients. I use melted salted butter for a rich mouthfeel and a touch of salt to highlight the cocoa. Mini semi sweet chocolate chips scattered through the batter create little pockets of melted chocolate. The coconut layer is built from sweetened flakes bound with sweetened condensed milk and a splash of vanilla so that it holds together when sliced and keeps a chewy, almost caramel like bite. After cooling fully and slicing into 16 neat squares these brownies travel well and have consistently earned second helpings from friends and family.
Personally these squares remind me of a summer picnic where my aunt brought a tin of something similar and everyone argued over the last piece. Since I perfected this approach I bring a pan to family gatherings and there is always a line for seconds. The ease and dependability have made this my fallback when I need to impress without fuss.
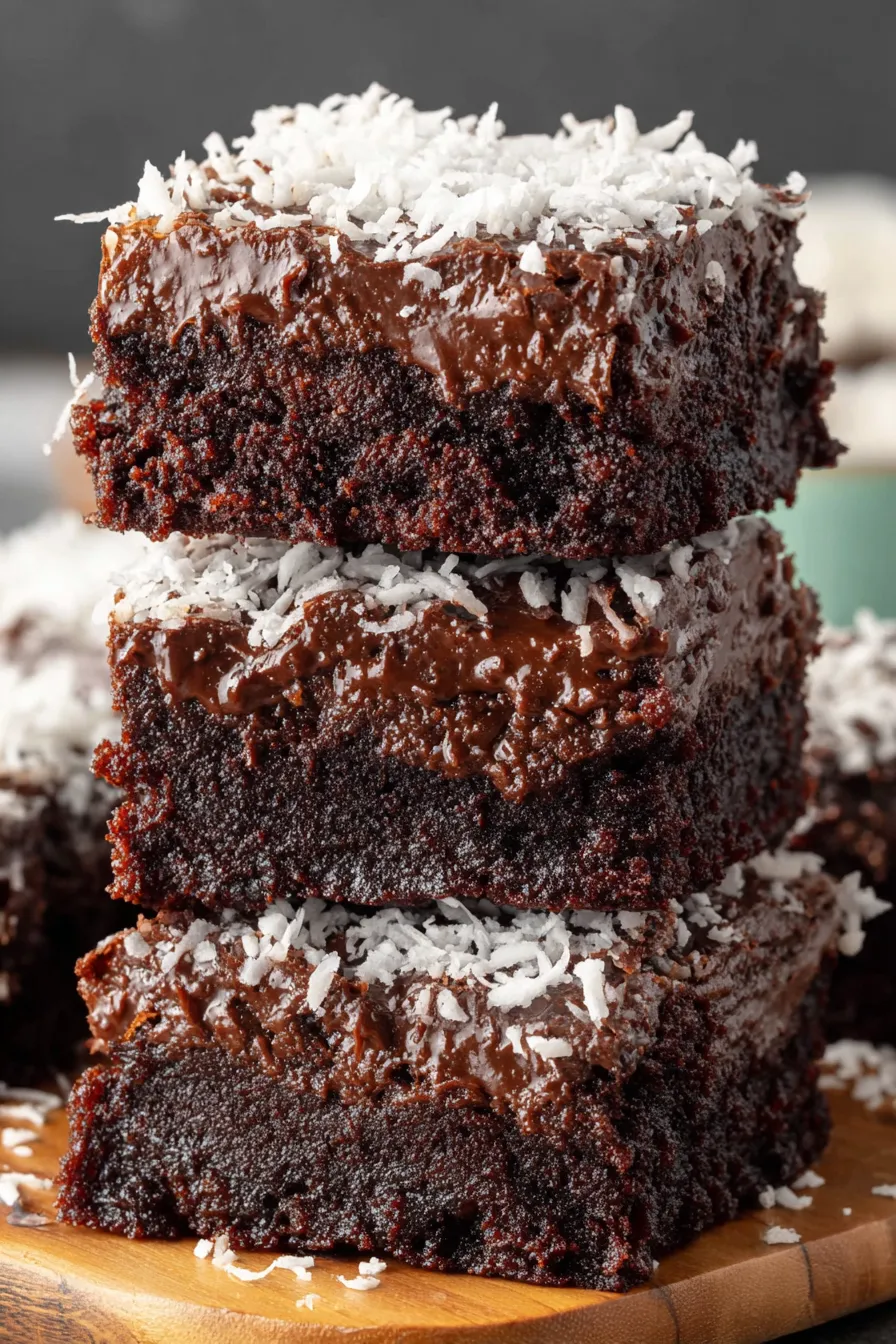
One of my favorite aspects is how reliably the layers stay distinct when fully cooled. On more than one occasion I underbaked slightly and the coconut helped the bars hold together while still delivering a fudge like bite. Family reactions range from surprised delight to instant requests for the recipe which is always a good sign at the dessert table.
Store completely cooled squares in a single layer in an airtight container at room temperature for up to two days. For longer storage refrigerate up to five days placing parchment between layers to prevent sticking. For freezing, wrap individual squares in plastic wrap then place in a resealable freezer bag. Thaw at room temperature for 30 to 60 minutes or warm gently in a microwave for 8 to 10 seconds if you like them slightly warmed. Good containers are shallow lidded plastic or metal tins lined with parchment which protect the edges from drying.
If you prefer unsweetened coconut use reduced sweeteners elsewhere such as 1/3 cup less sugar or a touch less condensed milk. To make dairy free swap butter for a plant based stick butter and use a dairy free sweetened condensed milk alternative; texture will be similar but flavor slightly different. For a gluten free version use a 1 to 1 gluten free flour blend and ensure chocolate chips are gluten free. To increase coconut presence fold in 1/4 cup extra flakes but note the filling will be firmer and chewier.
Serve these squares at room temperature with a dusting of cocoa or a small dollop of lightly sweetened whipped cream. They pair nicely with bright coffee like a medium roast or an iced latte to cut the sweetness. For a celebration plate add fresh berries and a sprinkle of toasted coconut for contrast. Cut into smaller 1 x 1 inch bite sized pieces for cocktail parties or pack as treats for school lunches in a small paper cup.
Chocolate and coconut pairings appear in many baking traditions where colonial trade introduced tropical ingredients to European chocolate culture. The layering idea echoes classic bars that combine a sturdy base with a sweet binding layer, similar in spirit to other widely loved confections. The use of sweetened condensed milk as a binder is common in many global sweets because it provides both sugar and moisture without extra cooking. This recipe updates those traditions into a simple tray bake format suited to modern home kitchens.
For summer bring brightness to the tray by adding lime zest into the coconut filling and serving slightly chilled. In winter stir a pinch of cinnamon or cayenne into the batter for warmth. Around holidays fold chopped toasted pecans into the coconut for texture and a nutty counterpoint. For a tropical vacation feel add a tablespoon of dark rum to the coconut mixture when serving to adults.
Make the layers two days ahead and keep covered in the refrigerator to save last minute work before gatherings. Freeze whole pan after cooling then thaw overnight in the refrigerator before slicing for cleaner edges. Use parchment overhang to lift the whole slab for neat trimming. Pack squares in single servings in small containers for grab and go breakfasts alongside a yogurt or for portable dessert boxes.
These coconut brownies are an approachable yet polished treat that reward minimal technique with maximum nostalgia. Whether you bring them to a potluck or bake them on a quiet afternoon the combination of fudgy chocolate and chewy coconut never fails to please. Make a pan, share with neighbors, and enjoy the happy faces that follow.
Use room temperature eggs for smoother incorporation and consistent texture.
Coat the chocolate chips with a teaspoon of flour to prevent them from sinking.
Allow the tray to cool completely on a wire rack before slicing for clean edges.
Line the pan with parchment paper with an overhang to lift the whole slab easily.
Check doneness at 35 minutes; the center should have moist crumbs but not wet batter.
This nourishing coconut brownies recipe is sure to be a staple in your kitchen. Enjoy every moist, high protein slice — it is perfect for breakfast or as a wholesome snack any time.
This Coconut Brownies recipe makes perfectly juicy, tender, and flavorful steak every time! Serve with potatoes and a side salad for an unforgettable dinner in under 30 minutes.
Preheat oven to 350 F. Line an 8 x 8 inch baking dish with parchment leaving an overhang and lightly spray for easy release.
Whisk 1 cup all purpose flour, 1/2 cup cocoa powder, and 1/4 teaspoon salt in a medium bowl until combined and aerated.
Toss 1/2 cup mini semi sweet chips with 1 teaspoon flour to help them remain suspended in the batter during baking.
Whisk melted cooled 3/4 cup butter, 1 1/2 cups granulated sugar, 2 eggs, and 2 teaspoons vanilla until glossy and slightly thickened.
Fold the dry mixture into the wet with a wooden spoon just until combined, then gently fold in the coated mini chips.
Spread half the batter in the pan. Mix 2 1/2 cups coconut flakes with 2/3 cup condensed milk, 1 teaspoon vanilla and 1/4 teaspoon salt. Spread coconut over the batter and top with remaining batter.
Bake at 350 F for 35 to 40 minutes until a toothpick shows moist crumbs. Cool completely before slicing into 16 squares.
Last Step: Please leave a rating and comment letting us know how you liked this recipe! This helps our business to thrive and continue providing free, high-quality recipes for you.
Leave a comment & rating below or tag
@paletina on social media!

Ultra-fudgy brownies packed with chocolate chunks, crowned with gooey marshmallows and glossed with warm chocolate frosting for a decadent crowd-pleaser.

Buttery shortbread crust topped with a gooey brown sugar-pecan filling. Ten minutes to prep, irresistibly crunchy edges, and perfect for make-ahead treats.

Silky, crack-free pumpkin cheesecake with warm spice, buttery graham crust, and make-ahead convenience for showstopping holiday dinners.
Leave a comment & rating below or tag @paletina on social media!
Enjoyed this recipe? Share it with friends and family, and don't forget to leave a review!
This recipe looks amazing! Can't wait to try it.
Comments are stored locally in your browser. Server comments are displayed alongside your local comments.

Join to receive our email series which contains a round-up of some of our quick and easy family favorite recipes.
