
Caramel Apple Tartlets

Miniature caramel apple tartlets with a crisp crust, tender cinnamon-spiced apple filling, and a buttery caramel finish—perfect for parties or cozy afternoons.
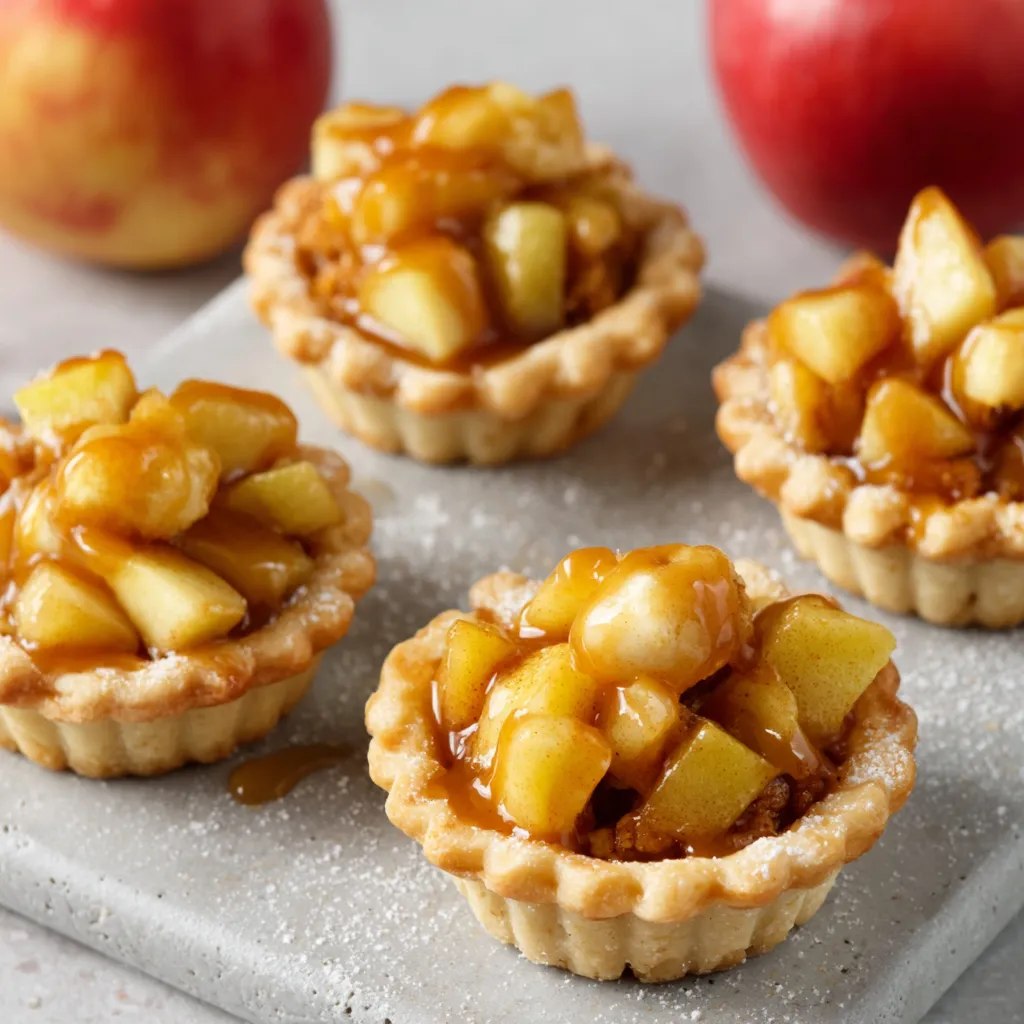
This recipe for Caramel Apple Tartlets has been my go-to for turning a simple bag of apples into a memorable dessert that disappears within moments at gatherings. I first made these on a rainy October afternoon when I wanted individual treats that felt special but were quick to assemble. The combination of a flaky refrigerated crust, lightly spiced diced apples, and a glossy caramel swirl created the kind of bite that invites a second helping. They are small, approachable, and ideal for sharing — everyone gets their own perfectly portioned tartlet.
What makes these tartlets stand out is the texture contrast: thin, golden edges of pastry that give a satisfying snap, and a filling that is soft but still holds apple pieces so you can taste the fruit. The caramel ice cream topping adds an unpretentious, creamy sweetness that melts into the apple sauce during cooking. I love serving these warm with a small dollop of whipped cream or a scoop of vanilla ice cream, but they are just as charming at room temperature for a picnic or afternoon tea with friends.
Why You'll Love This Recipe
- The recipe is quick and forgiving: ready in about 35 to 40 minutes from start to finish, using one sheet of refrigerated crust and pantry staples.
- Portable, individual portions make these ideal for parties, holiday buffets, or as a weekend bake when you want single-serve desserts without fuss.
- Flavor balance is spot-on: tart apple variety plus a touch of lemon keeps the sweetness bright while cinnamon and caramel add comforting depth.
- Minimal specialized equipment required—a mini muffin tin and a saucepan are all you need—so this is accessible for novice and experienced cooks alike.
- Make-ahead friendly: shells can be prebaked and stored, filling reheats quickly, and finished tartlets hold in the fridge for a couple of days.
My family has crowned these tartlets a seasonal favorite. My partner calls them the 'easy fall miracle' because I can put them together between chores and still have something that looks like I spent hours baking. Neighbors have asked for the recipe after trying one at a block party, which is always the highest compliment.
Ingredients
- Refrigerated pie crust: Use one sheet of your preferred brand, such as Pillsbury or a high-quality store brand, kept cold until rolling. A cold dough helps maintain flaky layers when baked.
- Sugar for crust: One tablespoon granulated sugar combined with a dash of ground cinnamon creates a light sweet crust edge; optional but recommended for visual sparkle and flavor.
- Butter: Two teaspoons unsalted butter to sauté apples; using unsalted allows you to better control salt in the filling.
- Tart apples: Two cups diced, peeled tart apples (about 2 medium Granny Smith). Choose crisp varieties that hold shape when cooked for the best texture.
- Sugar for filling: Three tablespoons granulated sugar to balance the apple tartness; adjust slightly if your apples are very sweet.
- Caramel topping: Three tablespoons fat-free caramel ice cream topping; any stable caramel sauce will work—divide brands by taste preference.
- Flour: Two tablespoons all-purpose flour to thicken the filling so it sets in the small shells without becoming gummy.
- Spices and acid: Half teaspoon ground cinnamon, one-half teaspoon lemon juice to brighten flavors, and one-eighth teaspoon salt to enhance sweetness.
Instructions
Prepare the shells: Preheat the oven to 350°F. On a lightly floured surface, roll the chilled pie crust sheet just to smooth creases. Using a 2-1/2 inch round cutter, cut twenty circles. Press each circle into the bottom and up the sides of 20 mini muffin cups (lightly coated with cooking spray). Prick bottoms with a fork to prevent bubbling, spray lightly, and sprinkle with the cinnamon-sugar mixture. Bake until the edges turn golden, about 6 to 8 minutes. Allow to cool in the pan for 5 minutes before removing to a wire rack to complete cooling. Cook the apple filling: In a medium saucepan over medium heat, melt the butter. Add the diced apples and sauté, stirring occasionally, until they are crisp-tender and beginning to soften, roughly 4 to 5 minutes. This short sauté keeps texture so the filling is tender but still perceptibly apple-forward. Make the sauce: Stir in the three tablespoons sugar, three tablespoons caramel topping, two tablespoons all-purpose flour, one-half teaspoon cinnamon, one-half teaspoon lemon juice, and one-eighth teaspoon salt. Whisk or stir thoroughly to combine and bring the mixture to a gentle boil. Continue to cook and stir for about 2 minutes until the sauce thickens and coats the apples. Avoid overcooking; the apples should finish tender but not mushy. Cool and assemble: Remove the filling from heat and let it cool about 5 minutes so the sauce sets slightly. Spoon a heaping teaspoon into each prebaked tart shell, distributing apples and sauce evenly. If desired, add a tiny extra drizzle of caramel over each tartlet for shine. Serve warm or at room temperature.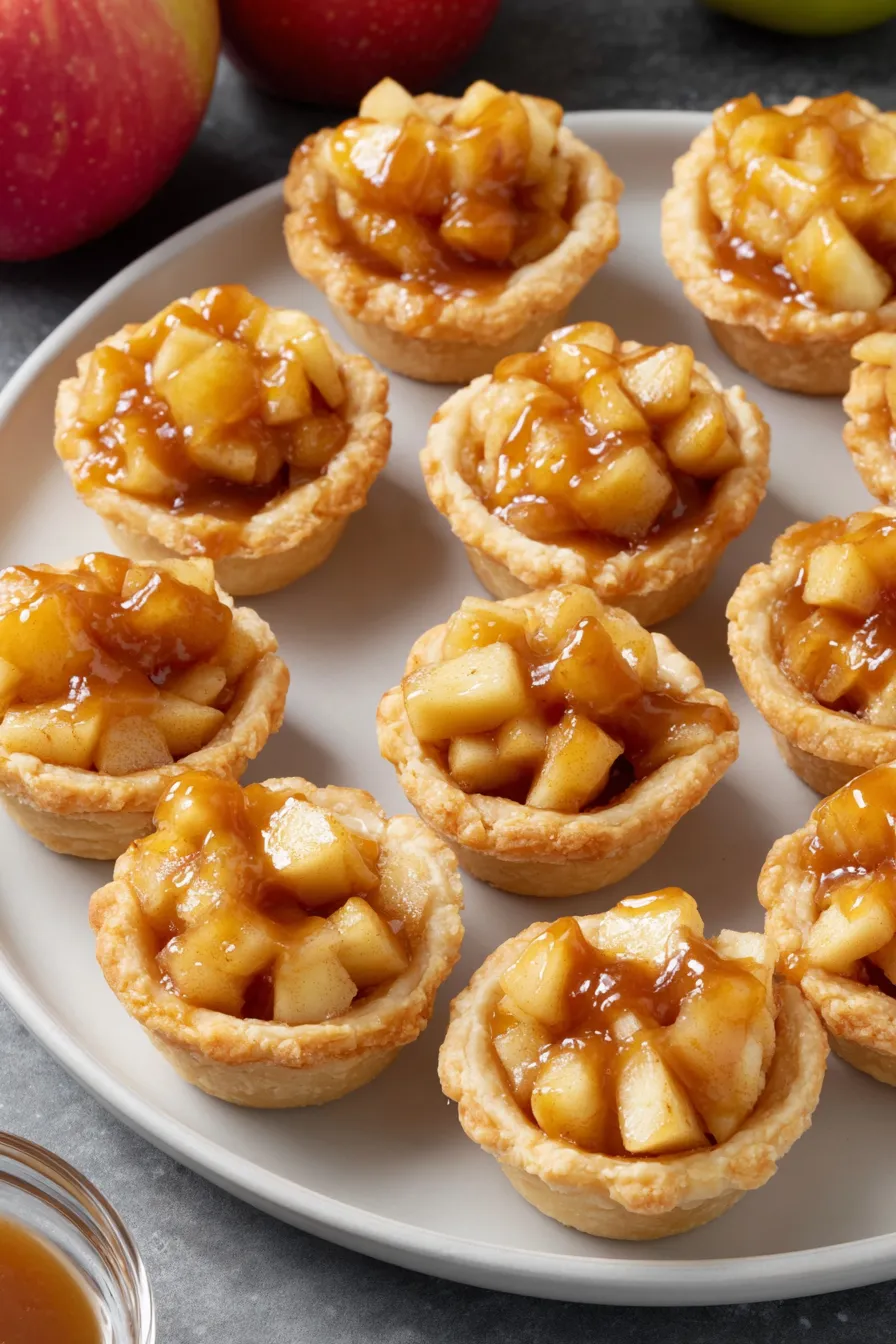
You Must Know
- These tartlets freeze well for up to 3 months if you store the baked shells and filling separately to prevent sogginess; thaw in the refrigerator before reheating briefly in a 325°F oven.
- They are relatively high in simple carbohydrates per serving due to the crust and caramel; a small serving size (one tartlet) is satisfying for most people.
- Make sure apples are diced uniformly, about 1/4 inch pieces, so cooking is even and the filling texture is consistent in each tartlet.
- Prebaking the shells is important: it prevents a soggy bottom and delivers the signature short-crust crunch on the edges.
My favorite part is the moment I lift the muffin tin and the scent of warm caramel and cinnamon fills the kitchen. Watching kids impatiently wait while the tartlets cool is one of my fondest baking memories; the anticipation makes them taste even better.
Storage Tips
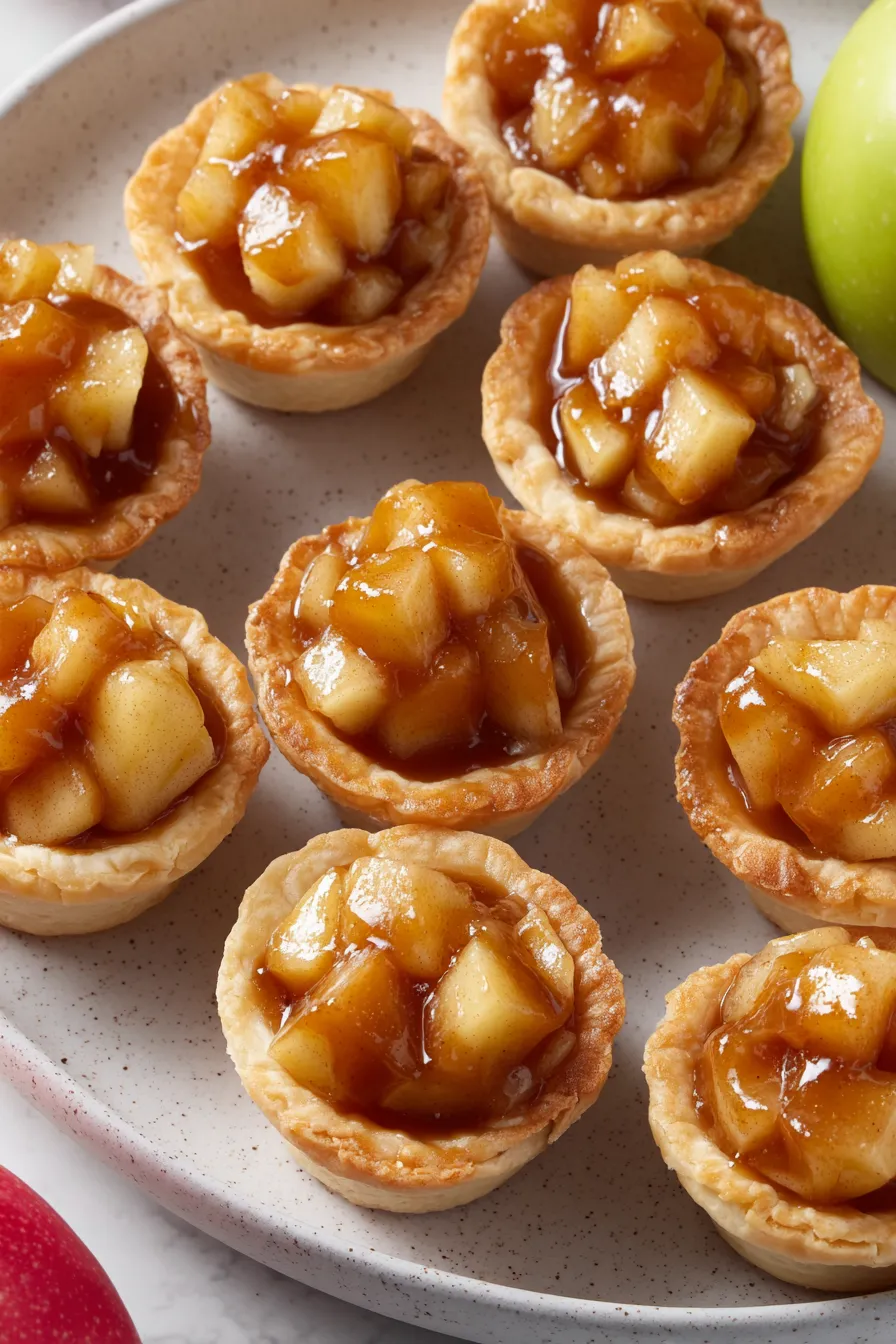
Store leftover tartlets in an airtight container in the refrigerator for up to 48 hours. To keep the crust as crisp as possible, place a paper towel between layers to absorb moisture. For longer storage, freeze unfilled prebaked shells separately, and freeze cooled filling in a flat, sealed freezer bag. Reheat frozen filling gently in a saucepan with a teaspoon of water, then assemble into shells and warm for 5 to 7 minutes at 325°F for best texture. Avoid microwaving filled tartlets as crusts can become soggy.
Ingredient Substitutions
If you prefer a more caramel-forward profile, substitute two tablespoons of the granulated sugar in the filling with brown sugar for a deeper molasses note. For a gluten-free option, use a store-bought gluten-free pie crust and replace the all-purpose flour with a 1:1 gluten-free baking blend. If you want a richer taste, swap the fat-free caramel topping for regular heavy cream caramel sauce; reduce the added butter by a teaspoon if using a very rich caramel to keep the filling balanced.
Serving Suggestions
Serve warm with a small scoop of vanilla ice cream or a dollop of lightly sweetened whipped cream. Garnish with a tiny pinch of flaky sea salt on top of the caramel for contrast, or add toasted chopped pecans for crunch. These tartlets pair wonderfully with hot drinks like coffee or spiced tea and are elegant on dessert platters alongside mini tarts, cookies, and seasonal fruit slices.
Cultural Background
Miniature fruit tarts are a comforting adaptation of classic American and European pastry traditions where small, single-serve pastries are favored for gatherings and afternoon tea. The use of tart apples and cinnamon reflects a long tradition of autumnal baking in North America, while the addition of ready-made caramel toppings is a modern convenience that evokes the old-fashioned caramel sauces made from cream and sugar.
Seasonal Adaptations
In late summer or early fall, use crisp, early-harvest apples to emphasize bright acidity. For winter holidays, stir in a pinch of ground nutmeg and replace half the lemon juice with a tablespoon of apple brandy or spiced rum for adult gatherings. In spring, swap apples for peeled, diced pears and use a light pear nectar in place of a small portion of caramel for a fresher finish.
Meal Prep Tips
To streamline assembly for a party, prebake shells the day before and store them at room temperature in a sealed container. Make the apple filling in the morning and refrigerate in a shallow container; gently reheat before spooning into shells. Use a small cookie scoop to portion filling quickly and uniformly into each tartlet. This approach keeps last-minute work minimal and ensures consistent results.
These small tartlets are deceptively simple and joyful to make. Whether you're baking for holiday guests or making a cozy treat for the family, the balance of tart apple, warming spice, and caramel sweetness will make this recipe a repeat favorite in your repertoire.
Pro Tips
Keep the pie crust chilled until just before cutting to ensure flaky edges and minimal shrinkage in the oven.
Cut apples uniformly to about 1/4 inch pieces so the filling cooks evenly and the texture is consistent in each tartlet.
If the caramel topping is very thin, reduce heat slightly and simmer a bit longer to thicken before adding to the apples.
This nourishing caramel apple tartlets recipe is sure to be a staple in your kitchen. Enjoy every moist, high protein slice — it is perfect for breakfast or as a wholesome snack any time.
FAQs about Recipes
Can I freeze these tartlets?
Yes. Prebake the shells fully and cool. Store shells and filling separately in the freezer for up to 3 months. Thaw in the refrigerator before reheating and assembling.
What apples work best?
Use Granny Smith or other tart, firm apples and dice to roughly 1/4 inch for even cooking. Avoid very soft, mealy varieties.
Tags
Caramel Apple Tartlets
This Caramel Apple Tartlets recipe makes perfectly juicy, tender, and flavorful steak every time! Serve with potatoes and a side salad for an unforgettable dinner in under 30 minutes.
Ingredients
Shell
Filling
Instructions
Preheat and prepare crust
Preheat oven to 350°F. Roll out chilled crust on a lightly floured surface and cut twenty 2-1/2 inch circles. Press into mini muffin cups coated with cooking spray, prick with a fork, spray lightly, and sprinkle cinnamon-sugar. Bake 6 to 8 minutes until golden. Cool 5 minutes in pan then transfer to wire rack.
Sauté apples
In a medium saucepan over medium heat, melt 2 teaspoons butter. Add 2 cups diced peeled tart apples and cook, stirring, until crisp-tender, about 4 to 5 minutes.
Combine filling ingredients
Stir in 3 tablespoons sugar, 3 tablespoons caramel topping, 2 tablespoons flour, 1/2 teaspoon cinnamon, 1/2 teaspoon lemon juice, and 1/8 teaspoon salt. Mix well to combine.
Thicken and finish filling
Bring mixture to a gentle boil and cook, stirring, about 2 minutes until the sauce thickens and apples are tender but not mushy. Remove from heat and cool for 5 minutes.
Assemble tartlets
Spoon cooled filling into prebaked shells, distributing evenly. Optionally drizzle a little extra caramel on top. Serve warm or at room temperature.
Last Step: Please leave a rating and comment letting us know how you liked this recipe! This helps our business to thrive and continue providing free, high-quality recipes for you.
Nutrition
Did You Make This?
Leave a comment & rating below or tag
@paletina on social media!
Categories:
You might also like...
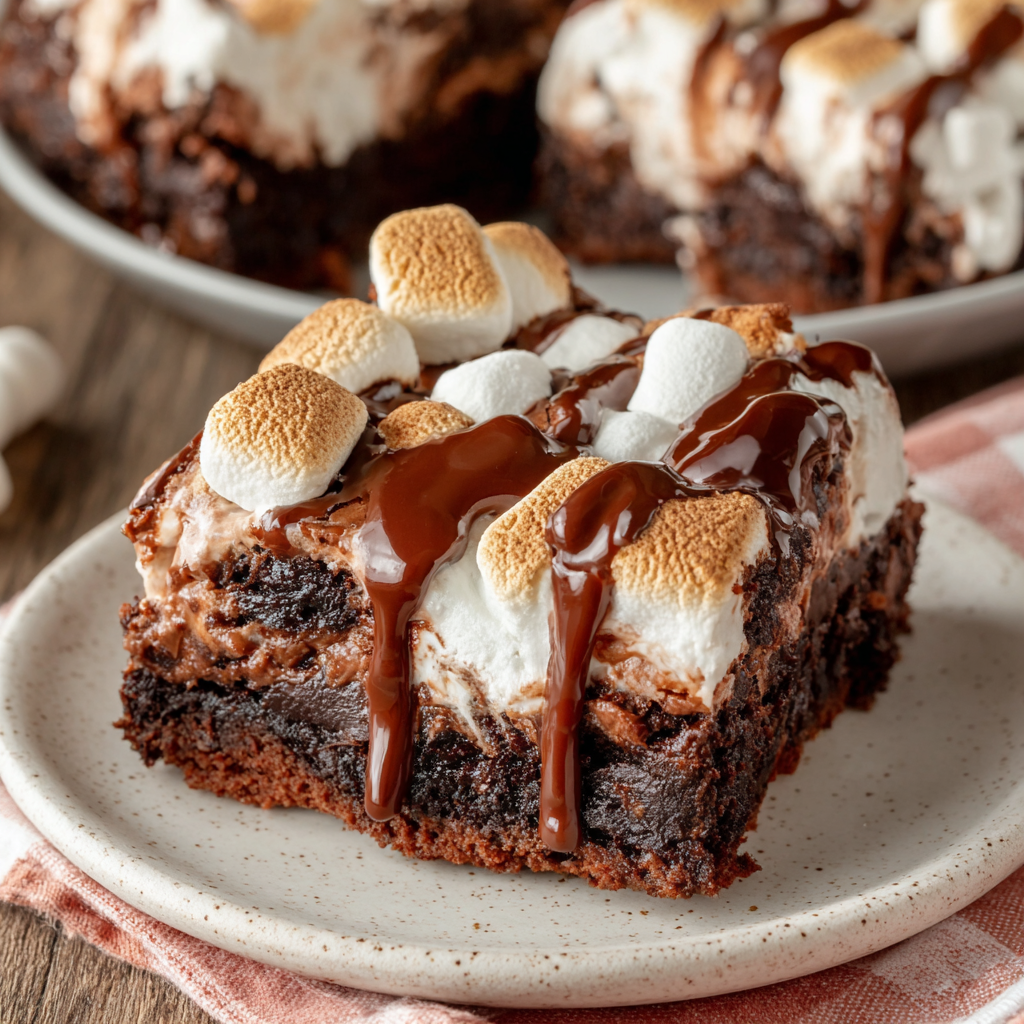
Chocolate Chunk Marshmallow Brownies
Ultra-fudgy brownies packed with chocolate chunks, crowned with gooey marshmallows and glossed with warm chocolate frosting for a decadent crowd-pleaser.
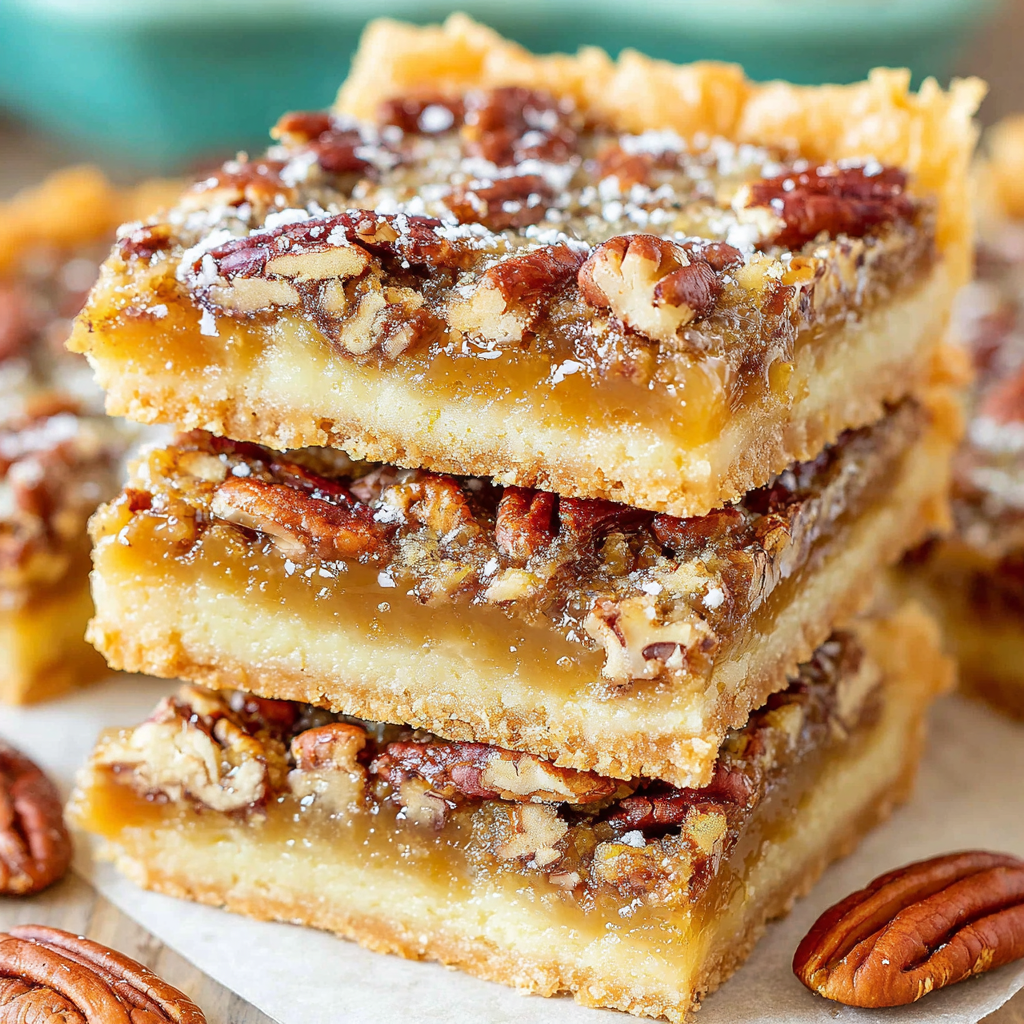
Buttery Pecan Pie Bars
Buttery shortbread crust topped with a gooey brown sugar-pecan filling. Ten minutes to prep, irresistibly crunchy edges, and perfect for make-ahead treats.
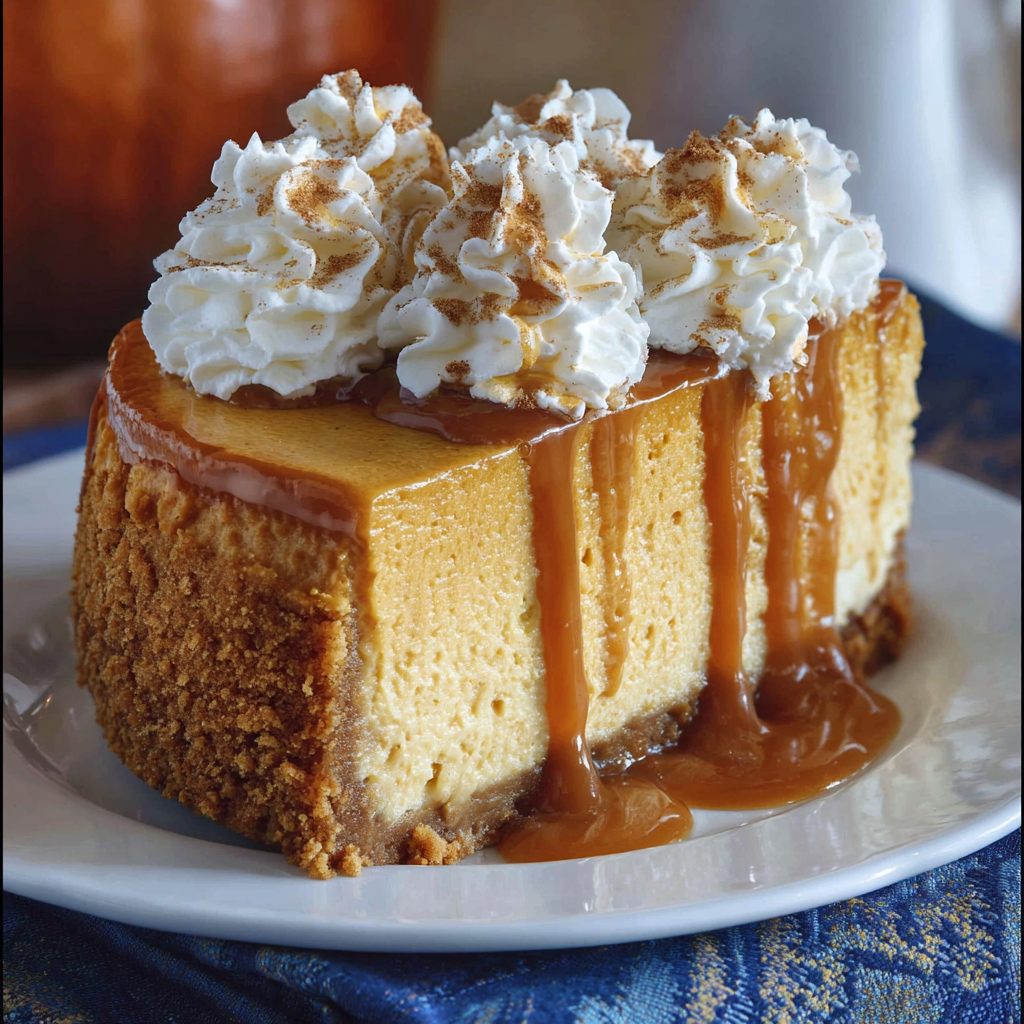
Creamy Pumpkin Cheesecake
Silky, crack-free pumpkin cheesecake with warm spice, buttery graham crust, and make-ahead convenience for showstopping holiday dinners.
Did You Make This?
Leave a comment & rating below or tag @paletina on social media!
Rate This Recipe
Share This Recipe
Enjoyed this recipe? Share it with friends and family, and don't forget to leave a review!
Comments (1)
This recipe looks amazing! Can't wait to try it.
Comments are stored locally in your browser. Server comments are displayed alongside your local comments.

Hi, I'm Isabella!
What's Popular
30-Minute Meals!
Join to receive our email series which contains a round-up of some of our quick and easy family favorite recipes.