
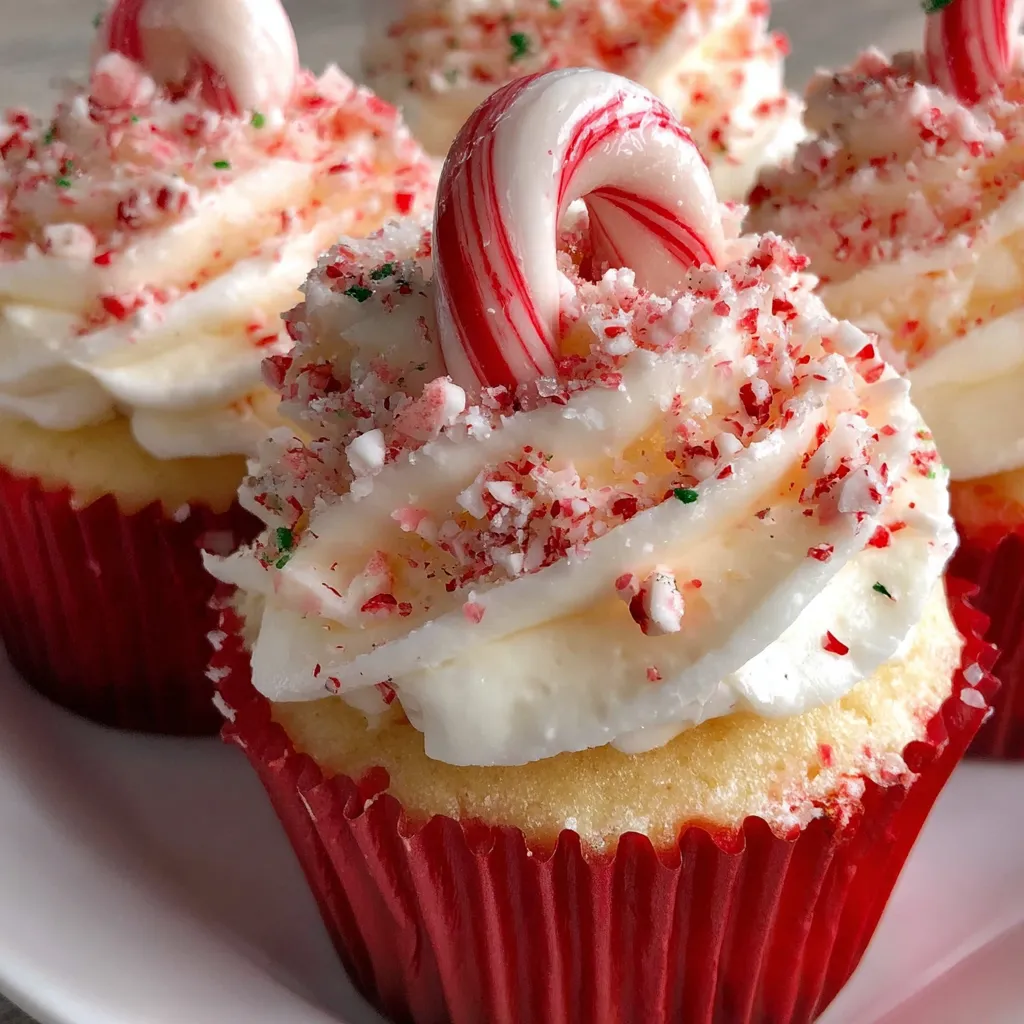
Candy Cane Peppermint Cupcakes

Festive marble cupcakes swirled with red and white batter, topped with a light peppermint buttercream and garnished with mini candy canes — perfect for holiday gatherings.
This batch of Candy Cane Peppermint Cupcakes is the dessert I pull out the moment frost appears on the windows and holiday playlists start looping. I first developed this version one chilly December evening when I wanted something bright, minty and cheerful to serve at a cookie swap. The marble of red and white batter always feels festive, and the peppermint buttercream — light, aerated, and just cool enough on the tongue — makes these cupcakes feel like a tiny, edible celebration. Over the years my friends began requesting them at every holiday party; one friend told me they tasted like a warm memory of snow days and classroom candy canes.
What makes these cupcakes special is the balance between the tender crumb of a boxed white mix and a butter-forward peppermint frosting that isn’t cloyingly sweet. The technique of alternating spoonfuls of white and red batter creates a cheerful swirl without any complicated piping or layers, and painting thin lines of red inside the piping bag produces charming candy-cane stripes on top. I learned to keep the buttercream airy by using cold heavy cream and beating just long enough to incorporate air, and the result is a frosting that pipes beautifully but still melts gently on the palate.
Why You'll Love This Recipe
- Quick and approachable: built on a boxed white mix, these cupcakes are ready to bake in about 25 minutes of active time while still tasting homemade and special.
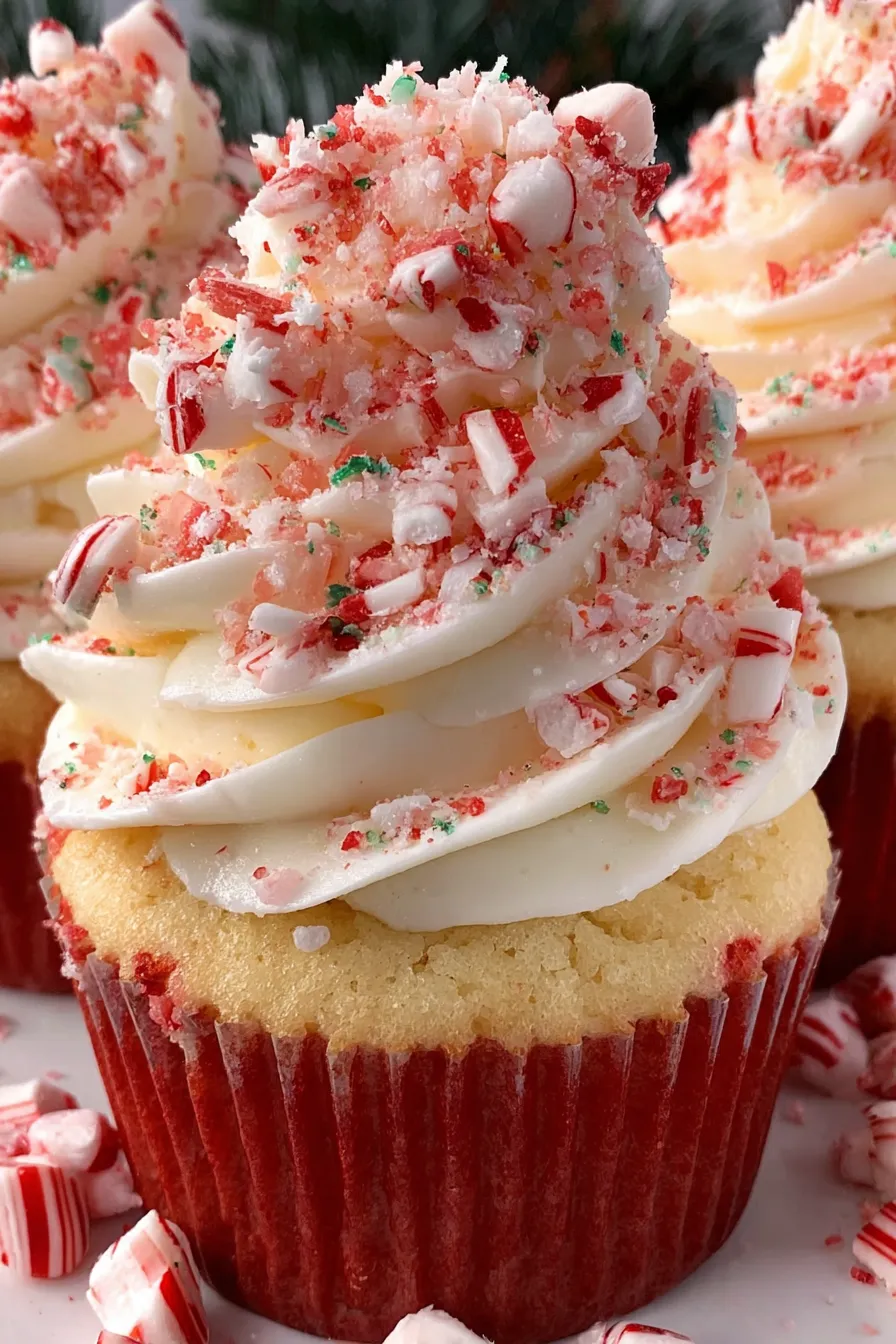
- Visually festive: the red-and-white marble inside and the striped frosting on top give a classic holiday look without elaborate decorating skills.
- Mint-forward but balanced: peppermint extract gives a cool lift while vanilla and real butter keep the flavor rich and familiar.
- Make-ahead friendly: cupcakes and frosting freeze well for convenience; bake ahead, freeze unfrosted, and finish with frosting the day you serve.
- Kid-tested and crowd-pleasing: mini candy canes or coarse peppermint sugar add a satisfying crunch and a nostalgic touch everyone recognizes.
Personally, I love how reliably these lift a room’s mood. I once brought them to a neighbor’s holiday open house and a whole table of strangers started comparing decorating tips while passing plates around — the cupcakes are a small, joyful magnet for conversation.
Ingredients
- White cake mix: Use 1 box (15.25 oz) white cake mix and follow any package instructions for required eggs, oil and water. A quality brand like Duncan Hines or Pillsbury yields a fine, tender crumb; avoid mixes labeled "gel" or heavy with stabilizers.
- Red gel food coloring: Gel coloring gives vibrant color with minimal liquid. Brands like AmeriColor or Wilton work well — add sparingly until you reach your preferred shade.
- Unsalted butter: 12 oz (1 1/2 cups) softened butter for the frosting. Use real butter (not spreadable tub) for best flavor and structure; let it soften at room temperature but not melt.
- Kosher salt: 1/2 teaspoon to round the sweetness of the frosting. Diamond Crystal or Morton both work, but if using Morton, you can reduce slightly.
- Confectioners’ sugar: 3 cups (about 12 oz) sifted powdered sugar yields a smooth, pipeable buttercream. Sifting avoids lumps and ensures a silky texture.
- Heavy cream: 2 tablespoons added cold to lighten and loosen the buttercream, making it easier to pipe and giving a silkier mouthfeel.
- Vanilla extract: 1 teaspoon pure vanilla for warmth and balance with the mint.
- Peppermint extract: 1/2 teaspoon — very concentrated, so start with this amount and adjust by 1/8 teaspoon if you want it stronger.
- Decorations: Mini candy canes or coarse red-and-white peppermint sugar to finish. Use mini canes for a nostalgic look or peppermint sugar for easier storage and no-weapons policy at kid events.
Instructions
Prepare and preheat: Place oven racks in the upper and lower thirds and preheat the oven to 350°F. Line 18 cups in two standard 12-cup muffin tins with paper liners. I prefer white or plain metallic liners so the red swirls show through; avoid silicone if you want classic lifting and browning. Make the batter: Prepare the cake batter according to the package directions for the 15.25 oz mix (usually eggs, oil and water). Once mixed, divide the batter evenly into two bowls. Add red gel food coloring to one bowl, stirring until you achieve a vivid, even red. Use a toothpick of gel color at first — you can always add more. Fill the cups: Alternate spooning white and red batter into liners until each cup is about half full, roughly 3 to 4 tablespoons (or 1.5 oz) of batter per cup. This alternating creates the marbled effect while keeping the cake light. Smooth nothing; the marbling happens naturally in the oven. Bake and cool: Bake for 18 to 20 minutes, rotating the tins halfway through for even color. Insert a toothpick in the center: it should come out clean or with a few moist crumbs. Let cupcakes cool in the pan 5 minutes, then transfer to a rack to cool completely before frosting; warm cakes will melt the buttercream. Make the buttercream: With an electric mixer, beat 12 oz softened butter and 1/2 teaspoon kosher salt on medium speed until creamy, about 2 minutes. Add powdered sugar in two additions, beating well after each. Add 2 tablespoons cold heavy cream, 1 teaspoon vanilla and 1/2 teaspoon peppermint extract, then beat on medium-high for 2 minutes until light and fluffy. Taste and adjust peppermint in 1/8 teaspoon increments if desired. Stripe and pipe: Using a small brush or long skewer, paint two thin lines of red gel food coloring inside a piping bag fitted with a 1/2-inch round tip. Fill the bag with buttercream and pipe swirls or domes over the cooled cupcakes. The painted stripes transfer to the frosting and create a subtle candy-cane effect. Decorate: Garnish each cupcake with a mini candy cane or a sprinkle of coarse peppermint sugar. If using candy canes, press gently into the frosting so they stand upright without breaking the swirl.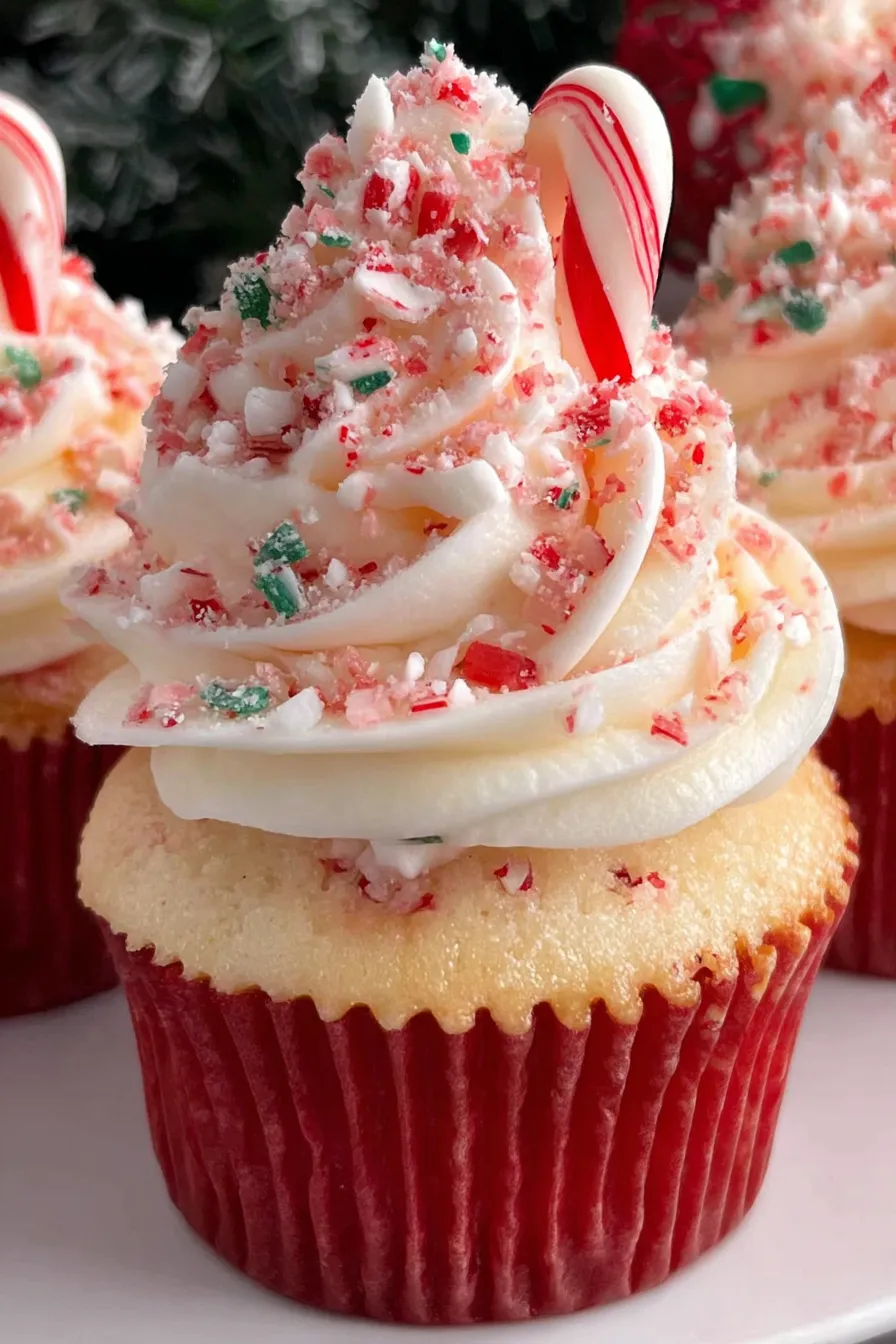
You Must Know
- These keep well refrigerated for up to 4 days in an airtight container; bring to room temperature before serving for best flavor.
- Unfrosted cupcakes freeze up to 3 months. Thaw overnight in the refrigerator, then frost the next day for fresh presentation.
- High in sugar and dairy — each cupcake is indulgent; consider smaller liners if serving to children to control portion sizes.
- Peppermint extract is potent: 1/2 teaspoon is usually enough. Increase gradually to avoid overwhelming the vanilla and butter flavors.
My favorite part is the moment the frosting touches a cooled cupcake and you see the frosting settle into tiny peaks. It’s the kind of detail that makes people smile when they bite in — sweet, minty, with a tender crumb beneath. One Christmas we made dozens and boxed them for neighbors; the boxes came back empty the next morning with notes asking for the recipe.
Storage Tips
Store decorated cupcakes in a single layer inside an airtight container in the refrigerator for up to four days. If you need to stack them, place parchment between layers to protect the frosting. For longer storage, freeze cooled, unfrosted cupcakes in a sealed freezer bag for up to three months; when ready to serve, thaw in the refrigerator overnight, then bring to room temperature and pipe fresh frosting. Reheat is unnecessary; room temperature restores the texture and brings out the butter flavor.
Ingredient Substitutions
If you prefer a lighter frosting, substitute half the butter with softened cream cheese for a tangy profile — reduce salt by a pinch and add an extra tablespoon of powdered sugar to maintain structure. For a dairy-free alternative, use a plant-based butter and coconut cream instead of heavy cream, but expect a slight flavor shift. To make these gluten-free, use a 1-to-1 gluten-free white cake mix; texture will be a touch denser, so bake for the lower end of the time range and test with a toothpick.
Serving Suggestions
Serve these with hot cocoa, mulled cider or a bright cranberry mocktail. Garnish platters with sprigs of fresh mint, whole mini candy canes, or a dusting of edible glitter for parties. For a brunch twist, serve small cupcakes alongside coffee and shortbread — they pair wonderfully with a slightly bitter espresso to cut through the sweetness.
Cultural Background
Marbled cakes and minty confections are staples in many holiday traditions across North America and Europe. The candy cane itself has origins in 17th-century Europe but became associated with Christmas decorations in the 19th century. These cupcakes are a modern mash-up of classic American boxed-cake convenience and European candy-cane nostalgia, making them approachable yet symbolically festive.
Seasonal Adaptations
In summer, swap peppermint for a milder peppermint-vanilla blend and finish with crushed freeze-dried raspberries for a fruity contrast. For winter variations, fold a tablespoon of cocoa into half the cake batter for a chocolate-mint marbling, or add a teaspoon of finely grated orange zest to the frosting for a bright citrus note that pairs beautifully with peppermint.
Meal Prep Tips
Make the cupcakes one day ahead and store unfrosted; prepare the buttercream the morning you plan to serve and pipe last-minute. If preparing for a large event, transport cupcakes in single layers inside a flat, shallow box with a non-slip liner and keep them cool during transit to preserve frosting shape.
These small treats are one of those recipes that reward a little care with lots of smiles. They’re simple enough for a weekday bake and pretty enough for a holiday centerpiece — I hope you enjoy making them as much as I do.
Pro Tips
Beat the butter until creamy before adding sugar to avoid a gritty texture in the buttercream.
Paint the piping bag sparingly with gel color lines so the stripes are subtle; too much gel can bleed into the frosting.
Use cold heavy cream when adding to the buttercream to help it whip light and hold structure.
This nourishing candy cane peppermint cupcakes recipe is sure to be a staple in your kitchen. Enjoy every moist, high protein slice — it is perfect for breakfast or as a wholesome snack any time.
Tags
Candy Cane Peppermint Cupcakes
This Candy Cane Peppermint Cupcakes recipe makes perfectly juicy, tender, and flavorful steak every time! Serve with potatoes and a side salad for an unforgettable dinner in under 30 minutes.
Ingredients
Cupcakes
Frosting
Decoration
Instructions
Preheat and prepare pans
Place oven racks in upper and lower thirds and preheat oven to 350°F. Line 18 cupcake cups across two standard 12-cup tins with paper liners.
Prepare batter and color
Prepare the white cake mix according to package directions. Divide batter into two bowls and add red gel food coloring to one bowl until desired shade is reached.
Fill cups and bake
Alternate spooning white and red batter into liners until about half full (3–4 tablespoons each). Bake 18–20 minutes, rotating tins halfway. Test with a toothpick for doneness.
Cool completely
Cool cupcakes in the pan for 5 minutes then transfer to a rack to cool completely before frosting to prevent melting.
Make peppermint buttercream
Beat softened butter and salt until creamy. Add confectioners' sugar in two batches, then heavy cream, vanilla and peppermint. Beat until light and fluffy, about 2 minutes on medium-high.
Stripe bag and pipe
Paint two thin red gel lines inside a piping bag fitted with a 1/2-inch round tip, fill with frosting, and pipe over cooled cupcakes. Garnish with mini candy canes or peppermint sugar.
Last Step: Please leave a rating and comment letting us know how you liked this recipe! This helps our business to thrive and continue providing free, high-quality recipes for you.
Nutrition
Did You Make This?
Leave a comment & rating below or tag
@paletina on social media!
Categories:
You might also like...

Chocolate Chunk Marshmallow Brownies
Ultra-fudgy brownies packed with chocolate chunks, crowned with gooey marshmallows and glossed with warm chocolate frosting for a decadent crowd-pleaser.

Buttery Pecan Pie Bars
Buttery shortbread crust topped with a gooey brown sugar-pecan filling. Ten minutes to prep, irresistibly crunchy edges, and perfect for make-ahead treats.

Creamy Pumpkin Cheesecake
Silky, crack-free pumpkin cheesecake with warm spice, buttery graham crust, and make-ahead convenience for showstopping holiday dinners.
Did You Make This?
Leave a comment & rating below or tag @paletina on social media!
Rate This Recipe
Share This Recipe
Enjoyed this recipe? Share it with friends and family, and don't forget to leave a review!
Comments (1)
This recipe looks amazing! Can't wait to try it.
Comments are stored locally in your browser. Server comments are displayed alongside your local comments.

Hi, I'm Isabella!
What's Popular

30-Minute Meals!
Join to receive our email series which contains a round-up of some of our quick and easy family favorite recipes.