
Oven-Baked Bacon (Sheet-Pan Method)

Crispy, evenly-cooked bacon with minimal mess: a foolproof sheet-pan method that frees your stovetop and gives reliably perfect results every time.
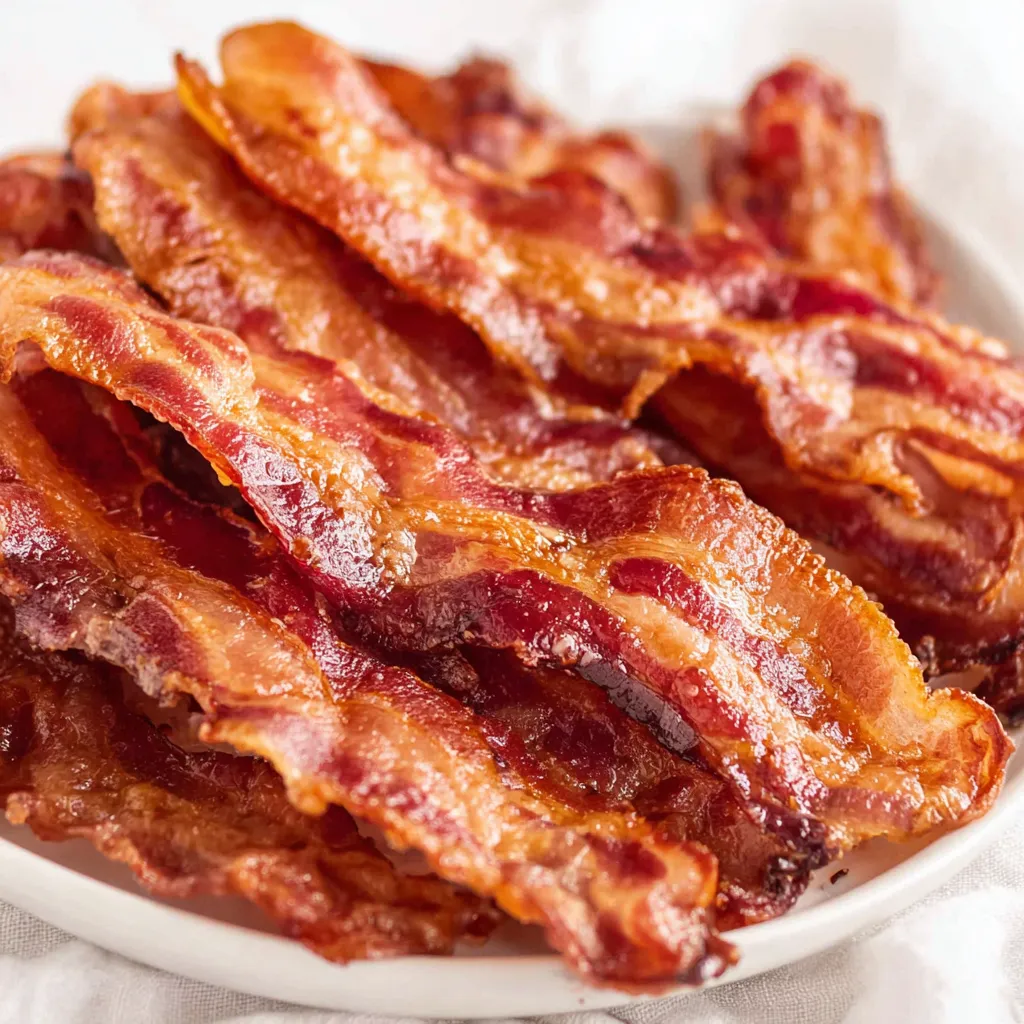
This oven-baked bacon method has been my go-to for busy weekend breakfasts and holiday brunches for years. I first switched from pan-frying during a holiday when I needed every burner for pancakes and eggs; arranging bacon on sheet pans and letting the oven do the work felt almost too easy. What sold me was the texture — bacon that curls less, cooks evenly from edge to center, and lets you control crispness simply by adjusting time. The bacon comes out with a golden edge and a slightly chewy center if you prefer it traditional, or paper-crisp if that is your preference. It’s an everyday convenience that feels indulgent.
Beyond convenience, this approach scales beautifully: two sheet pans hold enough bacon for a crowd with minimal babysitting. The gentle heat allows fat to render slowly, reducing splatter and stains on the stovetop. The result is predictable browning, and because the strips lay flat, you avoid the hotspots and burnt patches that can happen in a skillet. Over the years I’ve learned small adjustments—like flipping once midway for ultra-even color or adding a short extra bake for thick-cut bacon—that make the difference between good and exceptional.
Why You'll Love This Recipe
- Hands-off cooking: once the bacon is in the oven, you can walk away — perfect for multitasking on busy mornings.
- Consistent results: oven heat cooks slices evenly from edge to center, avoiding burnt tips common in skillet methods.
- Minimal mess: parchment paper and sheet pans catch grease, making cleanup quick and avoiding stovetop splatter.
- Scalable for crowds: two full-size baking sheets deliver large batches for brunches or meal prep in one go.
- Flexible texture: 15 minutes per side for thin bacon gives crisp edges and a slight chew; 20 minutes per side for thick-cut yields a perfect bite.
- Pantry-friendly: uses one primary ingredient and simple kitchen supplies you likely already have.
I first served this at a family brunch and my siblings immediately asked for the recipe. The simplicity makes it easy to teach to friends and kids — I can hand off the task confidently because the oven handles the trickiest part. Over the years, guests have praised the uniform color and the way the bacon stays crisp without becoming brittle, which makes it ideal for sandwiches and salads as well as breakfast plates.
Ingredients
- Bacon (1 package): Look for thick-cut or regular slices depending on your texture preference; brands like Wright or Smithfield offer consistent slices. One standard 12-ounce package in the U.S. usually contains 10–14 slices. Choose uncured if you prefer lower sodium or smoked varieties for a richer flavor.
- Parchment paper: Lining pans with parchment reduces sticking and makes cleanup nearly effortless. Use a heavy-duty brand to resist oil penetration and tearing under hot grease.
- Paper towels: For blotting excess fat after baking. A couple of layers help draw off rendered fat and leave the surface pleasantly crisp without over-drying.
- Optional extra seasoning: Freshly cracked black pepper or a light sprinkle of brown sugar can accentuate flavor; add sparingly so you don’t accelerate caramelization too much and risk burning.
Instructions
Preheat the oven: Set your oven to 350°F (177°C) and allow it to reach temperature fully. A steady, moderate heat renders fat without splattering aggressively; it also promotes even browning across the entire strip. For convection ovens, reduce the temperature by 25°F and watch the first batch closely for total time. Prepare pans: Line two rimmed baking sheets with parchment paper. The rims catch runoff fat while parchment prevents sticking. If you have a wire rack, you can elevate the bacon for extra airflow, but laying slices flat on parchment reduces cleanup and yields more consistent contact with the pan for browned edges. Arrange the slices: Lay pieces in a single layer, not touching. Overlapping leads to uneven cooking where overlapped areas remain soft. Use tongs to space pieces evenly and make small adjustments so each slice has room to render fat and crisp. Bake first side: Place pans in the middle of the oven. Bake for 15 minutes (thin to medium slices). Keep an eye through the oven door rather than opening it. You’re looking for edges that begin to brown and fat that has loosened from the meat. Flip and finish: Remove pans and use tongs to flip each piece. Return to oven and bake an additional 15 minutes, or until you reach your desired crispness. For thick-sliced bacon, increase to 20 minutes per side. For darker, caramelized bacon, add 2–4 minutes but watch carefully to prevent burning. Drain and rest: Transfer slices to a plate lined with paper towels. Top with another layer of paper towel to blot excess grease. Bacon will crisp further as it cools for a minute or two — allow a short rest before serving or assembling into sandwiches.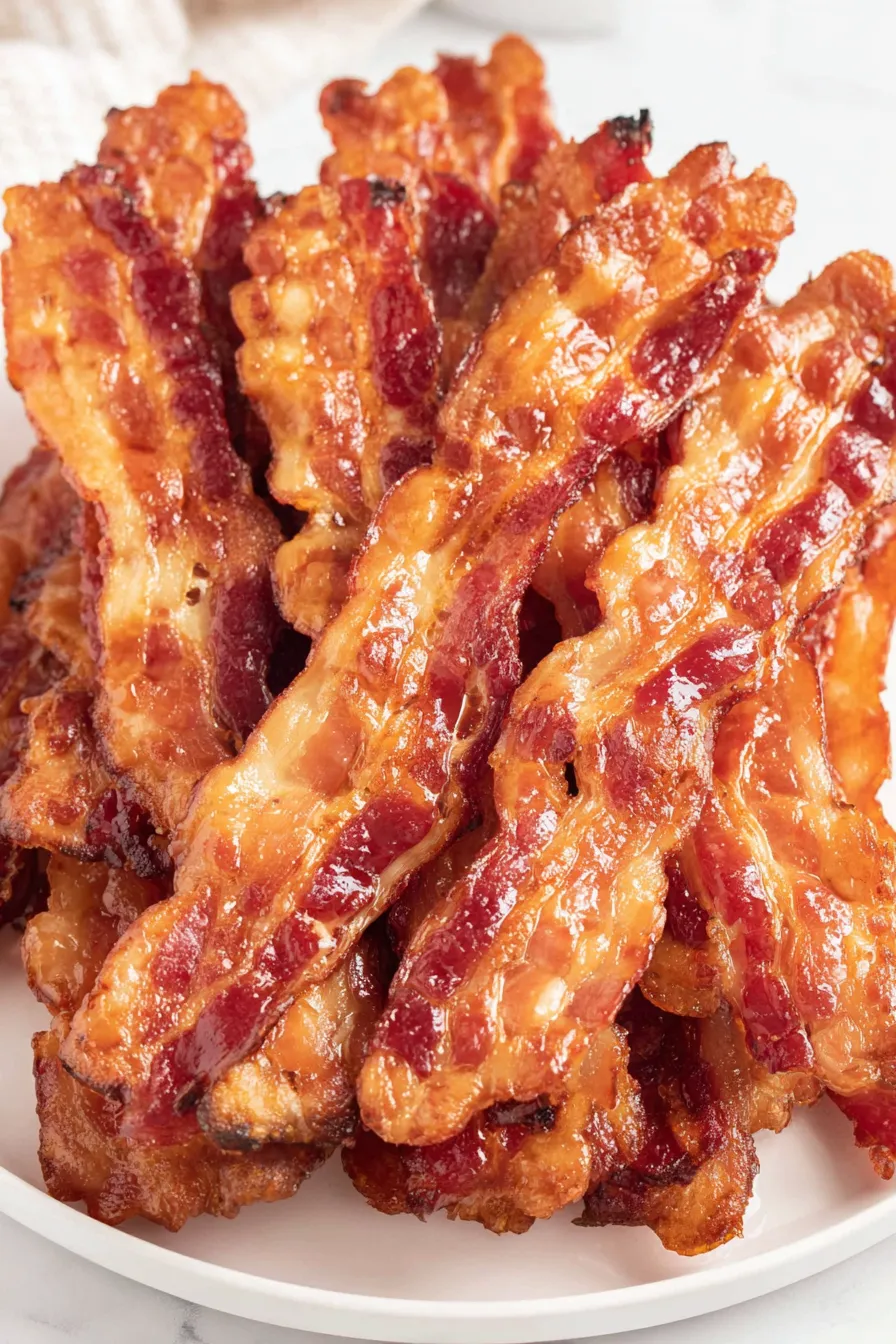
You Must Know
- Bacon stores well in the fridge for up to 4 days once cooked; freeze cooked strips flat for up to 3 months.
- This method reduces splatter and cleanup compared with pan-frying — simply discard the parchment and wipe the pan.
- Thin bacon crisps faster; thick-cut requires longer time and yields a meatier bite. Adjust times accordingly.
- Calories vary with cut and brand; bacon is high in fat, so blotting excess grease helps lower per-serving fat content.
- Oven temperature and rack position matter: middle racks give most consistent results; convection shortens baking time slightly.
My favorite aspect is the predictability — I can make bacon for a crowd without hovering at the stove. Once, I baked three pans simultaneously for a holiday brunch and the bacon emerged uniformly golden, which let me focus on other dishes. Guests loved that the bacon stayed crisp in a serving dish for longer than stovetop bacon usually does.
Storage Tips
Cool bacon to room temperature briefly, then place in an airtight container or wrap in aluminum foil before refrigerating. Properly stored, cooked slices remain fresh for up to 4 days. For longer storage, lay slices flat on a sheet pan and freeze until solid, then transfer to a freezer bag; this prevents sticking and saves space. Reheat gently in a 325°F oven for 5–8 minutes or in a skillet to restore crispness. Microwaving between paper towels works for single servings but can make edges slightly chewy if overdone.
Ingredient Substitutions
If you prefer lower-sodium options, choose turkey bacon — reduce bake time by a few minutes per side since turkey renders less fat. For a sweet-savory profile, lightly dust bacon with brown sugar before the final bake; expect a few extra minutes of caramelization time. For a smoky twist without pork, thinly sliced smoked salmon can be oven-baked at lower heat on parchment for a different application. Always adjust timing and watch closely when using alternative proteins.
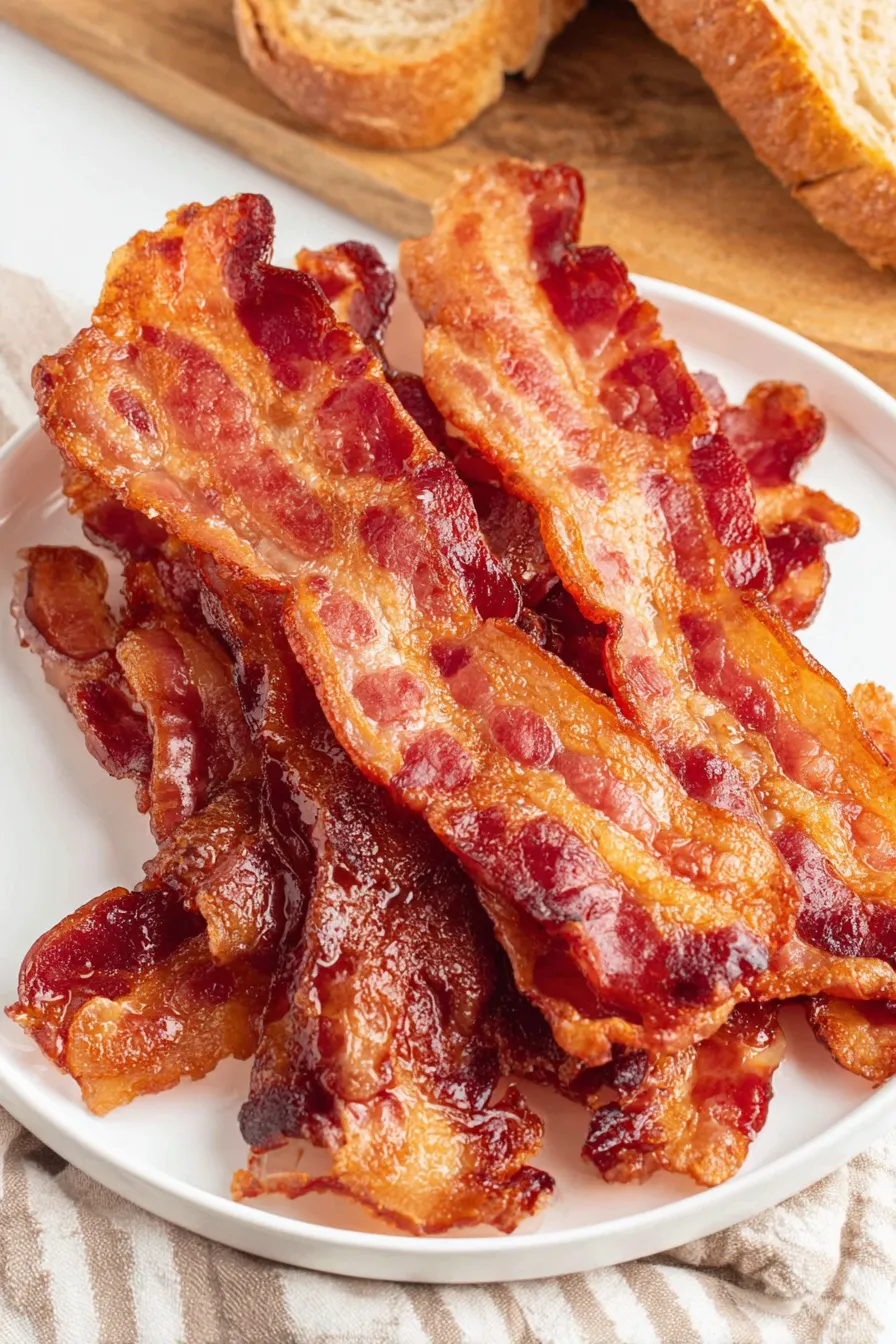
Serving Suggestions
Serve bacon with eggs and buttered toast, tucked into a BLT with ripe tomatoes and crisp lettuce, or crumbled atop a Caesar salad for added texture. For brunch, pair with pancakes and maple syrup — the sweet-savory contrast is classic. Garnish with a light sprinkle of cracked black pepper or chopped chives for color. Bacon also elevates baked potatoes, grain bowls, and roasted vegetable platters; chop it while warm for easier handling and better adhesion to other ingredients.
Cultural Background
Bacon has deep roots in many cuisines, particularly in American and European home cooking where cured pork belly has been a breakfast staple for generations. Historically, curing and smoking pork allowed families to preserve meat before refrigeration. The modern sheet-pan method is an evolution of home cooking priorities: convenience, cleanliness, and scale. Regions vary widely — some prefer thick-cut, heavily smoked slices while others favor thin, almost lacy strips. This flexibility makes bacon a culinary staple adaptable to many global dishes.
Seasonal Adaptations
In winter, pair bacon with root vegetables and braised greens for hearty plates; in summer, use crisp bacon in chilled grain salads or as a topping for grilled corn. During holidays, brush slices with maple syrup and roast briefly for a sticky, festive accent. For spring, use bacon to finish asparagus or to fold into quiche. Small changes in seasoning and pairings will adapt the same basic technique to any season.
Meal Prep Tips
Cook multiple batches at once and portion into meal-sized containers for the week — bacon keeps well and reheats quickly. Line containers with paper towels to absorb residual grease and keep crispness. For breakfast meal prep, pair three slices with a hard-boiled egg and fruit for grab-and-go mornings. Label and date any frozen portions, and use within three months for best texture and flavor.
This simple oven approach turns a humble ingredient into a reliable, crowd-pleasing component of many meals. It’s a small technique that saves time, reduces mess, and consistently yields perfectly cooked bacon — give it a try the next time you want foolproof results.
Pro Tips
Start with a cold oven if you want very even rendering, then increase to 350°F for the main baking period.
Flip bacon once midway to encourage uniform color on both sides, especially if your oven has hot spots.
Use parchment paper to simplify cleanup; discard the paper when cooled and wipe remaining fat from the pan.
For extra-crisp bacon, place on a wire rack over the sheet pan so hot air circulates underneath during the final minutes.
This nourishing oven-baked bacon (sheet-pan method) recipe is sure to be a staple in your kitchen. Enjoy every moist, high protein slice — it is perfect for breakfast or as a wholesome snack any time.
Tags
Oven-Baked Bacon (Sheet-Pan Method)
This Oven-Baked Bacon (Sheet-Pan Method) recipe makes perfectly juicy, tender, and flavorful steak every time! Serve with potatoes and a side salad for an unforgettable dinner in under 30 minutes.
Ingredients
Main
Supplies
Optional
Instructions
Preheat the oven
Preheat to 350°F (177°C) and allow the oven to reach full temperature before placing pans inside. For convection reduce temperature by 25°F.
Prepare pans
Line two rimmed baking sheets with parchment paper to catch grease and prevent sticking. Use heavy-duty parchment for best results.
Arrange bacon
Lay bacon in a single layer without touching; overlapping results in uneven cooking. Use tongs to space slices evenly.
Bake first side
Bake on the middle rack for 15 minutes for thin/regular slices. Look for loose fat and light browning at the edges as visual cues.
Flip and finish
Flip each slice and bake another 15 minutes (thin) or 20 minutes per side for thick-cut. Add a few minutes for deeper caramelization if desired.
Drain and serve
Transfer slices to paper towels and top with another layer to blot excess grease. Allow a short rest so bacon crisps further before serving.
Last Step: Please leave a rating and comment letting us know how you liked this recipe! This helps our business to thrive and continue providing free, high-quality recipes for you.
Nutrition
Did You Make This?
Leave a comment & rating below or tag
@paletina on social media!
Categories:
You might also like...

Chocolate Chunk Marshmallow Brownies
Ultra-fudgy brownies packed with chocolate chunks, crowned with gooey marshmallows and glossed with warm chocolate frosting for a decadent crowd-pleaser.

Buttery Pecan Pie Bars
Buttery shortbread crust topped with a gooey brown sugar-pecan filling. Ten minutes to prep, irresistibly crunchy edges, and perfect for make-ahead treats.

Creamy Pumpkin Cheesecake
Silky, crack-free pumpkin cheesecake with warm spice, buttery graham crust, and make-ahead convenience for showstopping holiday dinners.
Did You Make This?
Leave a comment & rating below or tag @paletina on social media!
Rate This Recipe
Share This Recipe
Enjoyed this recipe? Share it with friends and family, and don't forget to leave a review!
Comments (1)
This recipe looks amazing! Can't wait to try it.
Comments are stored locally in your browser. Server comments are displayed alongside your local comments.

Hi, I'm Isabella!
What's Popular

30-Minute Meals!
Join to receive our email series which contains a round-up of some of our quick and easy family favorite recipes.