
>>

Tiny red velvet cakes filled with a silky cream cheese center—perfect for parties, gifts, and sweet little moments.
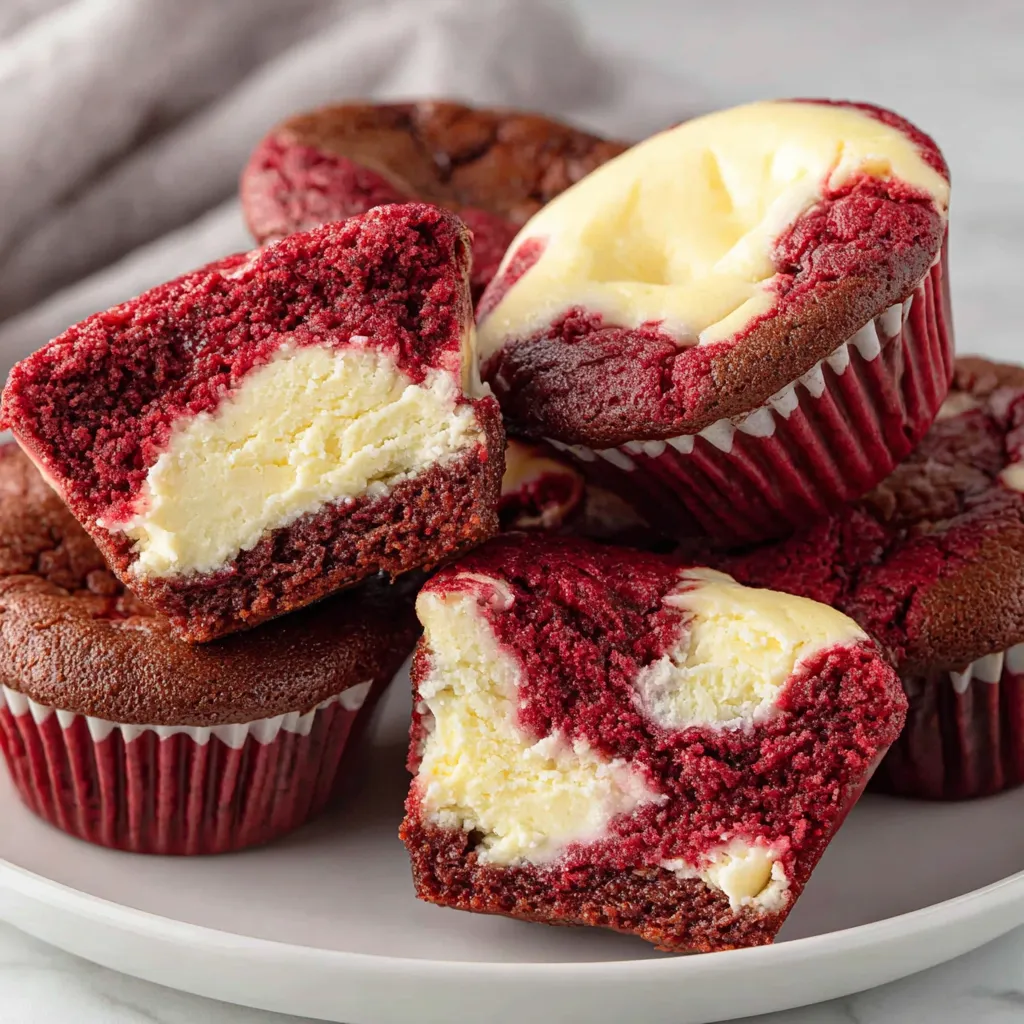
This batch of mini red velvet cheesecake bites has been my party secret for years. I first put these together on a chilly February afternoon when a last-minute bake sale request collided with a dwindling pantry. The contrast of the lightly chocolate-y, tender red velvet base against the dense, tangy cream cheese center felt like a tiny celebration in every bite. They’re sweet without being cloying, with a velvety crumb and a creamy heart that makes everyone reach for just one more.
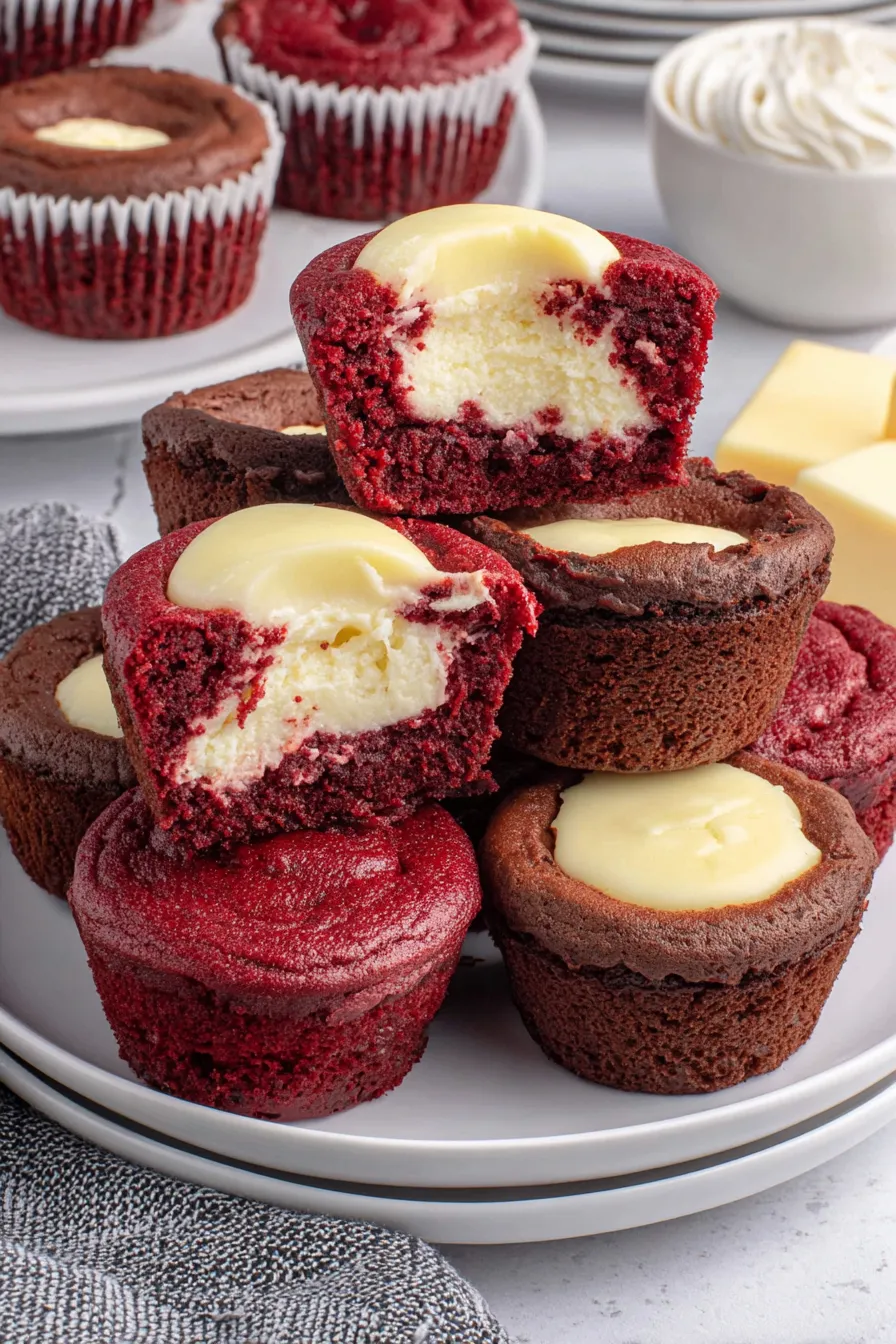
I learned early on that a few small details—room-temperature dairy, gentle mixing, and a steady hand with the piping bag—make the difference between a good bite and a truly unforgettable one. I often bring these to family gatherings and neighborhood potlucks; they travel well and look beautiful on a plate. The Sunny Side Up Bakery red gel I used gives a vibrant hue without watering down the batter, and the mini format ensures they disappear fast at any event.
My family’s reaction the first time I served these was immediate—my usually stoic father took three before anyone else noticed, and my niece proclaimed them "the best tiny cakes ever." Over the years I’ve tweaked the cocoa balance and the bake time until the centers stay creamy while the outside still holds its shape, a technique that makes these reliably successful even when you’re juggling other dishes.
My favorite thing about these little bites is how reliably they bring people together. They’ve been a centerpiece at birthday tables, a neighborhood block party favorite, and a quiet midweek indulgence for my family. The technique—simple mixing, precise filling, and careful cooling—means even bakers with modest experience can produce bakery-worthy results.
Store cooled bites in a single layer or separated with parchment paper in an airtight container in the refrigerator for up to 4 days. For longer storage, freeze on a tray until firm, then transfer to a freezer-safe bag for up to 3 months. Thaw overnight in the refrigerator and allow to come to cool-room temperature for 20–30 minutes before serving. Reheat gently in a low oven (275°F) for 5–7 minutes if you prefer them slightly warm—avoid microwaving, which can make the texture rubbery.
If you need to swap ingredients, use full-fat cream cheese for the best texture; light versions can be runny. For a dairy-free version, try a well-chilled vegan cream cheese and plant-based butter, though color and flavor will shift slightly. If you prefer less red color, reduce the gel to 1/2 tablespoon; conversely add another 1/2 teaspoon for a more vivid hue. Cocoa can be swapped between Dutch-process and natural—expect a slight shift in acidity and flavor.
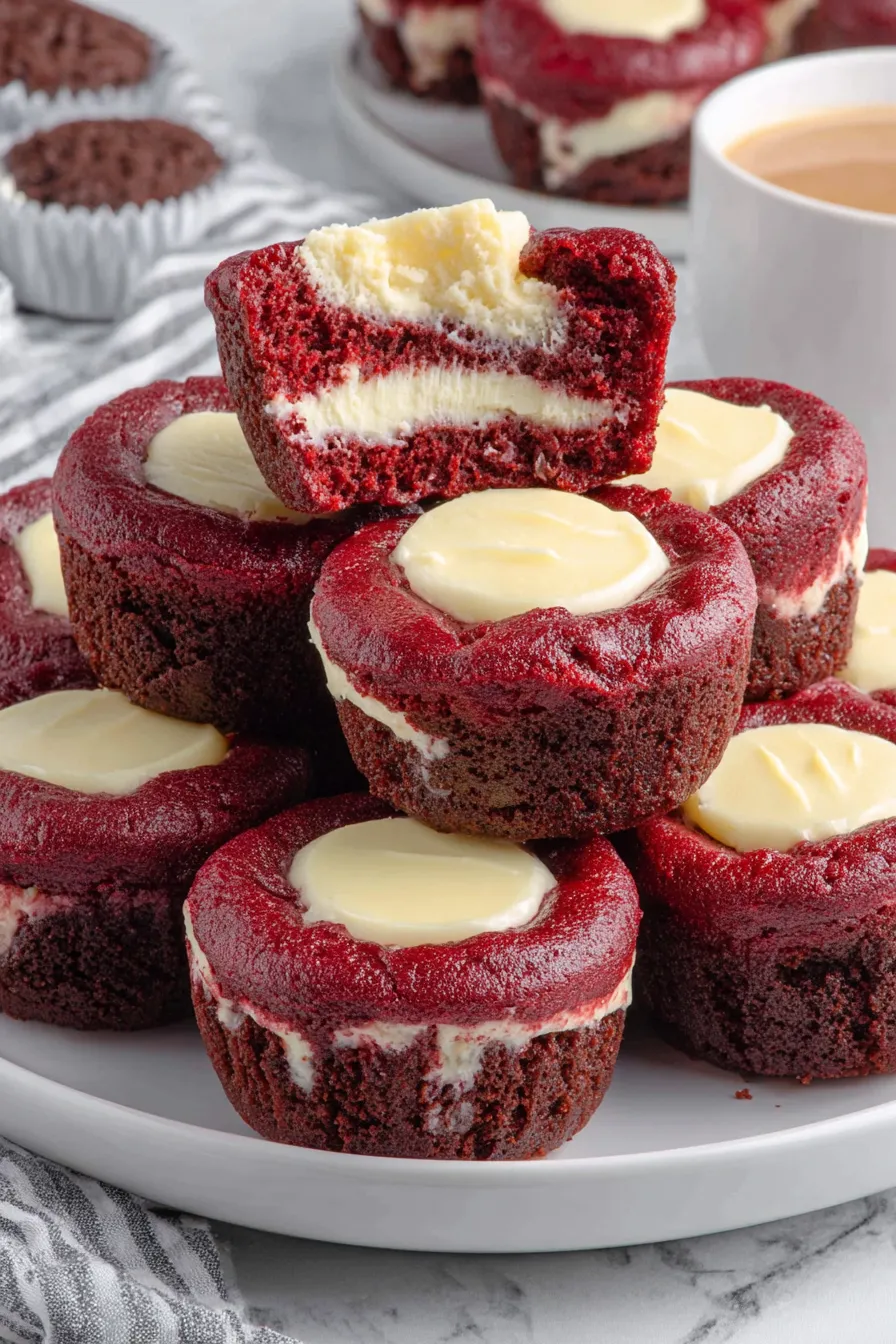
Serve these bites at room temperature for optimal creaminess. Garnish with a dusting of powdered sugar, a tiny piped swirl of whipped cream, or a single raspberry for a pop of brightness. They pair beautifully with black coffee, a lightly sweetened tea, or a glass of sparkling wine for celebrations. Present them on a tiered tray for a party or place a few in small cupcake liners for gifting.
Red velvet has roots in American baking, popularized in the American South with its signature red hue and subtle cocoa flavor. The color historically came from reactions between natural cocoa and acidic ingredients; modern gel coloring simply intensifies the aesthetic. Adding a cream cheese center is a contemporary twist that borrows from classic cheesecake traditions, blending two beloved desserts into a miniature, shareable form that carries both nostalgia and novelty.
These petite treats adapt well for holidays: top with peppermint crumbs for winter, swap the raspberry garnish for fresh strawberries in spring, or add a lime-zest whipped cream for summer. For autumn, fold a pinch of warm spice—cinnamon and nutmeg—into the base for a cozy flavor that still reads as red velvet but with a seasonal twist.
Make the base batter and filling up to a day ahead—cover and refrigerate separately. When ready to bake, bring both to room temperature (about 20 minutes), assemble, and bake. Alternatively, pre-scoop bases into the pan and freeze; add filling and bake directly from frozen, adding 1–2 minutes to the bake time. Use disposable piping bags for easy cleanup when making large quantities for events.
These mini red velvet cheesecake bites are proof that small things can make a big impression. Whether you’re feeding a crowd or savoring a quiet dessert, they’re simple to make, delightful to share, and endlessly adaptable. Try a batch this week and watch them vanish before your eyes.
Bring cream cheese and eggs to room temperature before mixing to ensure a smooth filling with no lumps.
Use a disposable piping bag or a quart-size zip-top bag for precise filling and easier cleanup.
Avoid overmixing the base batter; stir until just combined to keep the bases tender and soft.
Cool the bites in the pan for 20–30 minutes before removing to prevent breaking.
This nourishing mini red velvet cheesecake bites recipe is sure to be a staple in your kitchen. Enjoy every moist, high protein slice — it is perfect for breakfast or as a wholesome snack any time.
This Mini Red Velvet Cheesecake Bites recipe makes perfectly juicy, tender, and flavorful steak every time! Serve with potatoes and a side salad for an unforgettable dinner in under 30 minutes.
Preheat oven to 350°F. Spray a mini muffin pan (24-cup) with nonstick spray or brush with melted butter. Set aside.
Whisk 1 cup all-purpose flour with 1/4 cup plus 1 tablespoon unsweetened cocoa powder in a small bowl until well combined and free of lumps.
In a medium bowl, whisk cooled melted butter (3/4 cup), 1 1/4 cups sugar, 1 tablespoon red gel, 2 teaspoons vanilla, and 2 beaten large eggs until smooth.
Stir the dry mixture into the wet ingredients just until incorporated. Avoid overmixing to keep the base tender.
Beat 8 ounces softened cream cheese at medium-high speed for 1 minute. Add 1/4 cup sugar and 1 teaspoon vanilla, beat 1 to 1 1/2 minutes. Add 1 egg yolk and mix until no yellow streaks remain.
Fill a piping bag with the cheesecake filling. Add about 1 tablespoon red velvet batter to each mini well, then pipe approximately 2 teaspoons of filling into the center of each base.
Bake for 8 to 9 minutes until set but slightly soft in the center. Cool in the pan for 20 to 30 minutes, then remove to a wire rack to cool completely.
Last Step: Please leave a rating and comment letting us know how you liked this recipe! This helps our business to thrive and continue providing free, high-quality recipes for you.
Leave a comment & rating below or tag
@paletina on social media!

Ultra-fudgy brownies packed with chocolate chunks, crowned with gooey marshmallows and glossed with warm chocolate frosting for a decadent crowd-pleaser.

Buttery shortbread crust topped with a gooey brown sugar-pecan filling. Ten minutes to prep, irresistibly crunchy edges, and perfect for make-ahead treats.

Silky, crack-free pumpkin cheesecake with warm spice, buttery graham crust, and make-ahead convenience for showstopping holiday dinners.
Leave a comment & rating below or tag @paletina on social media!
Enjoyed this recipe? Share it with friends and family, and don't forget to leave a review!
This recipe looks amazing! Can't wait to try it.
Comments are stored locally in your browser. Server comments are displayed alongside your local comments.

Join to receive our email series which contains a round-up of some of our quick and easy family favorite recipes.
