
Homemade Hard Candy

Classic hard candy you can make at home with simple pantry ingredients. Brightly flavored, perfectly brittle pieces ideal for gifts and holidays.
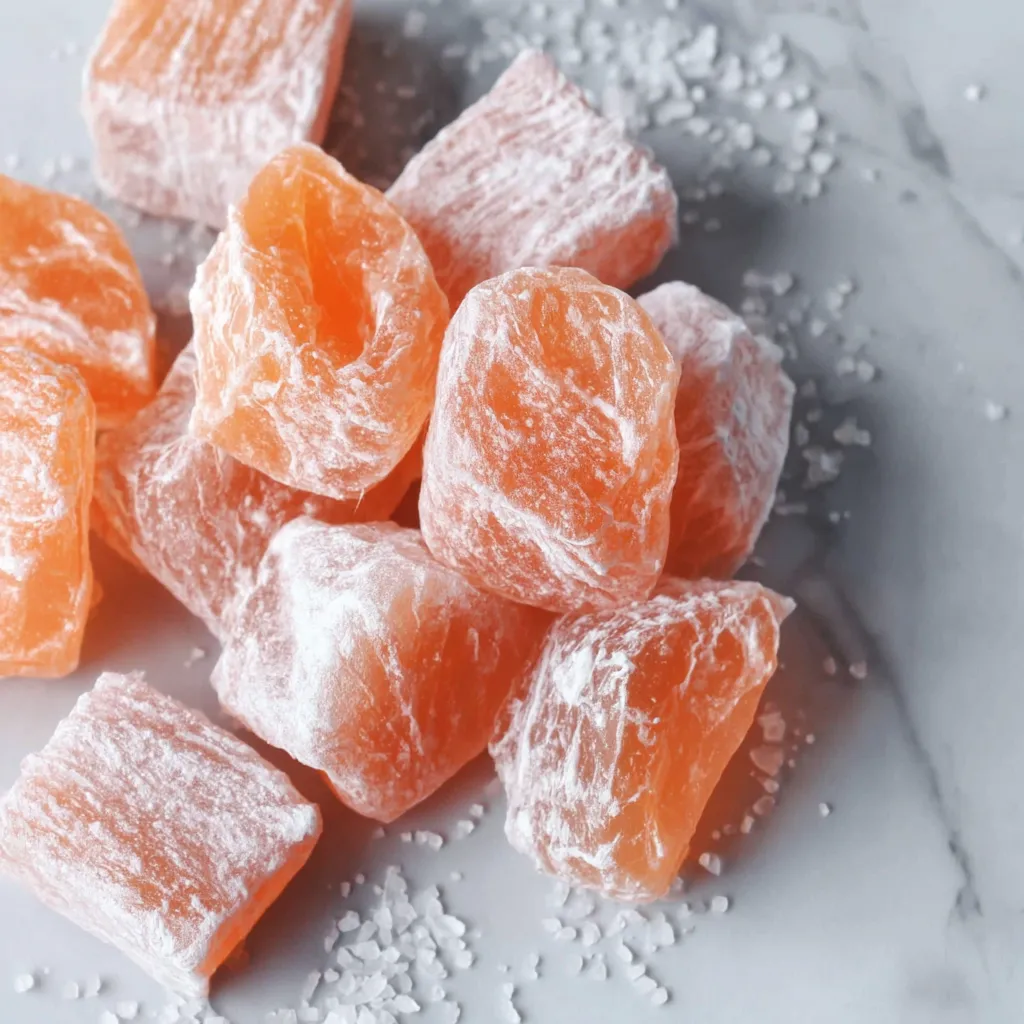
This recipe for homemade hard candy has been a holiday tradition in my kitchen for years. I first learned the basics from an old family friend who swore that a heavy saucepan and a reliable candy thermometer were the only secrets you needed. The result is bright, glassy candy that snaps cleanly and carries concentrated flavor whether you choose anise, lemon, or orange extract. The texture is satisfyingly brittle and the sheen is glasslike when the syrup reaches the correct temperature and is poured carefully into a sugared pan.
I discovered this particular method the winter I wanted a quick, no-fuss edible gift that did not require tempering or complex ingredients. The combination of granulated sugar, light corn syrup, and a little water yields a syrup that resists crystallization and sets into a crisp candy. Coating the finished candy in confectioners sugar prevents sticking and gives each piece a light, slightly powdery finish that is charming. Making these candies is part science and part patience; the sensory cues the liquid gives you at each step make the process meditative and rewarding.
Why You'll Love This Recipe
- Makes an impressive homemade sweet using pantry staples: granulated sugar, light corn syrup, and water, with optional extracts for flavor.
- Quick active time - about 15 minutes of prep and 20 minutes of cooking to reach the hard-crack stage, with hands-off cooling time afterward.
- Flexible flavor and color: use anise for classic minty liquorice tones, lemon for bright citrus, or orange for a warm, candy orange finish.
- Great for gifting and party favors - pieces store well in an airtight container and can be made ahead by a few weeks.
- Simple equipment list - a heavy saucepan, a candy thermometer, a shallow pan and basic kitchen tools are all you need.
- Make-ahead friendly: the candy holds up at room temperature and does not require refrigeration, saving fridge space.
My family always lights up when I bring out a tin of these candies. One year I wrapped them individually in wax paper and they became the centerpiece of our small gift exchange. The anise version prompted a chorus of surprised, delighted comments and a handful of immediate recipe requests. That moment is why I keep this method in my repertoire.
Ingredients
- Candy base: 2 cups granulated sugar, 3/4 cup light corn syrup, and 1/2 cup water. Use a reliable brand like Domino or C and H sugar and Karo light corn syrup for consistent results. The syrup prevents premature crystallization and yields a clear, hard finish.
- Preparation and finishing: 5 to 6 cups confectioners' sugar to coat the pan and the finished pieces. Confectioners' sugar contains a small amount of cornstarch which helps prevent stickiness when cutting and storing.
- Flavor: 1 to 2 teaspoons anise, lemon, or orange extract. Use pure extracts like McCormick for a cleaner flavor. Start with 1 teaspoon and add up to 2 if you prefer a stronger profile.
- Color (optional): Liquid food coloring in red, yellow, or orange. Wilton brand liquid colors disperse evenly in hot syrup. A few drops is enough; remember color intensifies as it cools.
Instructions
Prepare the pan: Choose a 15 by 10 by 1-inch shallow pan and fill it with 5 to 6 cups of confectioners' sugar to a depth of about 1/2 inch. Use the handle of a wooden spoon to draw a continuous curved-line indentation through the sugar. This shallow groove acts as a mold and gives you guide lines for cutting once the candy sets. Set the pan near your stove so you can work quickly when the syrup is ready. Combine ingredients in a heavy saucepan: In a large heavy-bottomed saucepan combine 2 cups granulated sugar, 3/4 cup light corn syrup, and 1/2 cup water. Place over medium heat and stir just until the sugar begins to dissolve. Use a wet pastry brush to wash down any crystals on the sides of the pan; this reduces the chance of unwanted crystal formation later. Dissolve sugar crystals: Bring the mixture to a boil. Once boiling, cover the pan and let it continue to cook, undisturbed, for 3 minutes. This trapped steam melts any remaining crystals on the surface of the syrup and helps ensure a clear finish. After three minutes uncover and continue to cook. Cook to hard-crack stage: Increase heat to medium-high and cook the syrup without stirring. Clip a candy thermometer to the pan and watch for 300 degrees Fahrenheit, the hard-crack stage. This usually takes 10 to 15 minutes from boil depending on your burner. Do not stir; if you see sugar crystals forming on the side, brush them down with a wet pastry brush. Add flavor and color: Immediately remove the pan from heat when the thermometer hits 300 degrees F. Let the bubbling settle for a few seconds, then stir in 1 to 2 teaspoons of your chosen extract and a few drops of liquid food coloring if using. Stir quickly and decisively so the flavor disperses before the syrup begins to set. Pour into the prepared mold: Carefully pour the hot syrup into a heatproof glass measuring cup to make handling safer. Working quickly, pour the syrup into the curved indentation in the confectioners' sugar. The sugar will act as a bed and prevent the candy from sticking to the pan surface. Coat and cool: Immediately cover the poured candy with more confectioners' sugar to prevent the surface from becoming tacky. Allow the candy to cool completely at room temperature until it is firm to the touch. This can take 30 to 60 minutes depending on room temperature and humidity. Cut and store: Once the candy is fully set use clean scissors to cut along the sugar groove into bite-sized pieces. Toss pieces briefly in confectioners sugar if they are sticky, then layer them in an airtight container separated by parchment. Store at room temperature away from humidity for up to several weeks.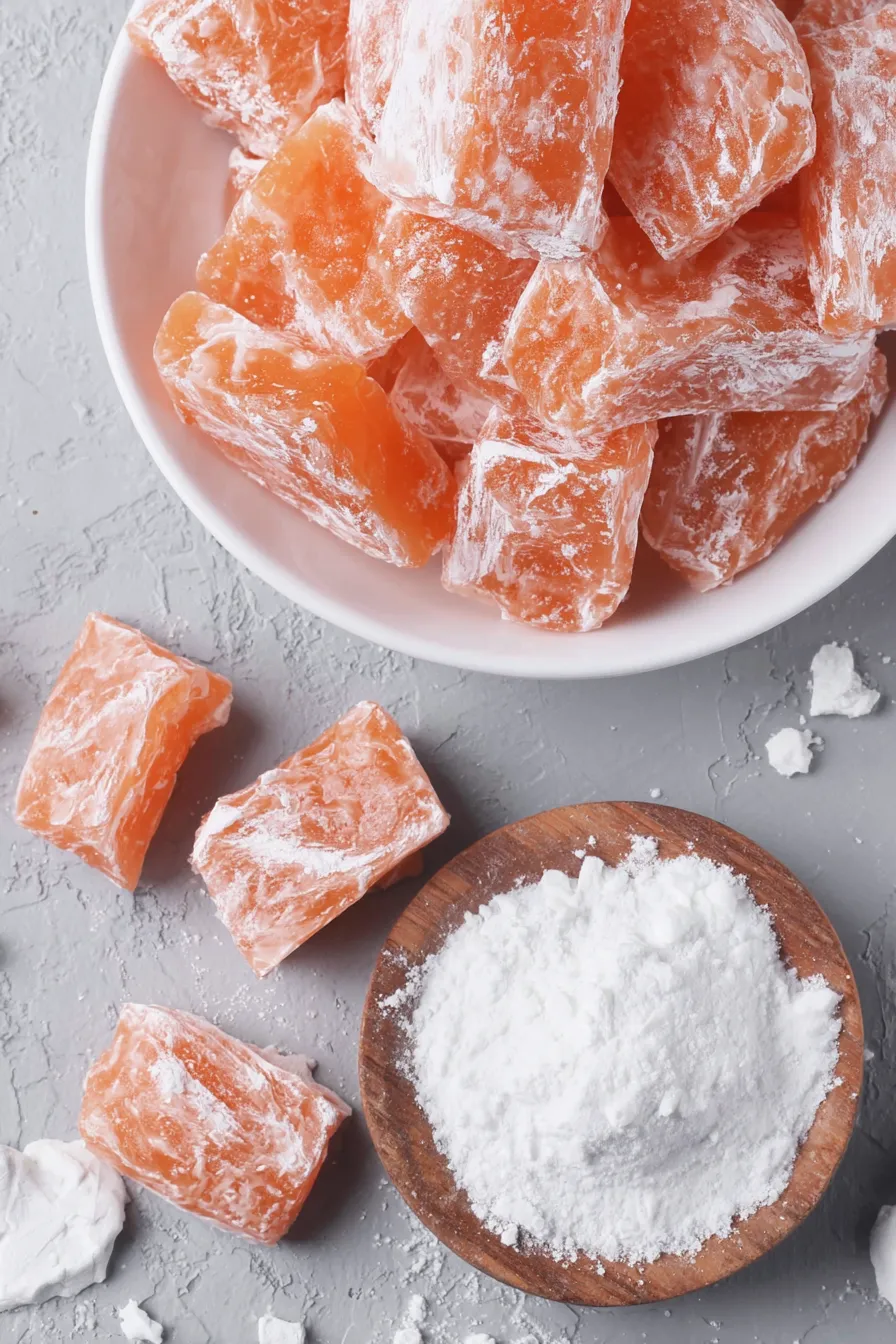
You Must Know
- Target temperature for a crisp, glassy finish is 300 degrees Fahrenheit, also known as the hard-crack stage.
- Store at room temperature in an airtight container. Candy can soften if exposed to humidity; use silica packets for long term storage if available.
- Confectioners' sugar contains cornstarch which helps prevent sticking. Expect a light powdery coating on the final pieces.
- Freezes well for up to 3 months if vacuum sealed; thaw at room temperature before unwrapping to avoid condensation.
My favorite part of making this candy is the calm precision of watching the thermometer and knowing that a couple of degrees makes the difference between chewy and perfectly brittle. One Thanksgiving I made lemon and orange variations and arranged them in a glass jar; the jar vanished by dessert. That simple joy of sharing a bright flavored piece with friends is why I return to this method year after year.
Storage Tips
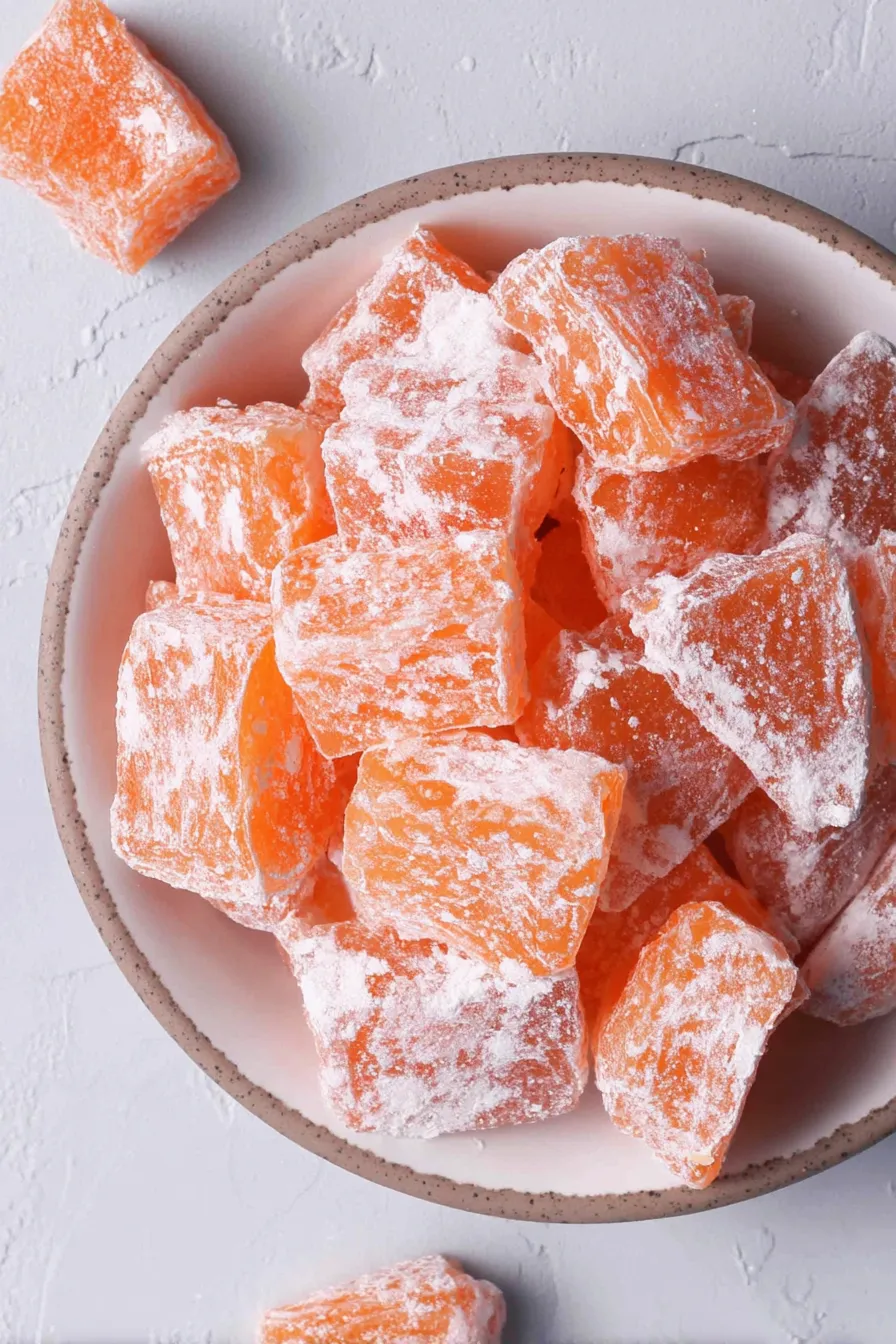
Store pieces in a cool, dry place in an airtight container layered between sheets of parchment or wax paper. Avoid refrigeration which can introduce moisture and cause the candy to become sticky. For gift giving, wrap individual pieces in small squares of wax paper and place them in a lined tin or cellophane bag. In humid climates include a small desiccant or keep containers in the coolest room in the house. Properly stored, pieces can remain crisp for several weeks; refrigeration is not recommended.
Ingredient Substitutions
If you do not have light corn syrup, use an equivalent amount of golden syrup or glucose syrup to achieve the same anti-crystallization effect, though flavor and color may shift slightly. For a dairy-free, vegan-friendly approach be aware that some granulated sugars are refined using bone char; seek out products labeled vegan if that is important. You may substitute powdered sugar coating with a mixture of cornstarch and a small amount of granulated sugar if you prefer less powdery finish. Flavor variations can use a combination of extracts or a citrus zest infusion added briefly before pouring.
Serving Suggestions
Display these candies in a glass jar or small tins for attractive gifts. Pair lemon or orange pieces with strong black tea as a palate cleanser, or serve anise pieces with coffee as a small after-dinner treat. For parties arrange assorted colors in small cups for guests to take. Garnish a dessert platter with a few pieces to add visual brightness and a concentrated hit of sweetness for those who prefer candy after a meal.
Cultural Background
Hard candy has a long tradition across many cultures as a portable sweet and a way to preserve sugar-based treats. Small, flavored hard sweets were popular in Europe as early as the 18th century and evolved into modern candies with the addition of corn syrup in the 20th century to prevent unwanted crystallization. Flavor profiles vary regionally: anise and licorice notes are common in Mediterranean confections while citrus flavors are popular in North America and northern Europe.
Seasonal Adaptations
For winter holidays try spicing the syrup with a pinch of ground cinnamon or clove along with orange extract. For spring and summer use bright lemon or watermelon flavoring and pastel colors. For Halloween consider deep red and orange hues and package the pieces in themed wrappers. Adjust the amount of extract by a half teaspoon for stronger or milder flavor depending on season and audience.
Meal Prep Tips
Make multiple batches and store them in airtight containers separated by parchment for quick grab-and-go treats. Prepare the confectioners' sugar bed in several pans ahead of time and mark grooves to speed pouring when syrup is ready. Keep scissors clean and ready for quick cutting once set. For busy schedules make candy the day before an event and store overnight at room temperature for a quick assembly of candies into gift tins on the day of gifting.
These candies capture the simple pleasure of handmade sweets. The combination of precise technique and creative flavoring makes each batch feel personal. I hope you enjoy making and sharing them as much as I do.
Pro Tips
Use a heavy-bottomed saucepan and a good candy thermometer clipped to the side for accurate temperature readings.
Brush down sugar crystals on the pan sides with a wet pastry brush during heating to prevent unwanted crystallization.
Work quickly when pouring and flavoring as syrup begins to set fast once removed from heat.
If your candy is sticky after cooling, toss pieces briefly in confectioners sugar and store in a dry container.
This nourishing homemade hard candy recipe is sure to be a staple in your kitchen. Enjoy every moist, high protein slice — it is perfect for breakfast or as a wholesome snack any time.
Tags
Homemade Hard Candy
This Homemade Hard Candy recipe makes perfectly juicy, tender, and flavorful steak every time! Serve with potatoes and a side salad for an unforgettable dinner in under 30 minutes.
Ingredients
Candy Base
Preparation and Finishing
Instructions
Prepare the pan
Fill a 15 x 10 x 1-inch pan with 5 to 6 cups of confectioners' sugar to a depth of 1/2 inch. Use the handle of a wooden spoon to create a continuous curved-line indentation to act as a mold and cutting guide. Set pan aside within reach.
Combine ingredients
In a large heavy-bottomed saucepan combine 2 cups granulated sugar, 3/4 cup light corn syrup, and 1/2 cup water. Place over medium heat and stir occasionally until sugar begins to dissolve. Wash down sugar crystals on pan sides with a wet pastry brush.
Dissolve sugar crystals
Once mixture reaches a boil, cover the saucepan and continue cooking for 3 minutes without stirring. This melts remaining crystals and helps prevent crystallization for a clear finish.
Cook to hard-crack stage
Uncover and increase heat to medium-high. Cook without stirring until a candy thermometer registers 300 degrees Fahrenheit. This is the hard-crack stage for a brittle texture. Expect 10 to 15 minutes from boil depending on heat.
Add flavor and color
Remove the pan from heat immediately at 300 degrees F. Let bubbling subside for a few seconds and stir in 1 to 2 teaspoons of chosen extract and a few drops of liquid food coloring if desired. Stir quickly.
Pour into mold
Carefully pour hot syrup into a heatproof glass measuring cup, then quickly pour into the curved indentation in the confectioners' sugar bed. Work swiftly as syrup sets rapidly.
Coat and cool
Cover the poured candy with additional confectioners sugar to prevent tackiness on the surface. Allow the candy to cool completely at room temperature until firm, typically 30 to 60 minutes.
Cut and store
Once fully set, use scissors to cut the candy along the sugar indentation into bite-sized pieces. Toss briefly in confectioners sugar if needed, then store in an airtight container at room temperature away from humidity.
Last Step: Please leave a rating and comment letting us know how you liked this recipe! This helps our business to thrive and continue providing free, high-quality recipes for you.
Nutrition
Did You Make This?
Leave a comment & rating below or tag
@paletina on social media!
Categories:
You might also like...
Chocolate Chunk Marshmallow Brownies
Ultra-fudgy brownies packed with chocolate chunks, crowned with gooey marshmallows and glossed with warm chocolate frosting for a decadent crowd-pleaser.
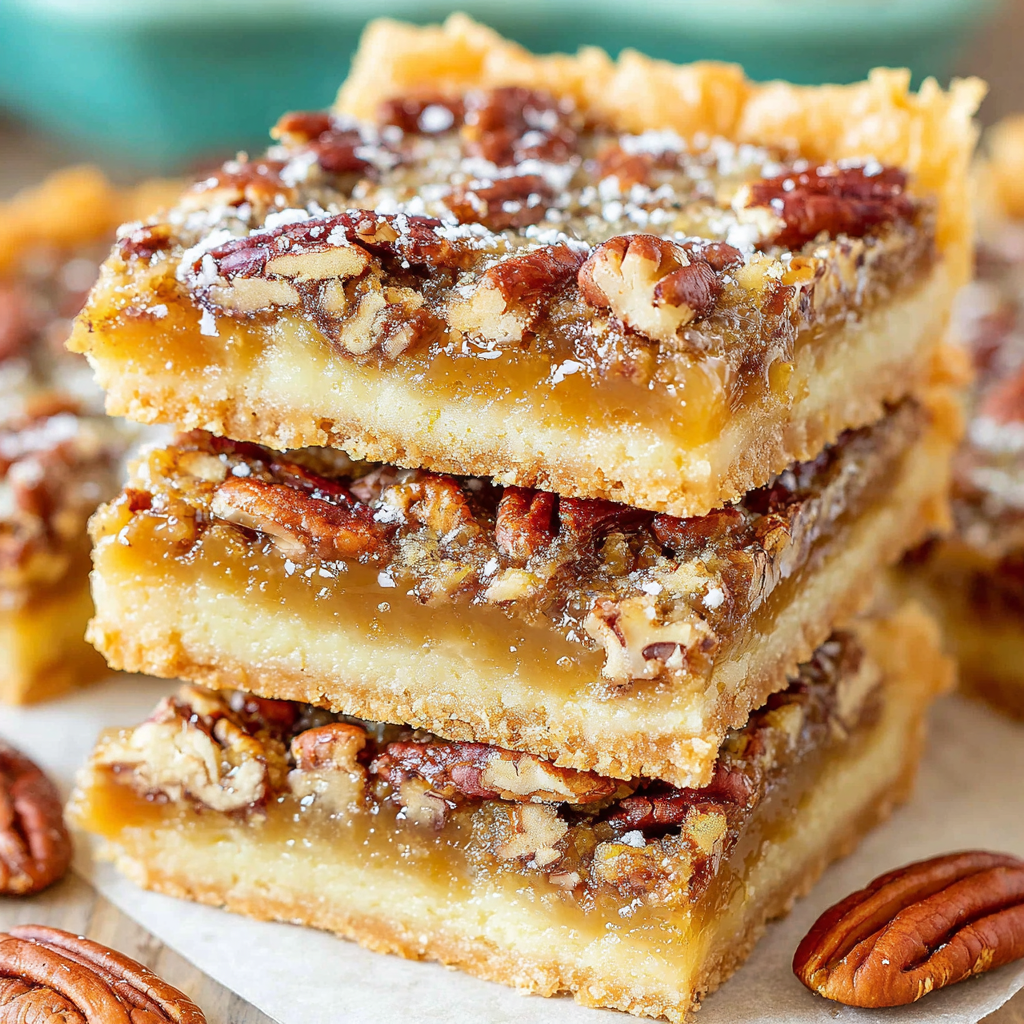
Buttery Pecan Pie Bars
Buttery shortbread crust topped with a gooey brown sugar-pecan filling. Ten minutes to prep, irresistibly crunchy edges, and perfect for make-ahead treats.
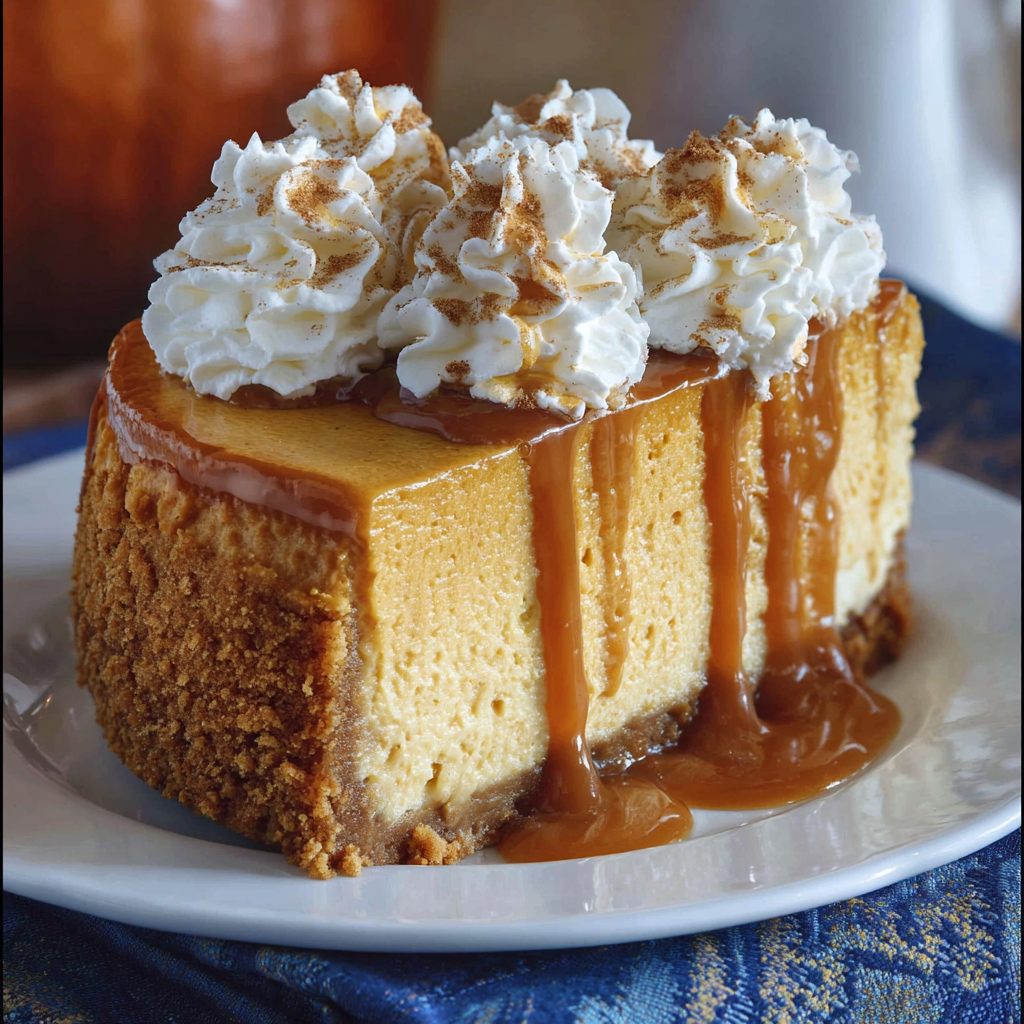
Creamy Pumpkin Cheesecake
Silky, crack-free pumpkin cheesecake with warm spice, buttery graham crust, and make-ahead convenience for showstopping holiday dinners.
Did You Make This?
Leave a comment & rating below or tag @paletina on social media!
Rate This Recipe
Share This Recipe
Enjoyed this recipe? Share it with friends and family, and don't forget to leave a review!
Comments (1)
This recipe looks amazing! Can't wait to try it.
Comments are stored locally in your browser. Server comments are displayed alongside your local comments.

Hi, I'm Isabella!
What's Popular
30-Minute Meals!
Join to receive our email series which contains a round-up of some of our quick and easy family favorite recipes.