
Doritos Taco Casserole

A crowd-pleasing Doritos taco casserole layered with seasoned beef, corn, tomatoes with chiles, creamy sour cream and melted cheese — finished with crunchy Doritos on top for extra texture.

This Doritos taco casserole has been a weeknight lifesaver and a party favorite in my kitchen for years. I first cobbled it together one rainy evening when I needed to feed a hungry group with what I had on hand: a pound of ground beef, a bag of Doritos, a tub of sour cream and a handful of frozen corn. The taste surprised me — it was comforting, boldly flavored, and had that irresistible Doritos crunch that everyone loved. It quickly earned a permanent spot in our rotation for potlucks, game nights and comfort-dinner nights when we wanted something a little nostalgic yet effortless.
What makes this dish special is the balance of textures and the way each ingredient supports the rest: a creamy, tangy base from sour cream, bright heat from petite diced tomatoes with green chiles, sweet kernels of corn, melty Mexican cheese and that unmistakable Doritos flavor woven into the filling and then layered on top for crunch. It tastes like a taco plate deconstructed into a warm, cheesy bake — portable, forgiving and endlessly adaptable. Every time I bring it to gatherings the casserole dish returns empty and I always get asked for the recipe.
Why You'll Love This Recipe
- Quick to assemble: ready to go from counter to oven in about 20 minutes, perfect for busy weeknights or last-minute guests.
- Uses pantry staples: relies on a few common items like ground beef, canned tomatoes and a bag of Doritos, so you can throw it together without a special shopping trip.
- Crowd-pleaser: familiar taco flavors with cheese and chips appeal to kids and adults; it doubles well for potlucks and game-day spreads.
- Make-ahead friendly: you can assemble it ahead and bake before serving, or bake and reheat with minimal loss of texture.
- Customizable heat and toppings: swap the tomatoes for a milder or hotter variety, add jalapeños or use a different chip flavor to change the profile instantly.
In my experience this dish performs reliably under pressure. I discovered that folding in the crushed chips into the filling gives the bake body and depth, while reserving larger chip pieces for the top preserves a crunchy contrast after baking. The family reaction is always the same: seconds and requests for the recipe. It also travels well to potlucks — cover it tightly and reheat gently at the host's house for shining results.
Ingredients
- Doritos: 2 cups finely crushed plus 1 cup loosely crushed for topping. Use the original flavor for the classic profile; nacho cheese will be most nostalgic. Crush two cups to crumbs for body and keep one cup chunkier to layer on top.
- Ground beef: 1 pound. Choose 80/20 for flavor and richness; if you prefer leaner, 90/10 works but add a splash of olive oil when browning to prevent dryness.
- Yellow onion: 1/2 medium, diced. Adds sweetness and aromatic depth; sauté until translucent for best flavor integration.
- Garlic: 1 teaspoon minced. Fresh garlic gives brightness; add at the end of browning to avoid bitterness.
- Frozen corn: 12 ounces. No need to thaw; the kernels add sweet pop and help stretch the filling.
- Taco seasoning: 1 packet (about 1 ounce). Use your favorite brand or homemade blend for control over sodium and heat.
- Petite diced tomatoes with green chiles: 1 (14.5-ounce) can, not drained. The juices add saucy moisture and a mild kick.
- Sour cream: 1 cup. Provides creaminess and tang to bind the filling and balance spices.
- Mexican cheese blend: 3 cups shredded. A mix of cheddar, Monterey Jack and queso quesadilla melts well and delivers a classic flavor.
- Garnishes (optional): sliced green onions, diced tomatoes, shredded lettuce, avocado and extra sour cream. Fresh toppings brighten the rich bake.
Instructions
Preheat and prep dish: Preheat the oven to 350°F. Lightly spray a 9x13-inch casserole dish with nonstick spray. Preheating ensures even baking and prevents the cheese from overcooking before the center is warmed. Crush chips: Gently crush the Doritos. Measure out 2 cups finely crushed, resembling coarse breadcrumbs, and set aside. Reserve 1 cup roughly crushed so larger pieces remain for the topping; these will keep their crunch during the final bake. Brown beef and aromatics: In a large skillet over medium-high heat, brown 1 pound ground beef with 1/2 diced yellow onion until the beef is no longer pink and the onion is translucent, about 6-8 minutes. Drain excess fat to avoid a greasy casserole. Add 1 teaspoon minced garlic and cook 30-60 seconds until fragrant, taking care not to burn. Build the filling: Stir in 12 ounces frozen corn, 1 packet taco seasoning, the entire 14.5-ounce can of petite diced tomatoes with green chiles (do not drain), and the 2 cups finely crushed Doritos. Remove the skillet from heat and stir in 1 cup sour cream and 2 cups of the shredded Mexican cheese until evenly combined. The crushed chips absorb some liquid and give structure to the filling. Assemble and first bake: Pour the mixture into the prepared 9x13 pan, spreading it into an even layer. Place in the preheated oven and bake for 5 minutes, just to heat through and start melting the cheese. Finish and crisp: Remove the dish from the oven. Sprinkle the remaining 1 cup cheese evenly over the top, then scatter the 1 cup loosely crushed Doritos in an even layer. Return to the oven and bake another 5 minutes until the cheese is melted and the chips on top are lightly toasted. Let rest 5 minutes before serving to set.
You Must Know
- This dish keeps well in the refrigerator for up to 4 days in an airtight container and freezes for up to 3 months; thaw overnight before reheating.
- High in protein and fat due to beef and cheese; approximate calories are 580 per serving when serving 6 portions.
- To reheat: cover with foil and bake at 325°F until warmed through, or microwave individual portions until heated, topping with fresh garnishes after reheating.
- If you want a crisper top, broil for 30-60 seconds while watching carefully to avoid burning the chips.
My favorite part of making this is the contrast between the creamy interior and the crunchy Doritos top. Friends often tell me it's like the best parts of nachos and tacos combined into one comfort-forward pan. It has become our go-to for casual celebrations because it tastes indulgent while requiring very little hands-on time.

Storage Tips
Store leftovers in an airtight container in the refrigerator for up to 4 days. For best texture, separate the crunchy topping if you anticipate reheating multiple times and add fresh crushed chips after reheating. To freeze, cool completely, wrap tightly in foil and place in a freezer-safe container for up to 3 months. When reheating from frozen, thaw overnight in the refrigerator, then warm in a 325°F oven covered with foil for 20-30 minutes, uncovering in the last 5-7 minutes to re-crisp the top.
Ingredient Substitutions
Swap ground beef for ground turkey or chicken for a leaner option; increase the sour cream to 1 1/4 cups if using lean meat to keep it moist. For a vegetarian version, use a plant-based ground 'meat' substitute and a dairy-free sour cream plus vegan cheese. If you prefer less sodium or spice, use no-salt-added diced tomatoes and half a packet of taco seasoning, adding chili powder and cumin to taste. Corn can be replaced with black beans for extra fiber and protein.
Serving Suggestions
Serve straight from the casserole dish with bowls of garnish: diced tomatoes, shredded lettuce, sliced green onions, diced avocado and extra sour cream. Pair with a simple cilantro-lime slaw, a side salad of crisp romaine and lime vinaigrette, or charred street corn for a festive spread. For a lighter meal, serve smaller portions alongside a large green salad. Garnishes add freshness and cut through the richness.
Cultural Background
This bake is a playful Tex-Mex inspired creation that riffs on familiar taco elements — seasoned meat, chile-studded tomatoes, cheese and chips. While not traditional, it borrows from the American block-party practice of turning handheld foods into shareable casseroles. Doritos, originating as a flavored corn chip in the United States, bring a distinctive processed snack taste that's become a nostalgic flavor component in many modern casual dishes.
Seasonal Adaptations
In summer, swap frozen corn for fresh grilled corn kernels and top with chopped cilantro and a squeeze of lime for brightness. In cooler months, add roasted poblano peppers or a handful of sautéed mushrooms for earthiness. For the holidays, make individual ramekin-sized portions to pass easily at gatherings, or double the recipe for a buffet-style main with multiple toppings stations.
Meal Prep Tips
Assemble the casserole in the morning or the night before, cover and refrigerate; bake about 10-15 minutes longer if starting cold. For grab-and-go lunches, portion into individual containers after baking and cool completely before refrigerating. Reheat covered in the microwave or oven and add fresh garnishes just before serving to preserve texture. Using pre-shredded cheese and a pre-made taco seasoning packet saves time on busy days.
Whether you make this for a family dinner, game-day spread or potluck, the blend of creamy filling and crunchy Doritos topping is reliably satisfying. Make it your own with toppings and swaps that reflect your pantry and the people you’re feeding — and enjoy the smiles when you bring it to the table.
Pro Tips
Reserve some larger chip pieces for the topping so the casserole has a contrasting crunch after baking.
Drain excess fat after browning the beef to prevent a greasy casserole; leave a tablespoon for flavor if you used lean meat.
To prevent a soggy top, add the loosely crushed chips and remaining cheese only during the final five minutes of baking.
This nourishing doritos taco casserole recipe is sure to be a staple in your kitchen. Enjoy every moist, high protein slice — it is perfect for breakfast or as a wholesome snack any time.
Tags
Doritos Taco Casserole
This Doritos Taco Casserole recipe makes perfectly juicy, tender, and flavorful steak every time! Serve with potatoes and a side salad for an unforgettable dinner in under 30 minutes.
Ingredients
Base
Protein & Veg
Seasoning & Sauce
Cheese & Garnish
Instructions
Preheat and prepare dish
Preheat the oven to 350°F and spray a 9x13-inch casserole dish with nonstick spray.
Crush chips
Gently crush Doritos, measuring 2 cups finely crushed and reserving 1 cup loosely crushed for topping.
Brown beef and aromatics
In a large skillet, brown 1 pound ground beef with 1/2 diced onion until cooked through, drain excess grease, then add 1 teaspoon minced garlic and cook 30-60 seconds.
Combine filling ingredients
Stir in 12 ounces frozen corn, 1 packet taco seasoning, the 14.5-ounce can of diced tomatoes with chiles (undrained), and 2 cups finely crushed Doritos. Remove from heat and fold in 1 cup sour cream and 2 cups shredded cheese.
First bake
Pour mixture into prepared dish and bake at 350°F for 5 minutes to warm through and begin melting the cheese.
Top and finish
Sprinkle remaining 1 cup cheese and 1 cup loosely crushed Doritos on top. Bake an additional 5 minutes until cheese is melted and chips are lightly toasted. Rest 5 minutes before serving.
Last Step: Please leave a rating and comment letting us know how you liked this recipe! This helps our business to thrive and continue providing free, high-quality recipes for you.
Nutrition
Did You Make This?
Leave a comment & rating below or tag
@paletina on social media!
Categories:
You might also like...
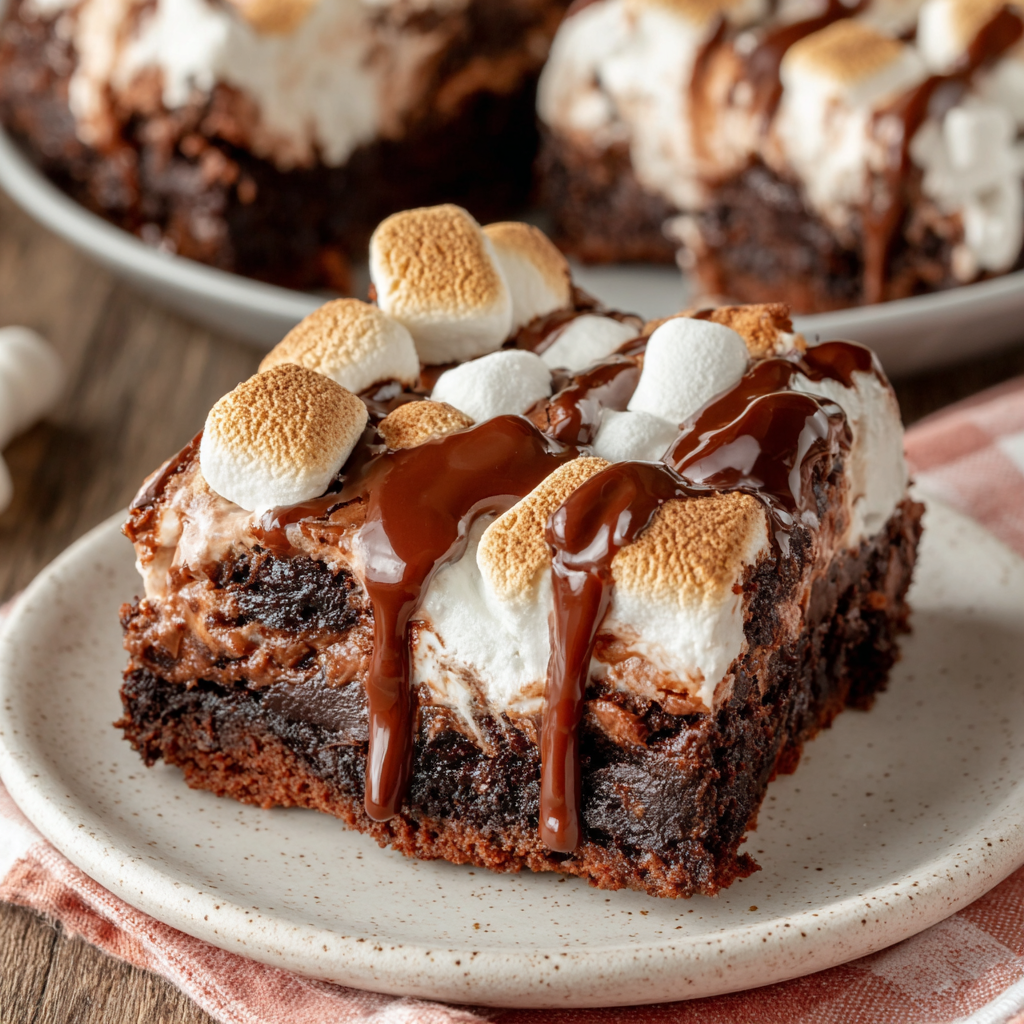
Chocolate Chunk Marshmallow Brownies
Ultra-fudgy brownies packed with chocolate chunks, crowned with gooey marshmallows and glossed with warm chocolate frosting for a decadent crowd-pleaser.
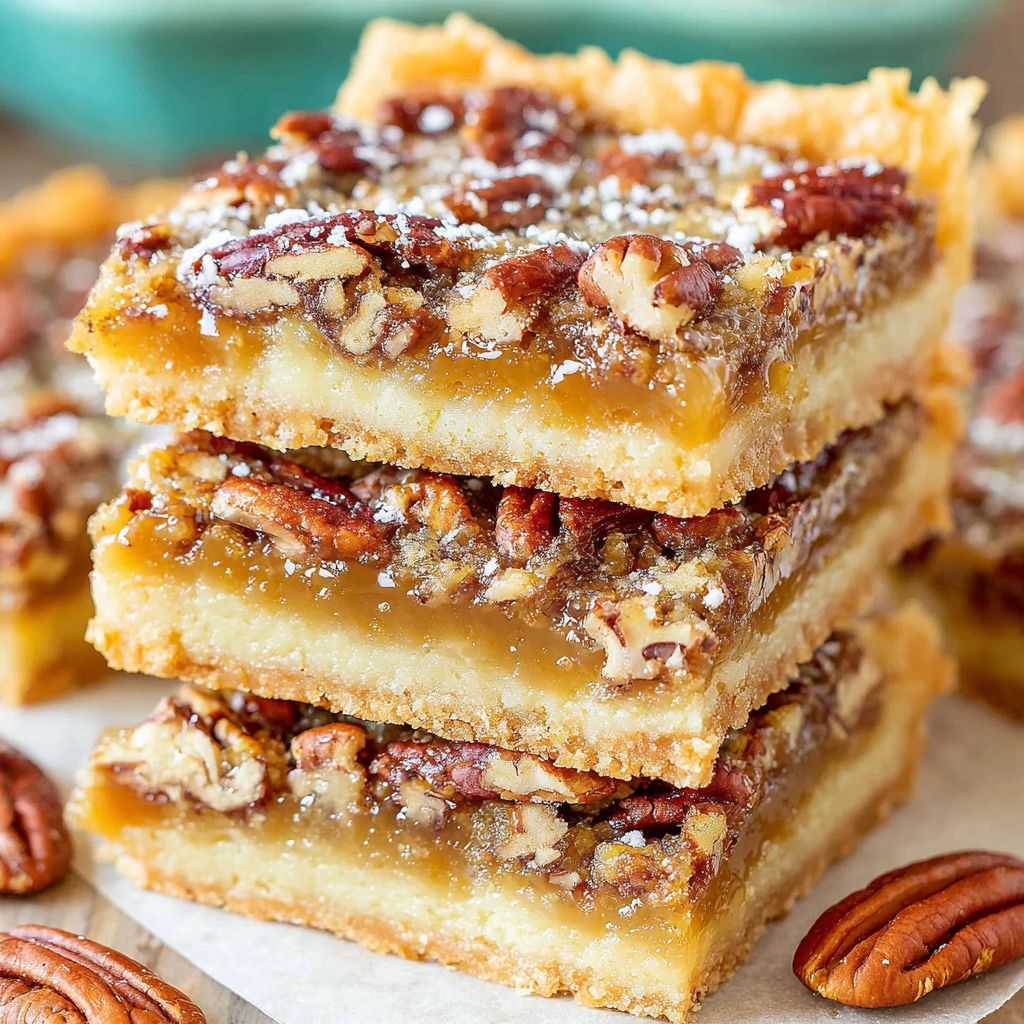
Buttery Pecan Pie Bars
Buttery shortbread crust topped with a gooey brown sugar-pecan filling. Ten minutes to prep, irresistibly crunchy edges, and perfect for make-ahead treats.
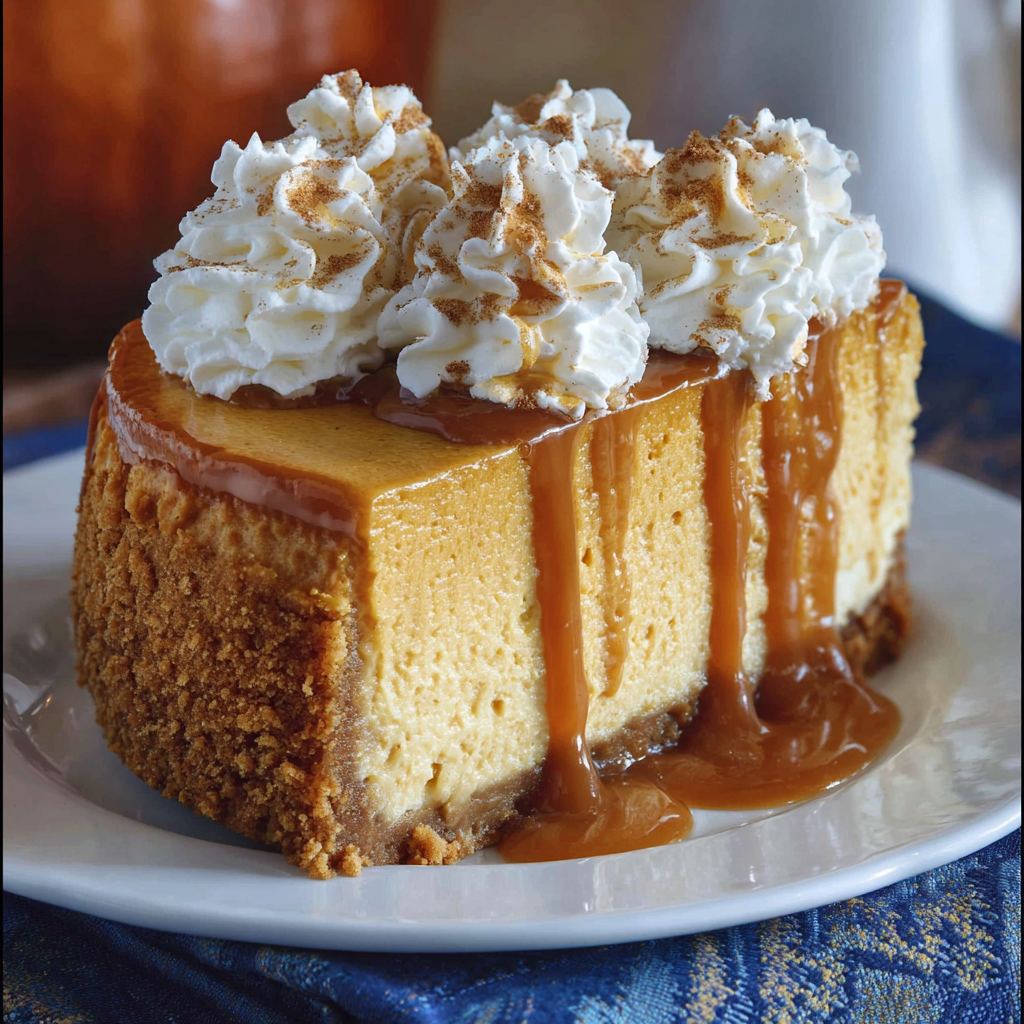
Creamy Pumpkin Cheesecake
Silky, crack-free pumpkin cheesecake with warm spice, buttery graham crust, and make-ahead convenience for showstopping holiday dinners.
Did You Make This?
Leave a comment & rating below or tag @paletina on social media!
Rate This Recipe
Share This Recipe
Enjoyed this recipe? Share it with friends and family, and don't forget to leave a review!
Comments (1)
This recipe looks amazing! Can't wait to try it.
Comments are stored locally in your browser. Server comments are displayed alongside your local comments.

Hi, I'm Isabella!
What's Popular
30-Minute Meals!
Join to receive our email series which contains a round-up of some of our quick and easy family favorite recipes.