
>>

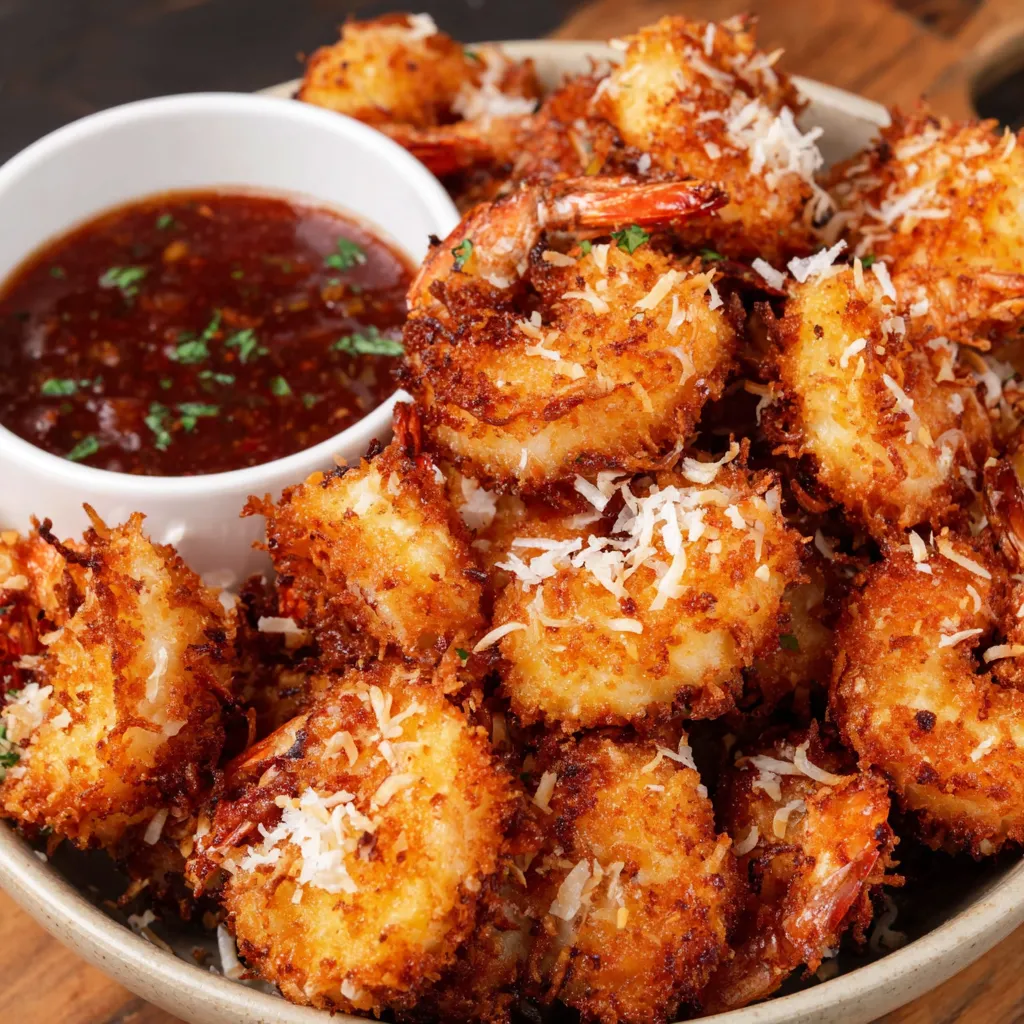
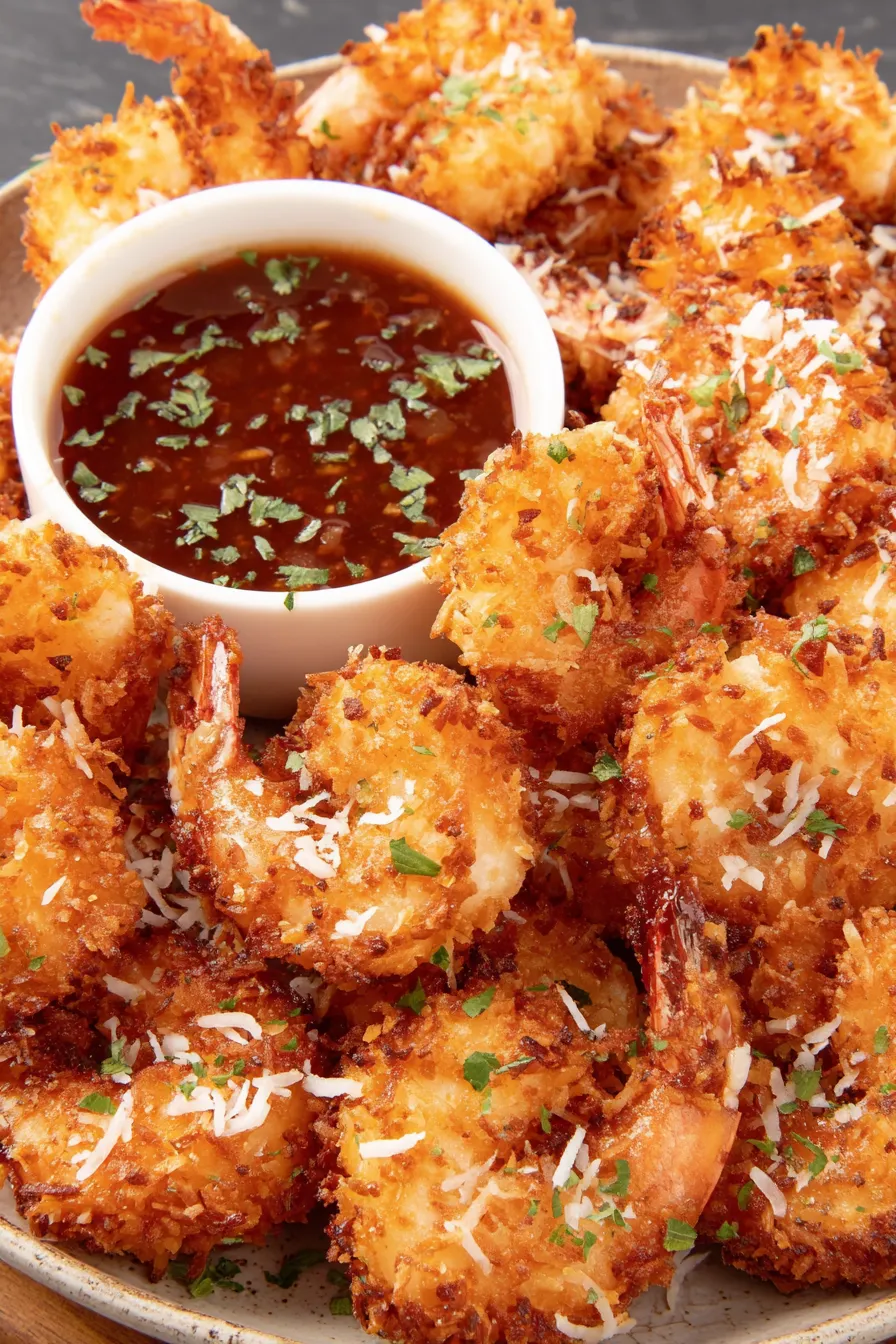
Crisp, golden coconut-coated shrimp fried to perfection — a crowd-pleasing appetizer or weeknight treat with a tropical crunch.
This coconut shrimp is one of those recipes that instantly transports me back to sunlit afternoons and family gatherings. I first fell in love with this version during a summer potluck when a neighbor brought a platter of crunchy, sweet-tart shrimp that vanished in minutes. I recreated the coating, refined the frying temperature, and learned how to keep the coconut crisp while the interior shrimp stays tender. The contrast between the lightly sweet coconut, the crunchy panko, and the juicy sea-salty shrimp makes every bite addictive.
I make this when I want guests to feel pampered without spending hours in the kitchen — it reads fancy but comes together quickly. The texture is the star: a delicate shell of crisp panko and coconut gives way to a plump, springy shrimp. The aroma of toasted coconut and frying oil always gets people off the couch and into the kitchen. I prefer using large shrimp for balance, and I have a few tricks below to keep the coating adhered and the coconut perfectly golden, not burned.
I remember the first time I served these to my family — the kids insisted on trying the crunchy edge first and then the plump tail. We discovered that a squeeze of lime brightened the flavor beautifully, and leftovers reheated briefly under the broiler keep some of the crispness. Over the years I have swapped oils and adjusted frying times to keep the coating light rather than heavy, and these adjustments made the recipe a repeat favorite.
My favorite thing about this dish is watching people’s faces when they bite into the first piece — that audible crunch followed by a surprised, delighted smile. We’ve served this at holiday parties and casual backyard barbecues; once I made a large batch for a birthday and neighbors texted asking for the recipe before the night was over. The simplicity of ingredients hides the skill in timing and temperature, which once dialed in yields consistent, beautiful results.
Cool shrimp on a wire rack briefly before transferring to an airtight container lined with a paper towel to absorb any residual oil. In the refrigerator, use within 48 hours for best texture. For longer storage, freeze fully cooled cooked shrimp in a single layer on a sheet pan, then transfer to a freezer bag for up to 3 months. To reheat from frozen, thaw overnight in the fridge and re-crisp under a hot broiler or in a 400°F oven for 4–6 minutes, turning once. Avoid microwaving, which will make the coating soggy.
To make a gluten-free version, swap the all-purpose flour for rice flour or a gluten-free flour blend and use gluten-free panko. For a grain-free approach, almond flour can replace the flour step and crushed pork rinds mixed with unsweetened shredded coconut can stand in for panko. If you prefer a richer flavor, use refined coconut oil for frying; for a lighter neutral taste, choose canola or peanut oil. If egg whites are an issue, a thin batter of aquafaba can sometimes substitute, though adhesion will differ.
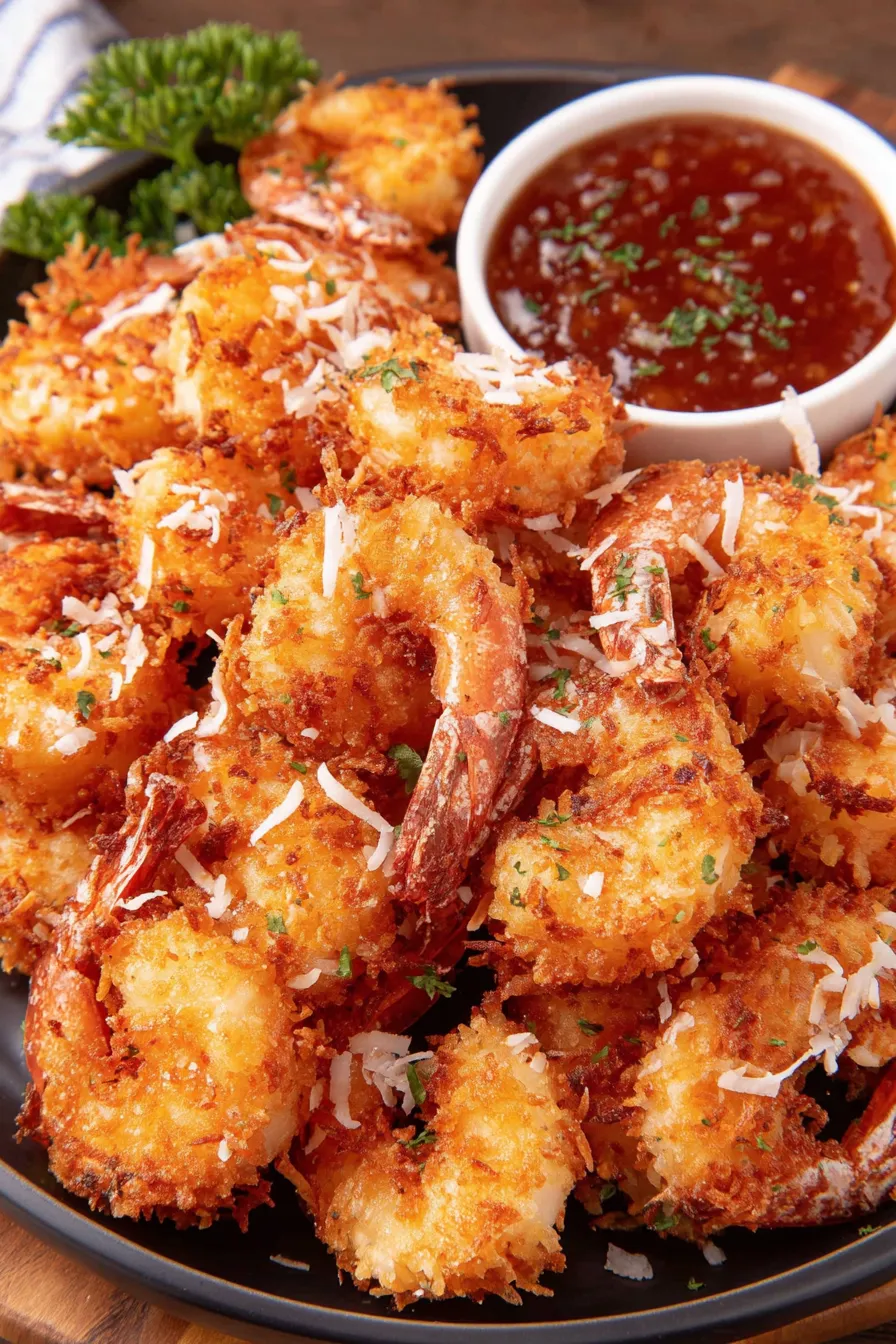
Serve as an elegant appetizer plated on a long platter with small bowls of dipping sauces: sweet chili, mango chutney, lime-garlic aioli, or a soy-ginger dipping sauce. For a main course, pair with a bright green salad, coconut rice, or grilled pineapple slices to echo the tropical notes. Garnish with lime wedges and chopped cilantro for color and freshness. These also make a festive finger-food for cocktail parties and pair beautifully with sparkling wine or a crisp lager.
Coatings that combine breadcrumbs with shredded coconut are common in tropical and coastal cuisines where coconut is plentiful. The idea of pairing sweet coconut with savory seafood likely evolved in regions where both ingredients were staples, and the contemporary panko-coconut crust is a fusion found in coastal American and Caribbean-inspired fare. Restaurants popularized the dish as a shareable appetizer in the late 20th century, and home cooks soon adapted the technique for easy entertaining.
In summer, serve with fresh mango salsa and lime for a bright, fruit-forward plate. In winter, swap mango for a roasted red pepper chutney or cranberry-habanero sauce for holiday contrast. For holiday entertaining, use sweetened coconut for a festive crunch and pair with spiced dipping sauces. Adjust frying times slightly if making very small shrimp so the interior never overcooks.
Dredge shrimp and arrange on a sheet pan covered tightly with plastic wrap up to 2 hours before frying — this helps you focus on frying and serving hot food. If feeding a crowd, fry in multiple small batches and keep finished shrimp on a wire rack set over a sheet pan in a 200°F oven for up to 20 minutes to keep warm and crisp. Bring the oil back to 350°F between batches to ensure consistent color and texture.
There’s something joyful about serving a simple dish that looks and tastes special. This coconut shrimp checks that box every time — a little bit tropical, reliably crunchy, and unfailingly delicious. Try it once and it will likely become a requested favorite at your next gathering.
Pat shrimp very dry before dredging to ensure the coating adheres.
Keep oil at a steady 350°F to avoid greasy or undercooked coating.
Let coated shrimp rest 5–10 minutes before frying to improve adhesion and reduce flaking.
Use a wire rack rather than paper towels to keep the crust crisp while resting briefly.
If coconut browns too quickly, lower the temperature and fry smaller batches to maintain color control.
This nourishing coconut shrimp recipe is sure to be a staple in your kitchen. Enjoy every moist, high protein slice — it is perfect for breakfast or as a wholesome snack any time.
If you need to reheat, use a hot oven or broiler to restore crispness for a few minutes rather than the microwave.
Yes — thaw fully in the refrigerator or under cold running water and pat dry before coating and frying.
This Coconut Shrimp recipe makes perfectly juicy, tender, and flavorful steak every time! Serve with potatoes and a side salad for an unforgettable dinner in under 30 minutes.
Thaw shrimp completely, rinse and pat dry. Remove shells if desired and leave tails for presentation. Drying thoroughly ensures the coating adheres and prevents oil spatter.
Combine flour, garlic powder, salt, and pepper in a shallow bowl and whisk together to aerate. This seasoned flour seasons the shrimp and creates a dry surface for the egg whites to adhere to.
Froth the egg whites in a second shallow bowl until slightly foamy but not stiff. The frothy whites add volume and help the panko-coconut mixture cling without becoming gummy.
In a third bowl, toss the panko and shredded coconut to combine. Break up any clumps and have this mixture ready at the dredging station for efficient assembly.
Dust shrimp in the seasoned flour, shake off excess, dip into the frothy egg whites, then press into the panko-coconut mixture until fully coated. Place on a single layer on a sheet pan to rest for 5–10 minutes to set.
Fill a heavy pot with 3–4 inches of oil and heat to 350°F (175°C). Use a thermometer to maintain temperature; heating usually takes 10–15 minutes depending on stove and pot size.
Fry shrimp in small batches for about 1 to 1 1/2 minutes until golden brown and crispy. Turn shrimp once or twice for even color. Avoid overcrowding the pot so temperature remains stable.
Transfer cooked shrimp to paper towels or a wire rack to drain. Let cool for 1–2 minutes, garnish with lime, and serve with your choice of dipping sauces.
Last Step: Please leave a rating and comment letting us know how you liked this recipe! This helps our business to thrive and continue providing free, high-quality recipes for you.
Leave a comment & rating below or tag
@paletina on social media!

Ultra-fudgy brownies packed with chocolate chunks, crowned with gooey marshmallows and glossed with warm chocolate frosting for a decadent crowd-pleaser.

Buttery shortbread crust topped with a gooey brown sugar-pecan filling. Ten minutes to prep, irresistibly crunchy edges, and perfect for make-ahead treats.

Silky, crack-free pumpkin cheesecake with warm spice, buttery graham crust, and make-ahead convenience for showstopping holiday dinners.
Leave a comment & rating below or tag @paletina on social media!
Enjoyed this recipe? Share it with friends and family, and don't forget to leave a review!
This recipe looks amazing! Can't wait to try it.
Comments are stored locally in your browser. Server comments are displayed alongside your local comments.

Join to receive our email series which contains a round-up of some of our quick and easy family favorite recipes.
