>>

A festive, ultra-moist red velvet sheet cake filled with cheesecake-flavored pudding and crowned with green-tinted whipped topping, mini marshmallows, red and green M&M’s and sprinkles—perfect for holiday gatherings.
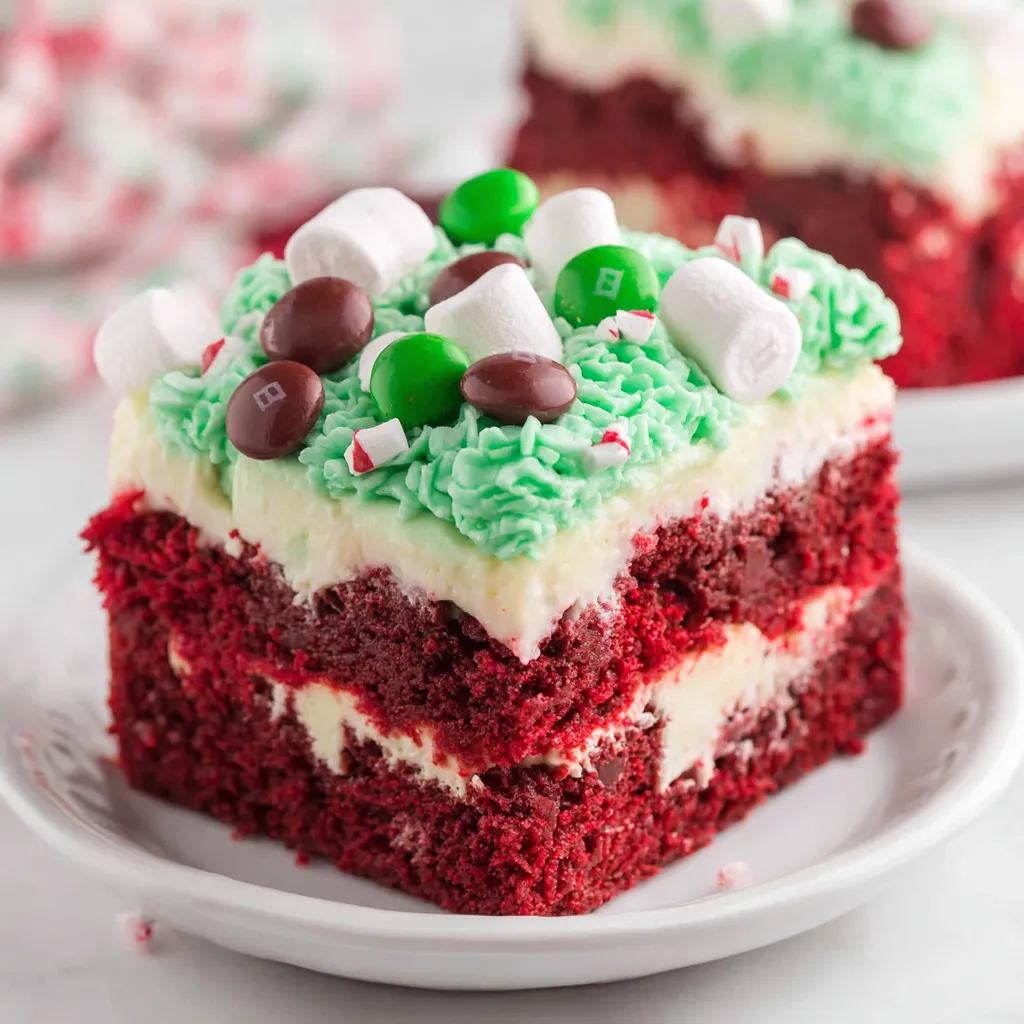
This Christmas red velvet poke cake has been my holiday showstopper for years. I first made it at a neighborhood cookie swap when I needed something that felt indulgent but required minimal fuss. The combination of a quick boxed red velvet base, the smooth tang of cheesecake-flavored instant pudding, and the playful, snow-dotted green whipped topping immediately won everyone over. Friends who usually declare they aren’t cake people came back for seconds, and the bright red-and-green decorations made it the centerpiece of the dessert table.
What makes this version special is the contrast of textures: a soft, moist crumb punctured by glossy pudding that settles into every pocket, a pillowy topping with a faint vanilla tang, and the little crunchy pops from M&M’s. It’s deceptively simple to prepare; the most time-consuming part is waiting for the pudding to set, which means you can mix, bake, and decorate with ease while you wrap gifts or prepare other dishes. I find it especially satisfying because it looks like it took far more effort than it actually does—an ideal last-minute holiday marvel.
In my experience, guests often comment first on the color and presentation, then on how moist the cake is. One year I took this to a church potluck and someone asked for the recipe on the spot; another guest brought it to a family reunion and texted later: “This tastes like Christmas in my mouth.” Those small moments convinced me this is a recipe worth keeping in heavy rotation during the holidays.
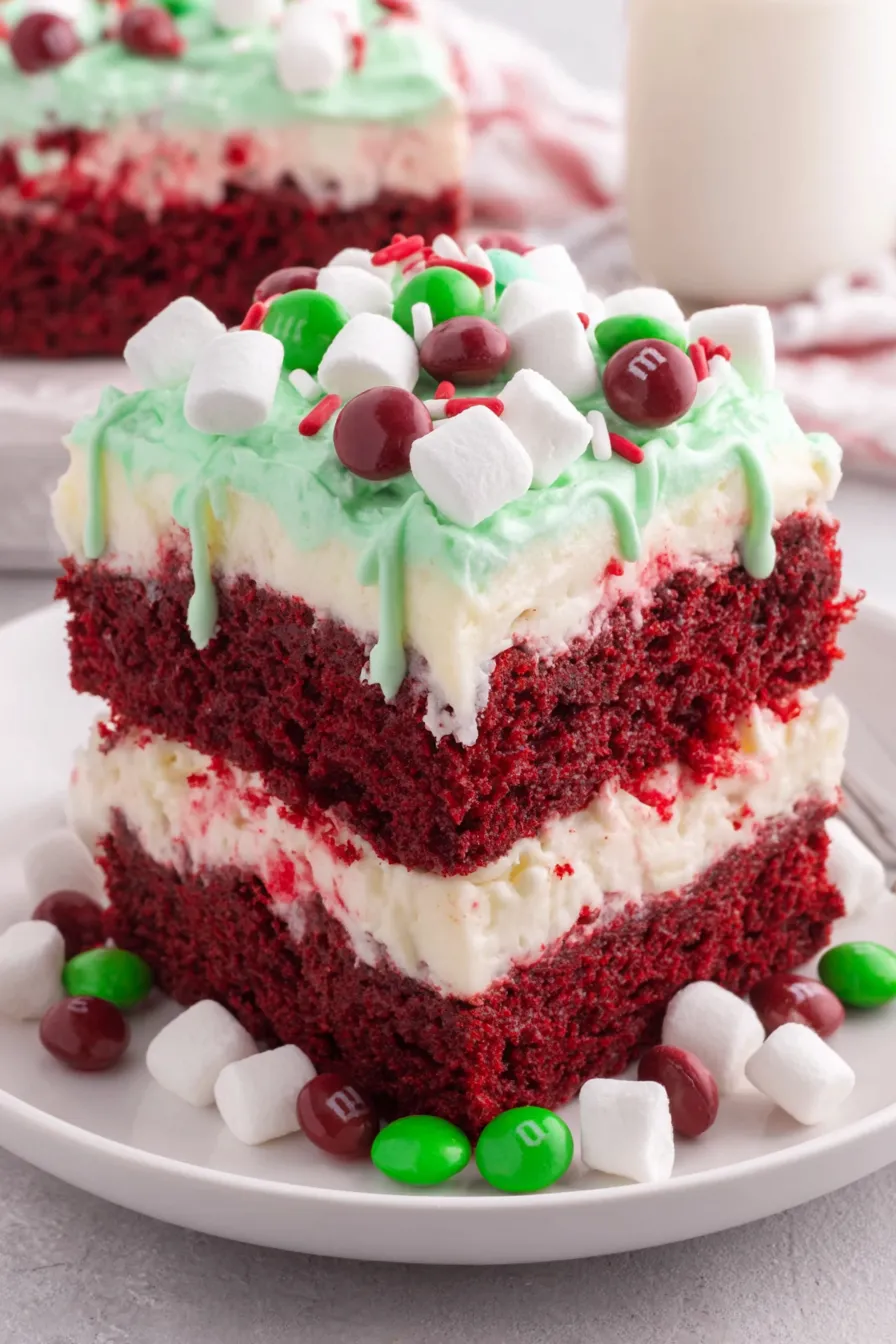
I love how the pudding sinks into each pocket and creates a glossy, almost custard-like interior. One winter I assembled two cakes for back-to-back parties and used different candies on each; both disappeared just as quickly, but guests always asked about the hidden cheesecake twist. The memory of my nephew carefully arranging M&M’s into a pattern on the top is one of my favorite holiday snapshots.
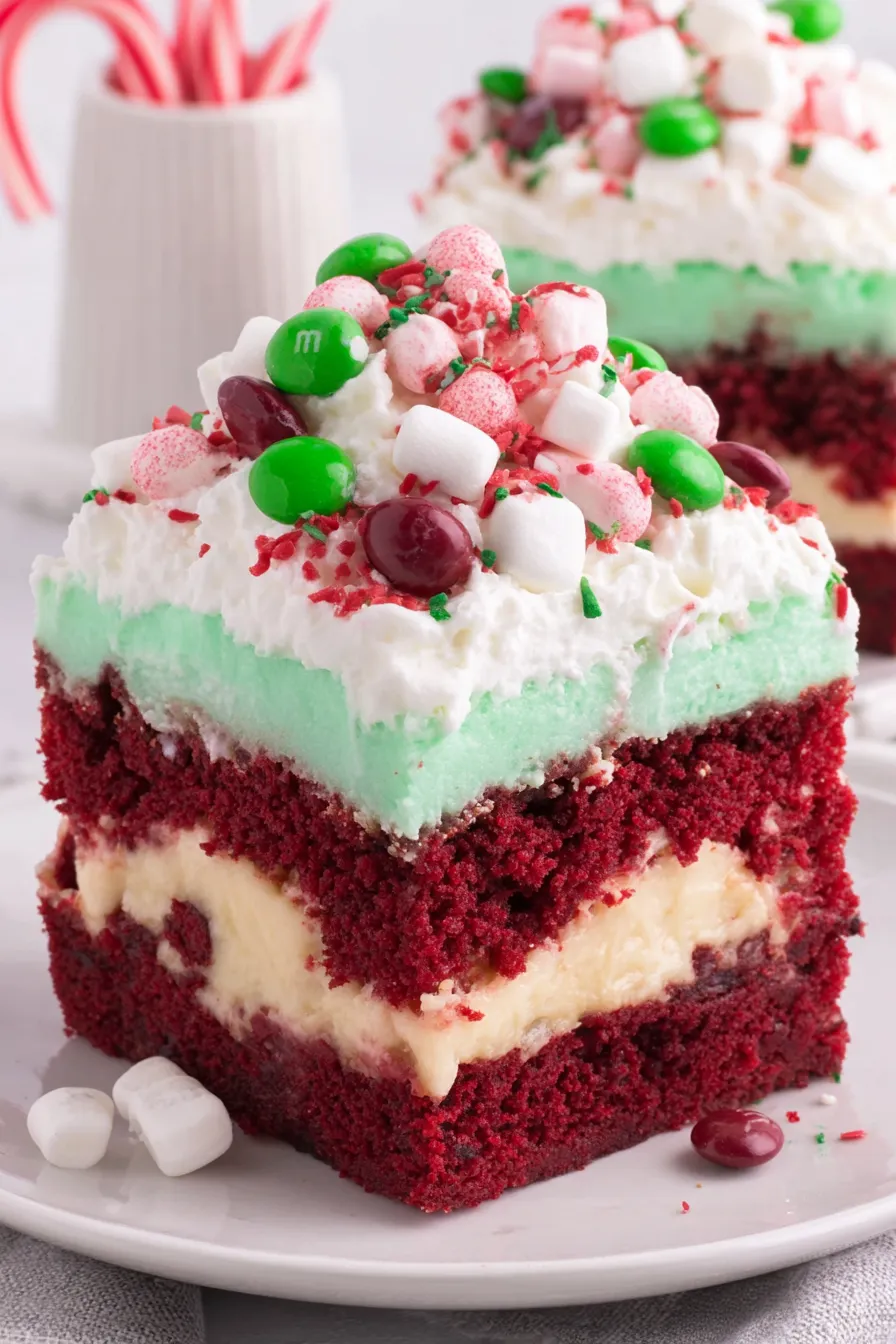
Store leftovers covered with plastic wrap or in an airtight container in the refrigerator for up to 4 days to maintain the whipped topping’s texture and the pudding’s firmness. If you need to freeze, remove the whipped topping and decorative candies first; wrap the cake tightly with plastic and aluminum foil and freeze for up to 3 months. Thaw in the refrigerator overnight, then add fresh whipped topping and decorations before serving to restore the intended look and mouthfeel. For transport, keep the pan on a chilled surface or in a cooler to prevent the topping from weeping.
For a lower-fat version, substitute low-fat milk for whole milk in the pudding, though the filling will be slightly less rich. Use light whipped topping to reduce calories, keeping in mind the texture will be lighter. To make the cake dairy-free, choose a dairy-free whipped topping and replace whole milk with a fortified plant milk when preparing a dairy-free instant pudding alternative; ensure the pudding mix is compatible or use a dairy-free cheesecake-flavored custard. For gluten-free needs, swap to a certified gluten-free red velvet mix and confirm other packaged items are labeled gluten-free.
Serve chilled slices on a simple white platter to let the red and green colors pop. Pair with strong coffee, espresso, or a lightly sweetened black tea to cut through the richness. For an adults-only twist, add a drizzle of warmed raspberry coulis or a spoonful of bourbon caramel at plating. Garnish with fresh cranberries or mint leaves for a seasonal touch, and consider pairing with a creamy vanilla ice cream scoop for an indulgent holiday dessert course.
Red velvet became popular in American baking in the early 20th century and was prized for its striking color and tender crumb, often linked to Southern baking traditions where buttermilk and cocoa coexist. The poke cake technique—baking a simple sheet and filling it with a condiment or pudding—grew in mid-century home baking as an easy way to boost flavor and moisture without elaborate techniques. Combining the two creates a nostalgic, festive dessert that nods to both vintage home baking and modern holiday presentation.
Shift this dessert to other holidays by changing the color of the whipped topping and the candy decorations. For Valentine’s Day, tint the topping pale pink and use heart sprinkles; for St. Patrick’s Day select different green accents and green candies. In winter, swap mini marshmallows for toasted coconut “snow” or scatter chopped toasted pecans for a crunchy, nutty element. The base technique is flexible—seasonal syrups like orange or spiced cranberry can be drizzled into the poked holes before the pudding for a flavor twist.
To streamline holiday prep, bake the sheet cake the day before and cover tightly. Prepare the pudding right before you plan to assemble so it’s still chilled and pourable. After pouring the pudding into the poked cake, refrigerate overnight to free up the day of your event; tint and spread the whipped topping, then add fresh decorations right before guests arrive for the best appearance. Use clear, stackable containers for transporting multiple pans to events.
With a few simple ingredients and a short list of tools, this red velvet poke cake becomes a reliable centerpiece for holiday gatherings. It’s forgiving, fast in hands-on time, and endlessly customizable—so make it your own and enjoy the smiles it brings to the table.
Allow the pudding to chill at least 4 hours to ensure it sets fully in the poked holes.
Use an offset spatula for a smooth whipped topping finish and clean the spatula between passes.
If using gel food coloring, start with a very small amount to avoid over-tinting the whipped topping.
This nourishing christmas red velvet poke cake recipe is sure to be a staple in your kitchen. Enjoy every moist, high protein slice — it is perfect for breakfast or as a wholesome snack any time.
This Christmas Red Velvet Poke Cake recipe makes perfectly juicy, tender, and flavorful steak every time! Serve with potatoes and a side salad for an unforgettable dinner in under 30 minutes.
Preheat oven to 350°F and spray a 9x13-inch pan with nonstick baking spray. This ensures even baking and easy release.
In a medium bowl combine the red velvet mix, 1 1/4 cups water, 1/2 cup oil and 3 eggs. Beat on medium until smooth but not overmixed.
Pour batter into pan and bake 25 minutes or until a toothpick comes out with a few moist crumbs. Cool 10 minutes on a rack.
Use the rounded handle of a wooden spoon to poke holes about 1/2-inch apart across the warm cake for pudding to sink into.
Whisk 6.8 ounces pudding mix into 3 3/4 cups cold milk for 1 to 1 1/2 minutes until slightly thickened, then pour over the poked cake.
Cover tightly and refrigerate at least 4 hours or overnight so the pudding fully sets within the cake.
Stir 10 to 12 drops green food coloring into 16 ounces thawed whipped topping until evenly colored, then spread over the chilled pudding layer.
Top with mini marshmallows, red and green M&M’s and red sprinkles. Cut into twelve 3-inch by 3-inch squares and serve chilled.
Last Step: Please leave a rating and comment letting us know how you liked this recipe! This helps our business to thrive and continue providing free, high-quality recipes for you.
Leave a comment & rating below or tag
@paletina on social media!
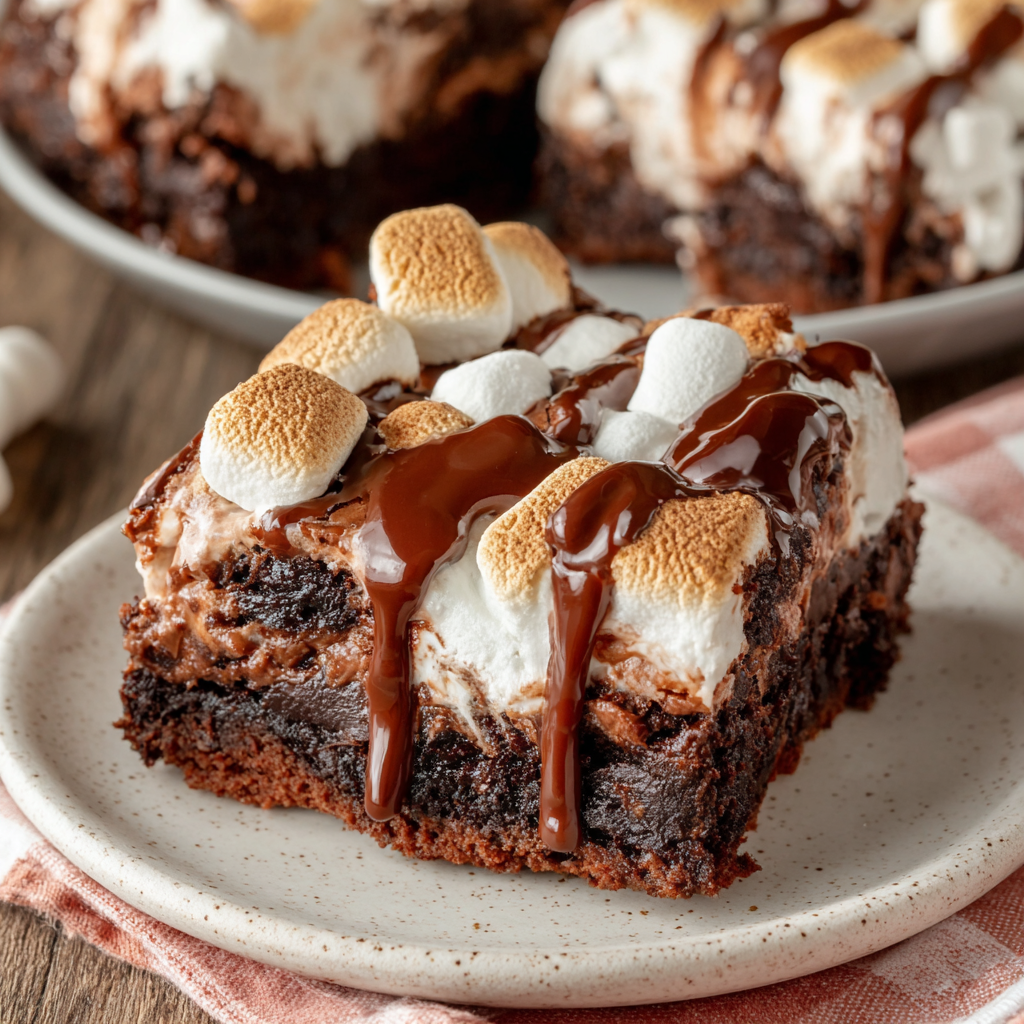
Ultra-fudgy brownies packed with chocolate chunks, crowned with gooey marshmallows and glossed with warm chocolate frosting for a decadent crowd-pleaser.
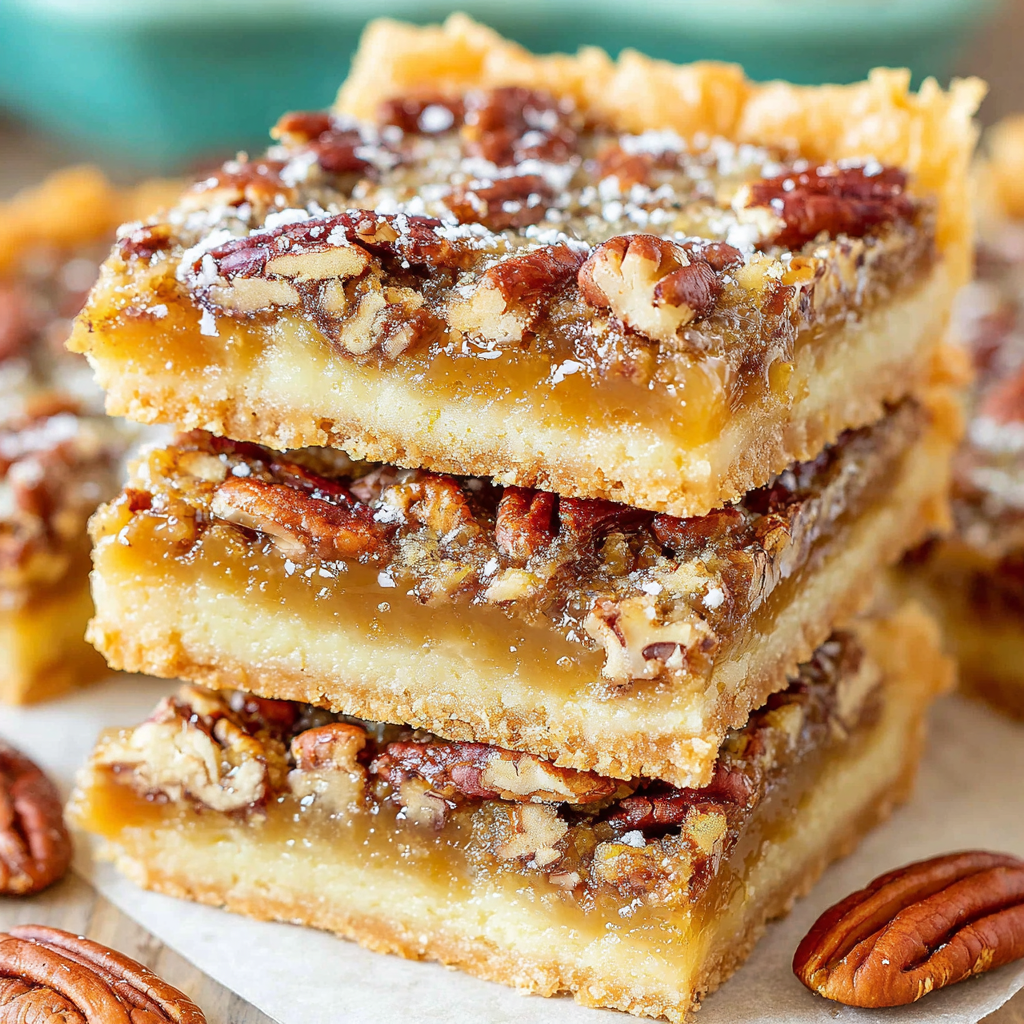
Buttery shortbread crust topped with a gooey brown sugar-pecan filling. Ten minutes to prep, irresistibly crunchy edges, and perfect for make-ahead treats.
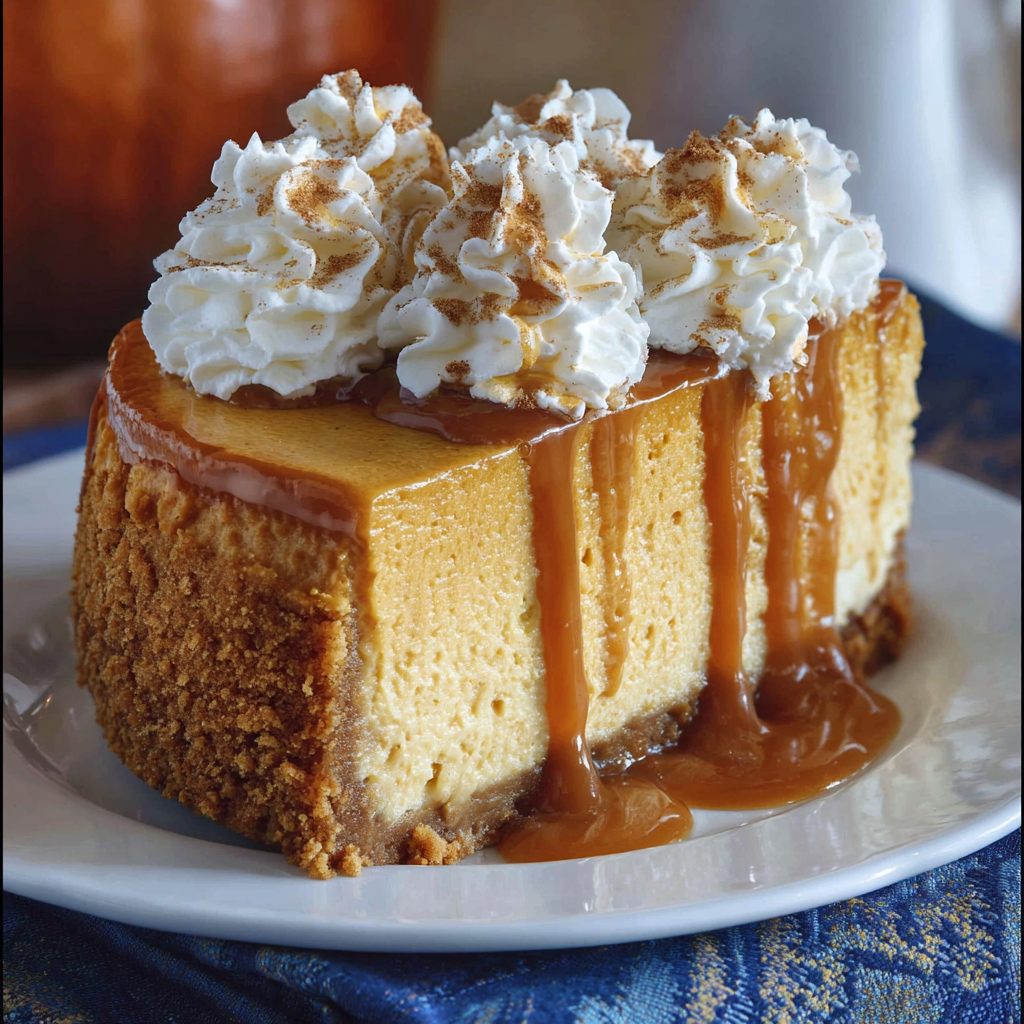
Silky, crack-free pumpkin cheesecake with warm spice, buttery graham crust, and make-ahead convenience for showstopping holiday dinners.
Leave a comment & rating below or tag @paletina on social media!
Enjoyed this recipe? Share it with friends and family, and don't forget to leave a review!
This recipe looks amazing! Can't wait to try it.
Comments are stored locally in your browser. Server comments are displayed alongside your local comments.

Join to receive our email series which contains a round-up of some of our quick and easy family favorite recipes.