
>>

Buttery oat bars layered with melted chocolate and a silky caramel center — a nostalgic crowd-pleaser that's easy to make and even easier to share.
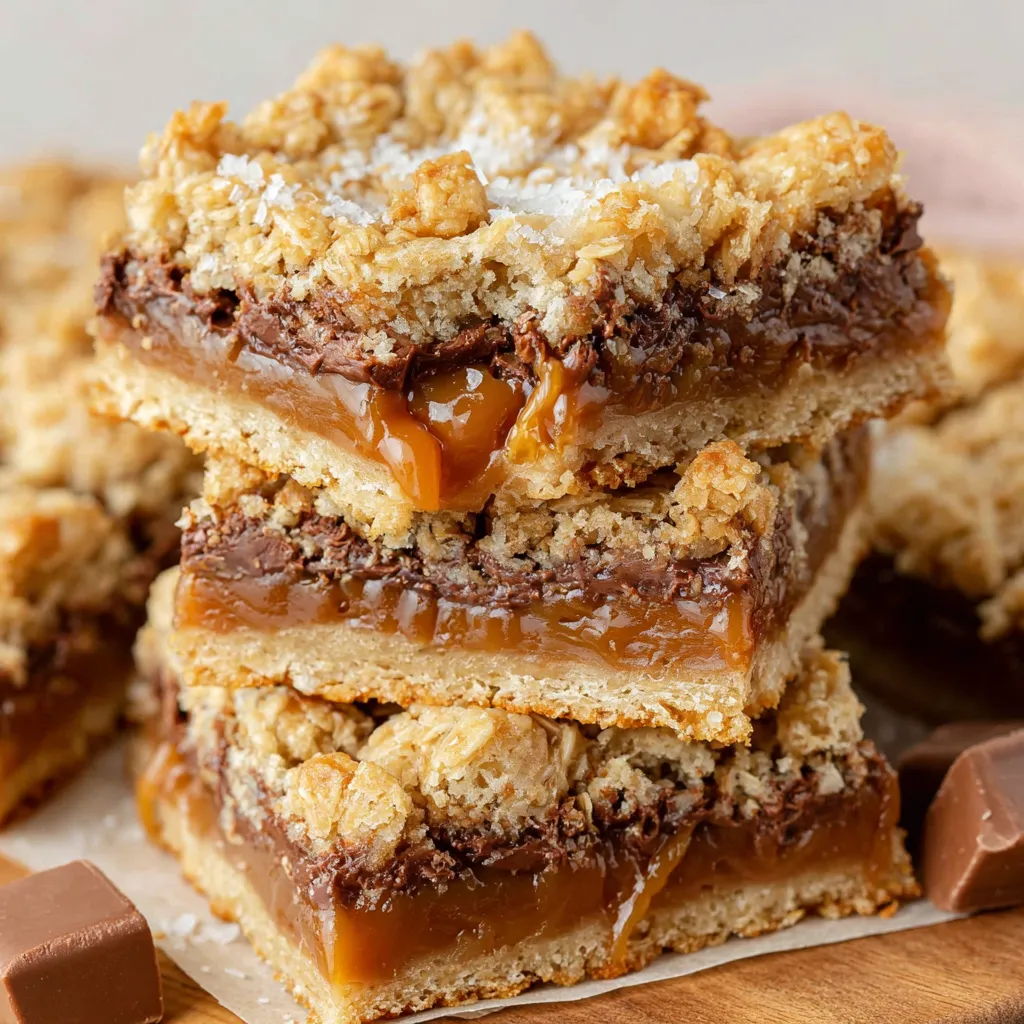
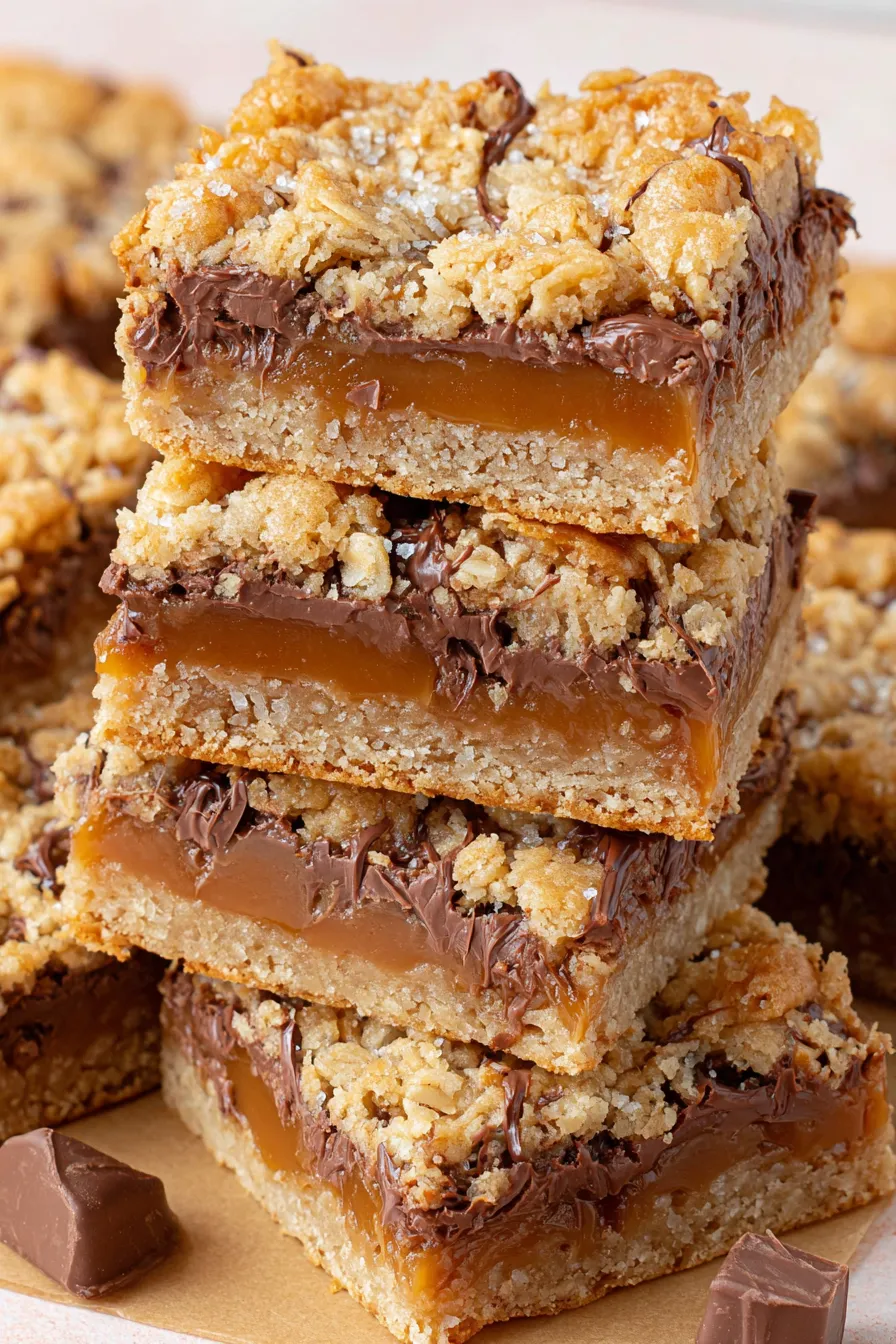
This version of carmelitas has been a holiday staple in my kitchen for years. I first stumbled on the combination of a crisp oat-cookie base topped with melted chocolate and a warm caramel ribbon while helping a neighbor package treats for a bake sale one winter. The texture — slightly chewy edges, a tender crumb, and the molten caramel sandwiching glossy chocolate — is what keeps me coming back. Every time the pan comes out of the oven the house fills with sweet, toasty aromas that make everyone drift into the kitchen at once.
I fell in love with how forgiving this recipe is: it uses pantry-friendly staples, presses together quickly, and delivers a finished bar that looks like you fussed with it for hours. I like using salted butter for depth, and I always unwrap the caramels as the base bakes so the caramel comes together smoothly. These bars travel well to potlucks, freeze nicely for future cravings, and can be tweaked to suit any chocolate preference. Serve warm with coffee or chilled and cut into neat squares for gifting.
In my family these bars always disappear first. I remember bringing a pan to a summer picnic and watching it vanish within an hour — even folks who usually avoid sweets asked for seconds. Over time I've tuned small details (like chilling before slicing) that make serving and storing much easier.
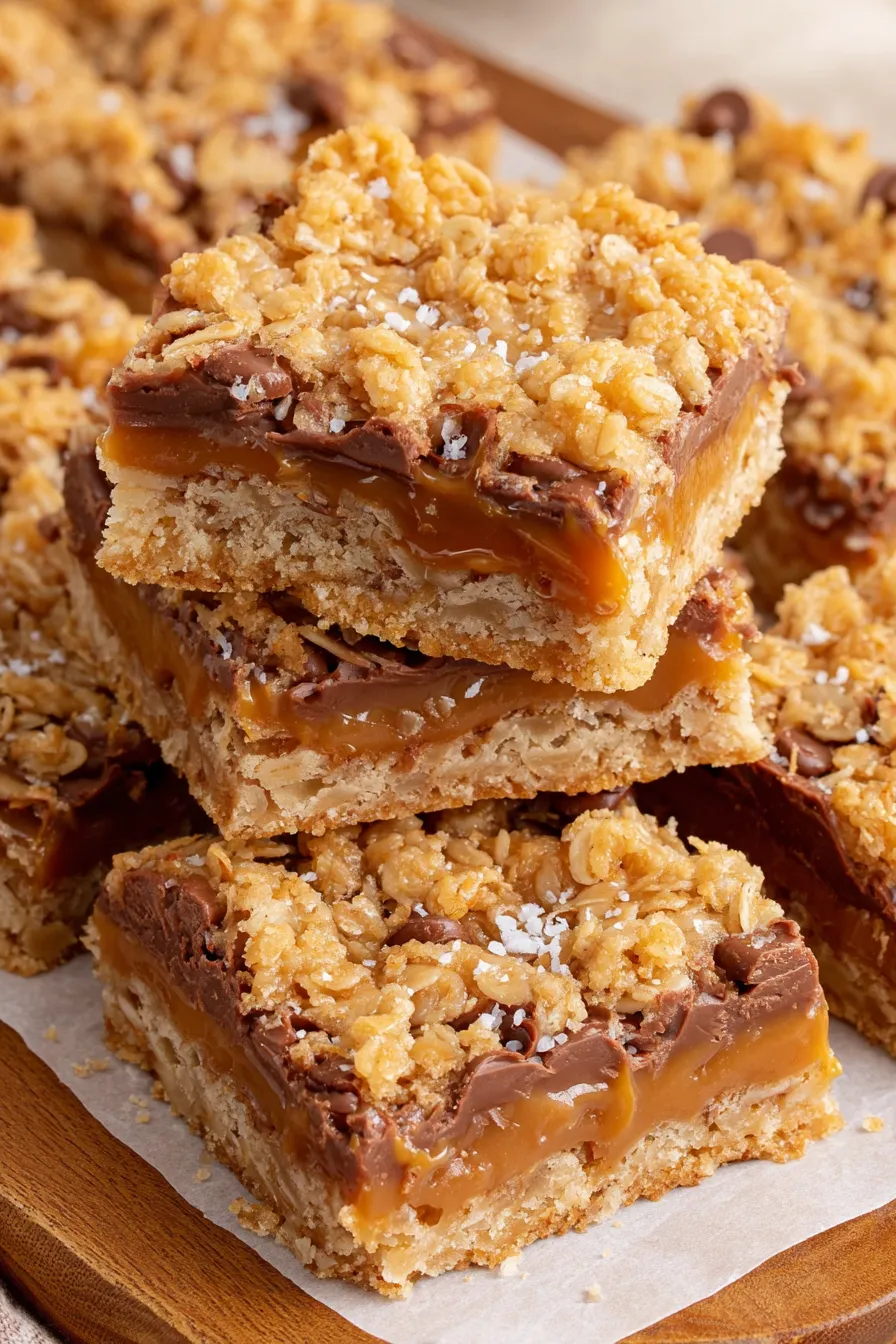
My favorite part is the ritual of unwrapping caramels and watching them melt into a glossy ribbon. Family members always argue over who gets the corner pieces with extra crisp edges and caramel pull. Over time I’ve learned small tweaks — like chilling before slicing and using parchment overhang — that make serving effortless.
Store cooled bars in a single layer in an airtight container in the refrigerator for up to 5 days. To prevent sticking, separate layers with parchment or wax paper. For longer storage wrap individual bars tightly in plastic wrap and freeze in a sealed container for up to 3 months. Thaw in the refrigerator overnight or at room temperature for 30–60 minutes before serving. Reheat gently in a 300°F oven for 5–7 minutes if you prefer warm, gooey centers.
For a dairy-free option use coconut oil instead of butter and a dairy-free caramel (or make a salted date-caramel). Swap dark chocolate for the milk chips for a less sweet bar — 60–70% cocoa adds depth. To make the base gluten-free, use a certified gluten-free all-purpose flour and certified oats; texture will be slightly different but still very satisfying. Brown sugar can be replaced with coconut sugar for lower molasses notes.
Serve squares at room temperature alongside coffee, tea, or a simple scoop of vanilla ice cream. For holiday platters, dust lightly with flaky sea salt or drizzle extra melted chocolate in a zig-zag pattern. These bars are also great wrapped individually as gifts or included in lunchboxes. Pair with bright citrusy desserts to balance the richness.
These bars are a variation on a classic American caramel-oat bar that has roots in mid-20th-century home baking, when portable, sweet bars became staples at bake sales and potlucks. The combination of oats and caramel creates a cross between a cookie and a confection, echoing similar layered treats like Nanaimo bars from Canada and European caramel squares. Over decades home cooks have adapted the bars with different chocolates and nuts, making them an enduring comfort item on holiday dessert tables.
In autumn add a pinch of warming spices — cinnamon, nutmeg and a little ground ginger — to the base for a cozy twist. For summer, top chilled squares with toasted coconut and chopped macadamia nuts for a tropical vibe. Around the holidays mix in chopped pecans or swap milk chocolate for peppermint bark to create festive variations that reflect the season’s flavors.
Make the base ahead and store it covered in the refrigerator for 24 hours; press and bake when ready to assemble. The caramel can be melted and held warm in a thermos for short periods if you need to transport assembly to a gathering. For easy gifting, cut into bars, place in parchment-lined boxes, and include a small note suggesting refrigeration if the destination is warm.
These carmelitas are one of those recipes that reward small adjustments — swap chocolate, add nuts, or sprinkle sea salt — and you’ll find your favorite version. Share them, freeze them, and let them become part of your own kitchen traditions.
Unwrap caramels before you start baking so they're ready to melt while the base is in the oven.
Chill the pan fully before slicing for neat squares and minimal caramel oozing.
Use a sharp knife warmed under hot water and dried between cuts for cleaner edges.
This nourishing carmelitas recipe is sure to be a staple in your kitchen. Enjoy every moist, high protein slice — it is perfect for breakfast or as a wholesome snack any time.
Yes — after cooling the pan, cover and refrigerate for at least 1.5 hours for clean slices. Chilling overnight is even better.
Wrap individual bars tightly and freeze for up to 3 months. Thaw in the refrigerator before serving.
This Carmelitas recipe makes perfectly juicy, tender, and flavorful steak every time! Serve with potatoes and a side salad for an unforgettable dinner in under 30 minutes.
Preheat the oven to 350°F. Line a 9×9-inch baking pan with parchment leaving an overhang on two sides and lightly grease the parchment.
In a large bowl mix the flour, oats, melted butter, brown sugar, vanilla, baking soda, and kosher salt until just combined into a crumbly but cohesive mixture.
Press half of the base firmly into the bottom of the prepared pan and bake for 10 minutes until set and fragrant.
Unwrap caramels and melt with heavy cream over medium heat, stirring constantly until smooth, or microwave in short bursts stirring often.
Sprinkle chocolate chips over the hot par-baked base, then pour the warm caramel over the chocolate. Crumble the remaining base over the caramel.
Bake for 20 minutes until golden. Cool briefly, then chill 1 1/2–2 hours before lifting from pan and cutting into 16 bars.
Last Step: Please leave a rating and comment letting us know how you liked this recipe! This helps our business to thrive and continue providing free, high-quality recipes for you.
Leave a comment & rating below or tag
@paletina on social media!

Ultra-fudgy brownies packed with chocolate chunks, crowned with gooey marshmallows and glossed with warm chocolate frosting for a decadent crowd-pleaser.

Buttery shortbread crust topped with a gooey brown sugar-pecan filling. Ten minutes to prep, irresistibly crunchy edges, and perfect for make-ahead treats.

Silky, crack-free pumpkin cheesecake with warm spice, buttery graham crust, and make-ahead convenience for showstopping holiday dinners.
Leave a comment & rating below or tag @paletina on social media!
Enjoyed this recipe? Share it with friends and family, and don't forget to leave a review!
This recipe looks amazing! Can't wait to try it.
Comments are stored locally in your browser. Server comments are displayed alongside your local comments.

Join to receive our email series which contains a round-up of some of our quick and easy family favorite recipes.
