
>>

A nostalgic no-bake treat: a creamy peanut butter base topped with a glossy chocolate layer. These Buckeye Bars are simple to make, crowd-pleasing, and perfect for holidays.
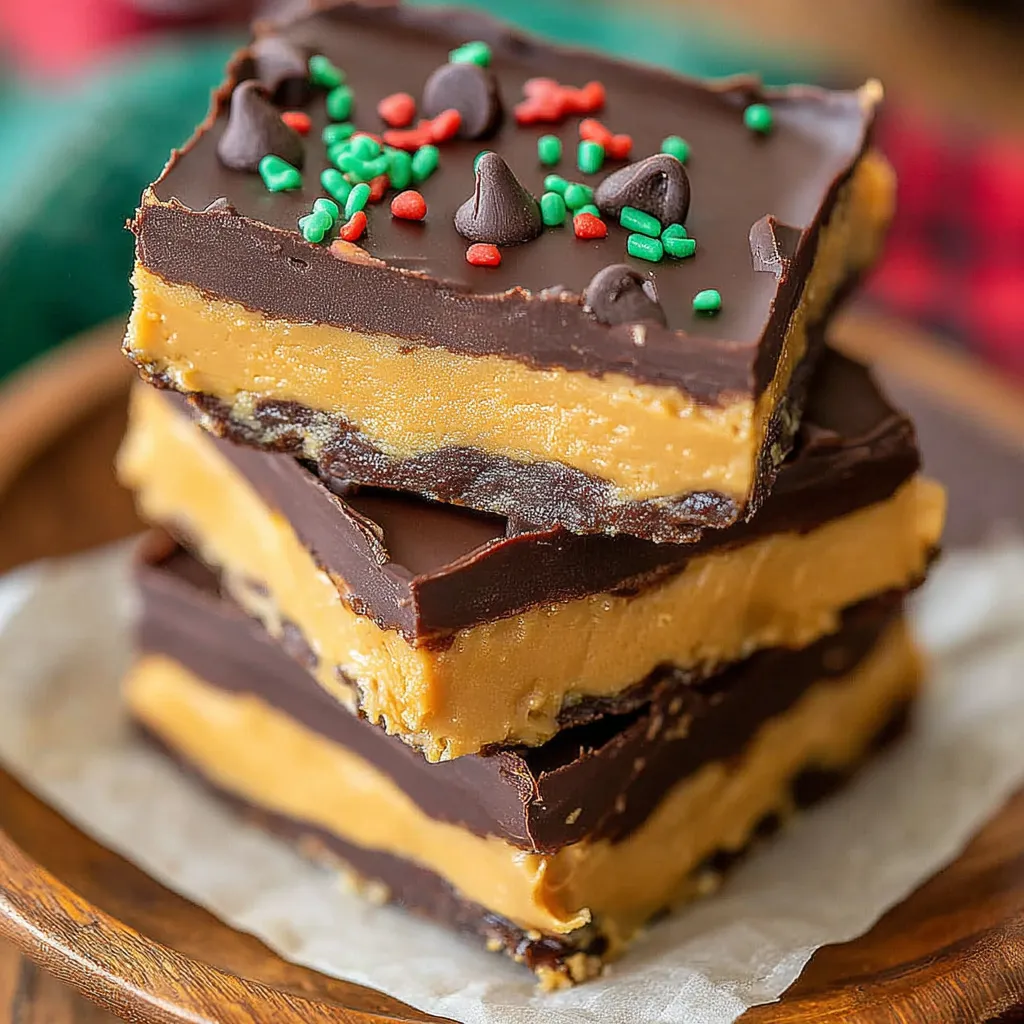
This recipe for Buckeye Bars is one I reach for when I want a quick, nostalgic dessert that tastes like childhood holidays. I discovered this combination while searching for an easier alternative to hand-dipped buckeye candies one busy December. The result keeps all the comforting flavors of peanut butter and chocolate but in bar form, so you skip the dipping and have neat, shareable squares instead. The texture is satiny and dense, the peanut butter layer smooth and slightly sweet, while the chocolate top snaps just enough to contrast the soft center.
I love how forgiving these are: they require no oven, minimal hands-on time, and they travel well. I used Jif and Skippy creamy peanut butter interchangeably for years and recommend whichever stirred creamy peanut butter you prefer. The bars are rich, so I usually cut them into small squares and serve them with coffee. They have become my go-to for potlucks and a frequent request at family gatherings, where my youngest always claims the corners first.
Personally, these bars rescued a holiday when my baking time vanished. I put them together between errands and by evening had a tray that looked like I had fussed for hours. My family’s reaction was immediate: a chorus of approvals and requests for the recipe. Friends have told me they remind them of classic buckeye candies but are easier to eat and share, which is exactly what I was aiming for when I adapted this version.
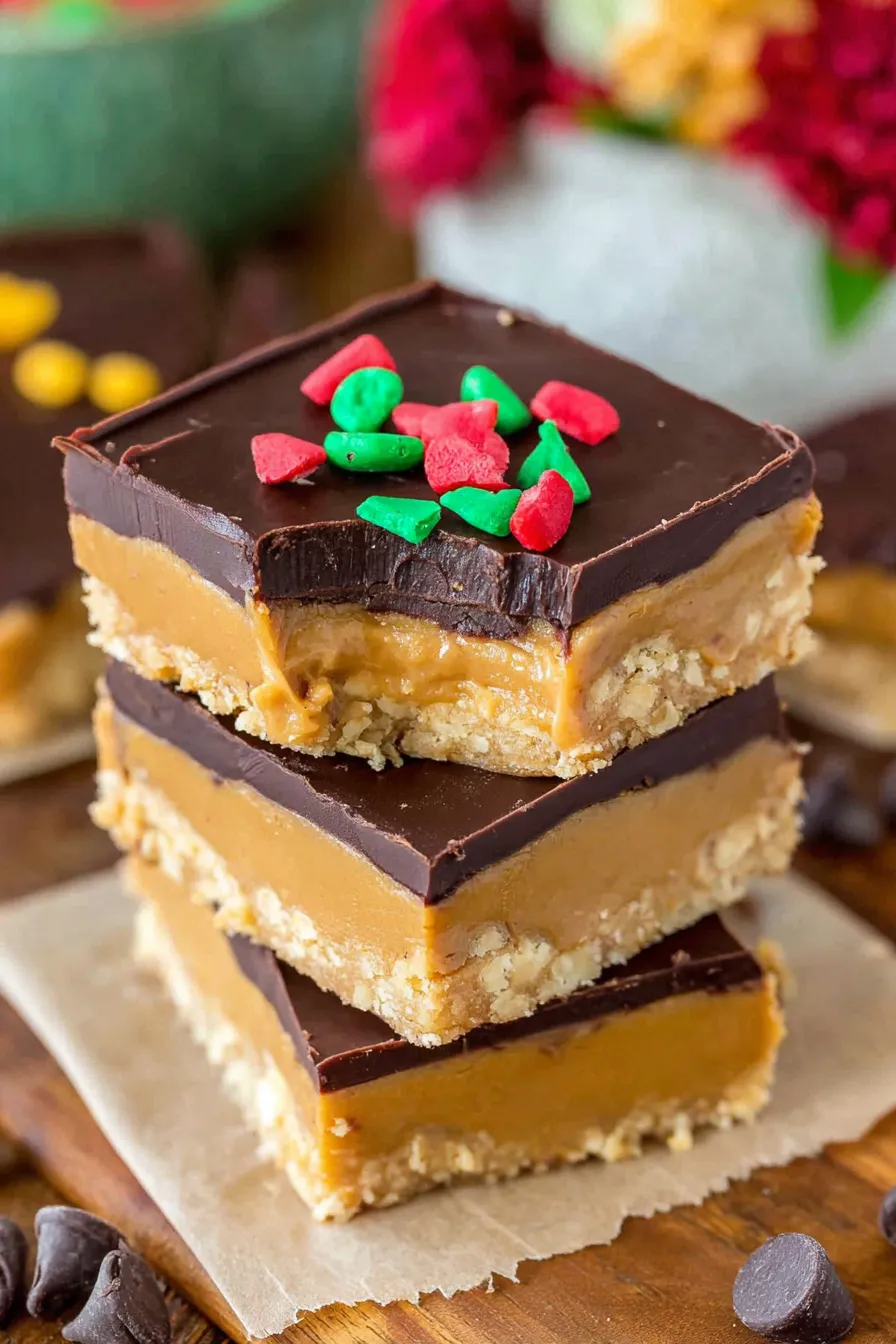
What I adore most about these bars is how consistent they are. Even when I press the base a little thicker or melt the chocolate a touch longer, the outcome is still delicious and well balanced. Family members often comment that the chocolate-to-peanut ratio is perfect, and I find that small adjustments to chocolate type let you tune the sweetness. For gift boxes I cut smaller squares and stack them with parchment between layers so the chocolate does not stick.
Store the bars in a single layer or with parchment sheets between layers in an airtight container. Refrigerate for up to 7 days to maintain a firm texture. For longer storage, freeze in an airtight container for up to 3 months. To thaw, move to the refrigerator overnight and then bring to room temperature for 20 minutes before serving if you prefer a softer bite. Avoid leaving them at room temperature for extended periods in warm weather to prevent the chocolate from softening.
If you need dairy-free options, use dairy-free butter and dairy-free chocolate chips; coconut oil is already dairy-free and helps set the chocolate. Swap peanut butter with almond butter or sunflower seed butter for a nut-free alternative; note sunflower butter can be slightly thinner so add a tablespoon more powdered sugar if needed to achieve the same consistency. For lower sugar, reduce powdered sugar by 1/4 cup and add a pinch of salt to maintain flavor, though the texture will be a touch less firm.
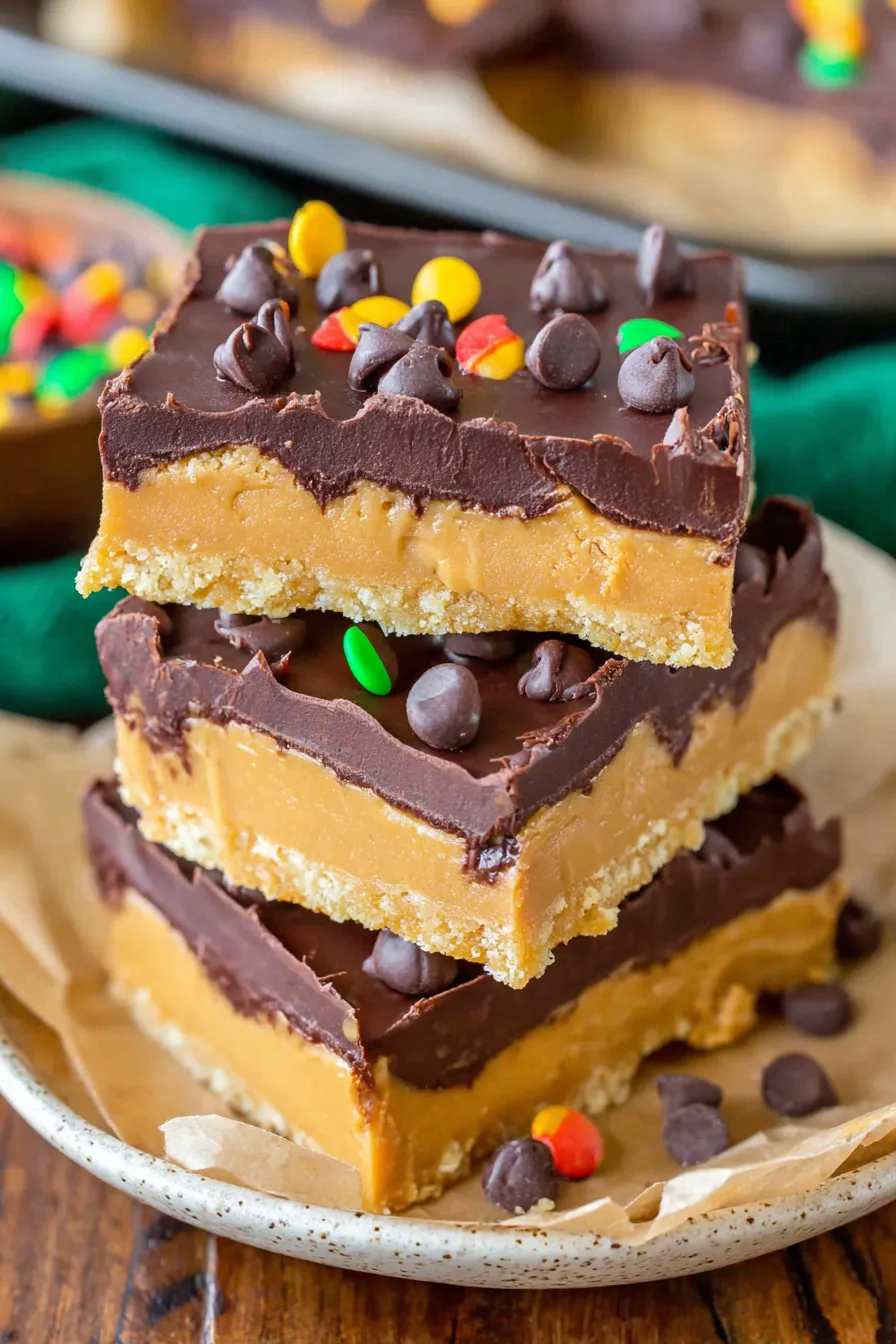
Serve chilled squares on a platter with coffee or milk for a classic pairing. For a festive touch, garnish with a light sprinkle of flaky sea salt or a few roasted, chopped peanuts on top of the chocolate before it sets. These bars make an excellent dessert tray item alongside cookies and brownies, or pack them in small boxes with tissue paper for holiday gifts. They also pair nicely with a scoop of vanilla ice cream if you prefer a warm and cold contrast.
Inspired by buckeye candies, which are a Midwestern American favorite tied to Ohio State traditions, these bars capture the same peanut butter and chocolate combination in an easier to serve square. The original buckeye candies are small balls with only a small circle of chocolate showing, resembling the buckeye nut. Over time, bakers adapted the flavor profile into bites and bars for convenience. These squares are part of a larger American confection tradition that celebrates simple, bold flavors and portability.
In winter, add a teaspoon of ground cinnamon or a pinch of nutmeg to the peanut base for a warming spice note. For summer gatherings, swap to semi-sweet chocolate and top with a scattering of toasted coconut for a lighter flavor. Around holidays, drizzle white chocolate over the top after the dark chocolate has set for a festive contrast. If making for a picnic, consider cutting smaller pieces and keeping them chilled in an insulated cooler to preserve texture.
These squares are ideal for make-ahead dessert prep. Prepare the slab up to two days before an event and store chilled in the refrigerator. For freezing, cut into squares and layer between sheets of parchment in an airtight container—this prevents sticking and makes portioning simple. When packing for lunches, wrap individual pieces in parchment and store in an insulated lunch box with an ice pack to keep them firm until serving.
These Buckeye Bars bring together ease, nostalgia, and a luxurious peanut butter and chocolate pairing. They are forgiving, adaptable, and always welcome at a gathering—try them once and you will find many excuses to make them again.
Use stirred creamy peanut butter like Jif or Skippy for the smoothest texture.
Press the base firmly into the pan to avoid crumbly edges when slicing.
Chill the slab before cutting to get clean, sharp squares.
This nourishing buckeye bars recipe is sure to be a staple in your kitchen. Enjoy every moist, high protein slice — it is perfect for breakfast or as a wholesome snack any time.
This Buckeye Bars recipe makes perfectly juicy, tender, and flavorful steak every time! Serve with potatoes and a side salad for an unforgettable dinner in under 30 minutes.
In a large mixing bowl, cream 1/2 cup softened unsalted butter and 1 cup creamy peanut butter with an electric mixer until smooth. Add 2 cups powdered sugar and 1 teaspoon vanilla and mix until the mixture is uniform and holds together when pressed.
Line a 9x9 inch pan with parchment or foil, leaving an overhang. Transfer the peanut butter mixture and press firmly and evenly into the pan using a spatula to create a smooth layer about 1/2 inch thick.
Place 1 cup chocolate chips and 2 teaspoons coconut oil or butter in a microwave-safe bowl. Heat in 20 to 30 second bursts, stirring between bursts, until melted and glossy. Alternatively, melt over a double boiler and cool slightly before using.
Pour the melted chocolate over the peanut layer and spread evenly with an offset spatula. Tap the pan to release air pockets. Let the pan sit at room temperature until the chocolate begins to firm, then chill in the refrigerator for at least 1 hour to fully set.
Lift the slab from the pan using the parchment overhang and cut into 16 squares with a sharp knife. Wipe the blade clean between cuts for neat edges. Store in an airtight container in the refrigerator.
Last Step: Please leave a rating and comment letting us know how you liked this recipe! This helps our business to thrive and continue providing free, high-quality recipes for you.
Leave a comment & rating below or tag
@paletina on social media!

Ultra-fudgy brownies packed with chocolate chunks, crowned with gooey marshmallows and glossed with warm chocolate frosting for a decadent crowd-pleaser.

Buttery shortbread crust topped with a gooey brown sugar-pecan filling. Ten minutes to prep, irresistibly crunchy edges, and perfect for make-ahead treats.

Silky, crack-free pumpkin cheesecake with warm spice, buttery graham crust, and make-ahead convenience for showstopping holiday dinners.
Leave a comment & rating below or tag @paletina on social media!
Enjoyed this recipe? Share it with friends and family, and don't forget to leave a review!
This recipe looks amazing! Can't wait to try it.
Comments are stored locally in your browser. Server comments are displayed alongside your local comments.

Join to receive our email series which contains a round-up of some of our quick and easy family favorite recipes.
